
Lesson · Basics
Drawing basics: lines, circles, shapes and cubes: every artist's warm-up
These exercises aren't flashy, but they make your hand steady. Do a few minutes before you draw: your lines will be cleaner and your shapes more accurate.
- Beginner
- 10 min practice
- 2 min read
- Updated
Key takeaways
- A quick, slightly curved line beats a slow, shaky one.
- No points at the ends of an ellipse: they stay rounded.
- Draw big enough: a stamp-sized shape teaches you nothing.
- Light hidden edges help you see whether the cube holds together.
On this page
Confident lines
-
Step 1Move from the shoulder
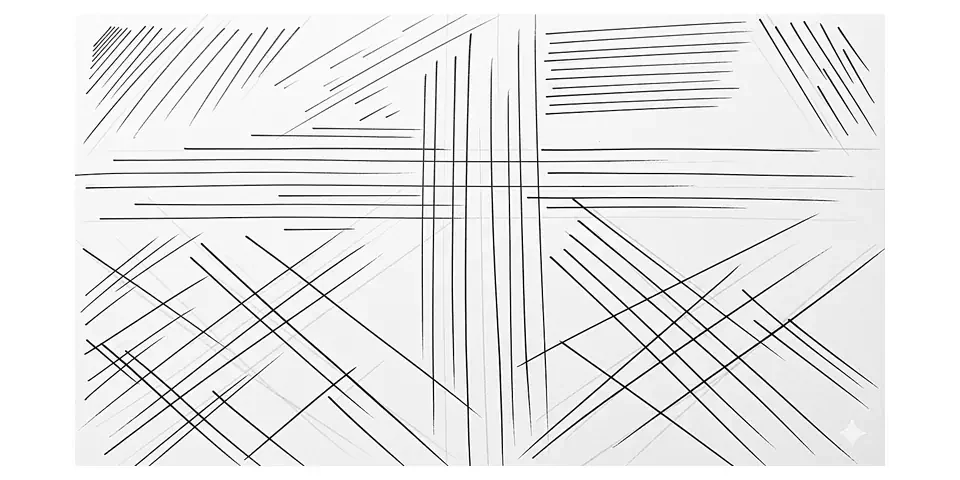
For long lines, lock your wrist and move your whole arm. The line gets straighter and more even.
-
Step 2Ghost the stroke
Place two points, move back and forth above the paper without touching it, then draw in one go.
-
Step 3Light first
Start with light strokes, then strengthen only the useful lines.
A quick, slightly curved line beats a slow, shaky one.
Circles and ellipses
-
Step 1Go around in one gesture
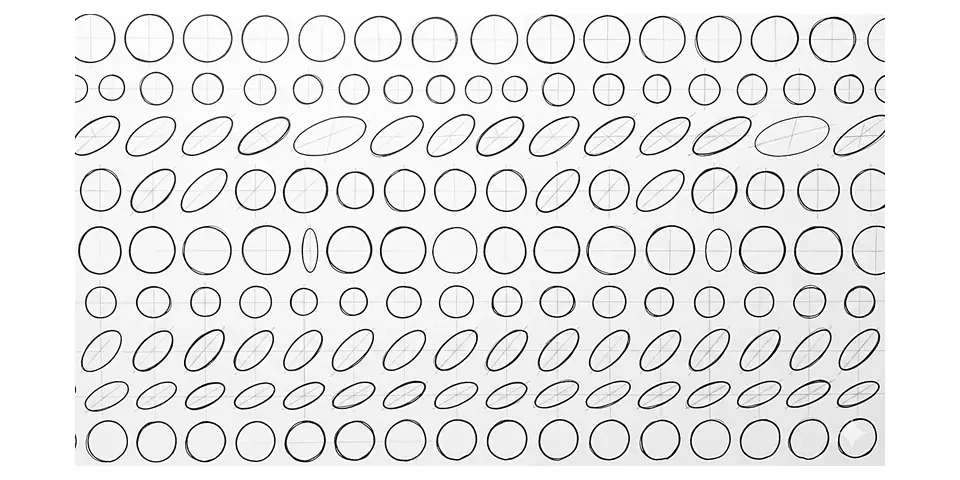
Go around the shape in one fluid motion, two or three times on top, rather than in small hesitant strokes.
-
Step 2An ellipse is a tilted circle
The more you see the circle from the side, the flatter the ellipse. Its two halves always stay symmetrical.
-
Step 3Draw its axis
A line through the middle of the ellipse, along its length, helps you keep it straight and even.
No points at the ends of an ellipse: they stay rounded.
Simple shapes
-
Step 1Corners first
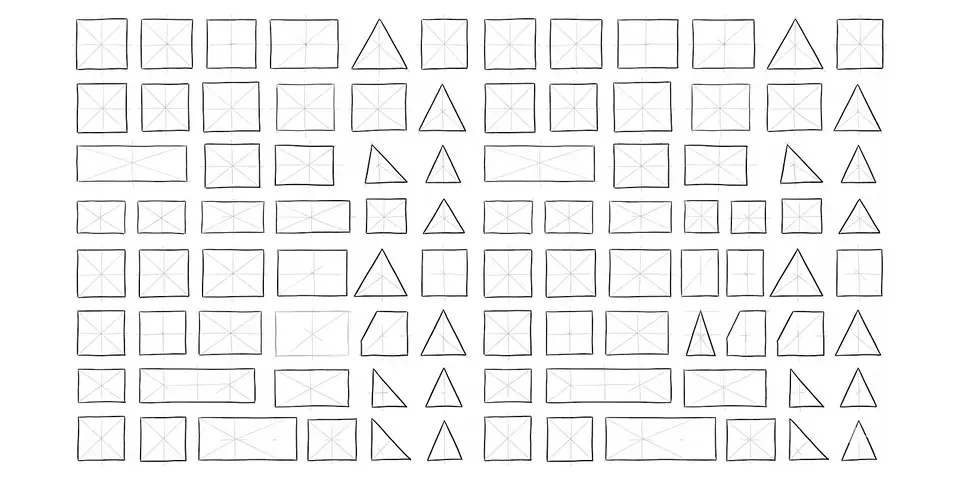
Place the four corners of a square as light dots, then join them. Easier than drawing side by side.
-
Step 2Vary the sizes
Switch between small and big shapes: big ones train your arm, small ones your accuracy.
-
Step 3Check upside down
Turn your page around: tilted sides and wrong angles jump out.
Draw big enough: a stamp-sized shape teaches you nothing.
From square to cube
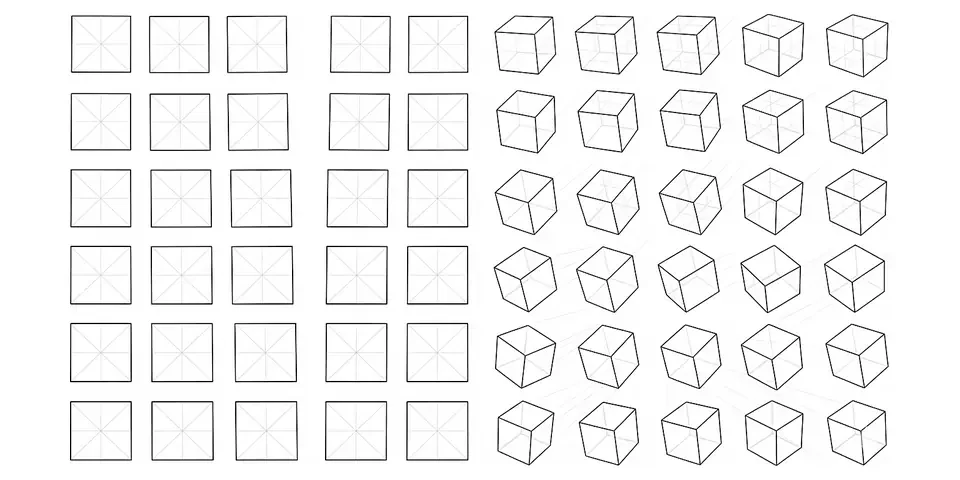
-
Step 1One face, then depth
Draw the front face, then three parallel edges leaving its corners in the same direction.
-
Step 2Close the volume
Join the ends of the edges: the back face appears. Draw the hidden edges lightly too.
-
Step 3Tilt it
Do it again with a tilted cube: no edge is horizontal anymore, but parallel edges stay parallel.
Light hidden edges help you see whether the cube holds together.
The coach's tips
- Before each session, 1 minute of lines and ellipses is enough to loosen your hand.
- Hold your pencil further from the tip for big strokes, closer for details.
- Don't erase every mistake right away: spot what doesn't work and correct it on top.
- Rotate your page so you always draw in the direction that's most comfortable for your hand.
- Work fast rather than perfect: speed makes lines straighter.
Practice right now
Once the lesson is read, draw this exercise: it takes about 10 minutes.
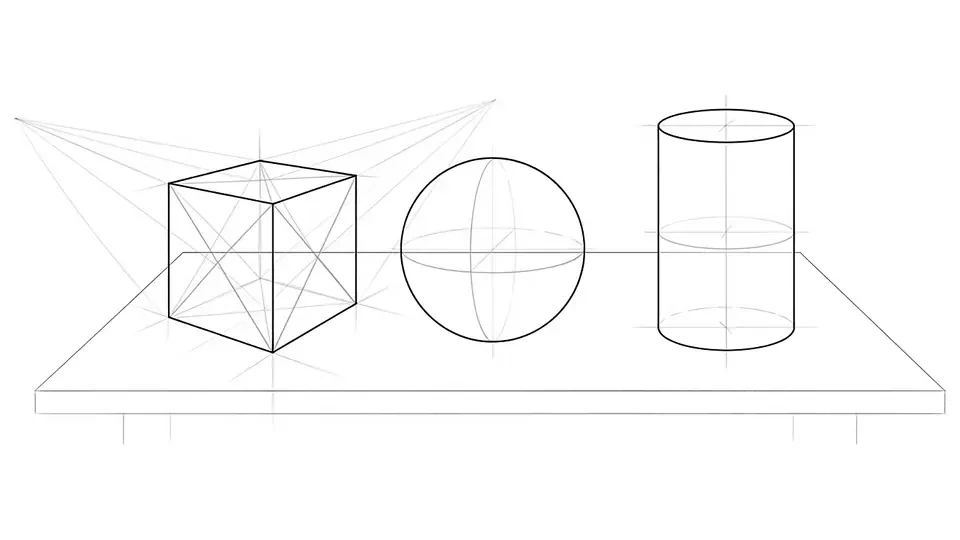
A small still life: a cube, a sphere and a cylinder on a table. Build them lightly, hidden edges included, then go over the outlines.
Keep learning
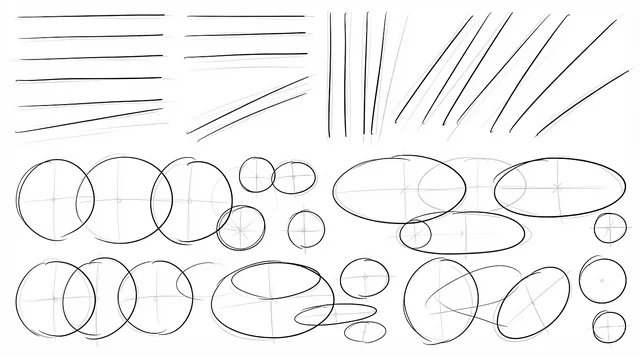
7 drawing exercises for beginners who want to draw anime
Lines, ellipses, boxes, cylinders, mannequins, lines of action and heads, with counts and timings.
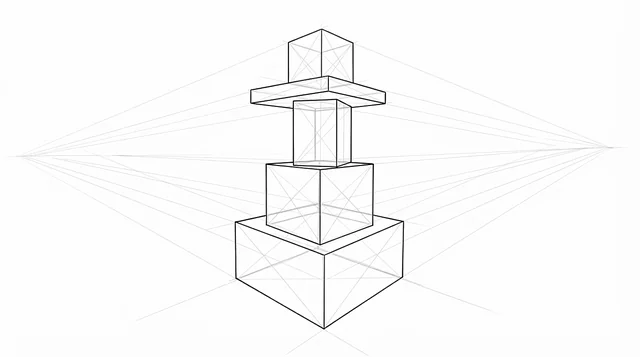 Beginner
How to draw a box in perspective, step by step
One face, three edges for the depth, the hidden edges: then turn the box any way you like.
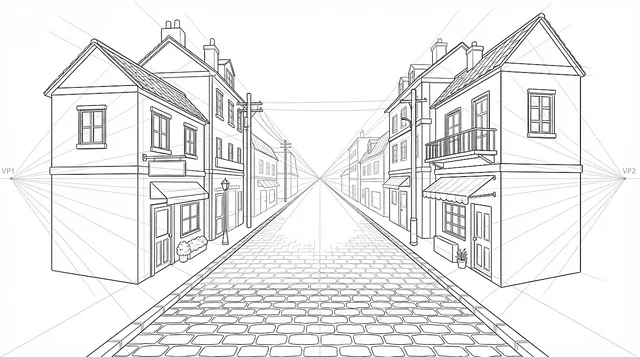 Intermediate
Perspective: horizon, vanishing points and characters in a scene
Horizon, vanishing points and characters in a scene.