
Lesson · Faces & expressions
Hair: a helmet, a few locks, and movement
Hair often makes a manga character's whole silhouette: you recognize them by their hairstyle before you even see their face. The secret is to think of hair as masses before thinking of it as locks.
- Beginner
- 15 min practice
- 3 min read
- Updated
Key takeaways
- If the hairstyle looks flat, check the top of the skull: it almost always lacks volume at the crown.
- Make the clothes move the same way as the hair: if they disagree, the eye feels something is off.
- Draw the hair once the face is in place: it is built on the head, not the other way around.
- Mass first, locks next, single hairs never.
On this page
Building a hairstyle in four steps
-
Step 1The skull first
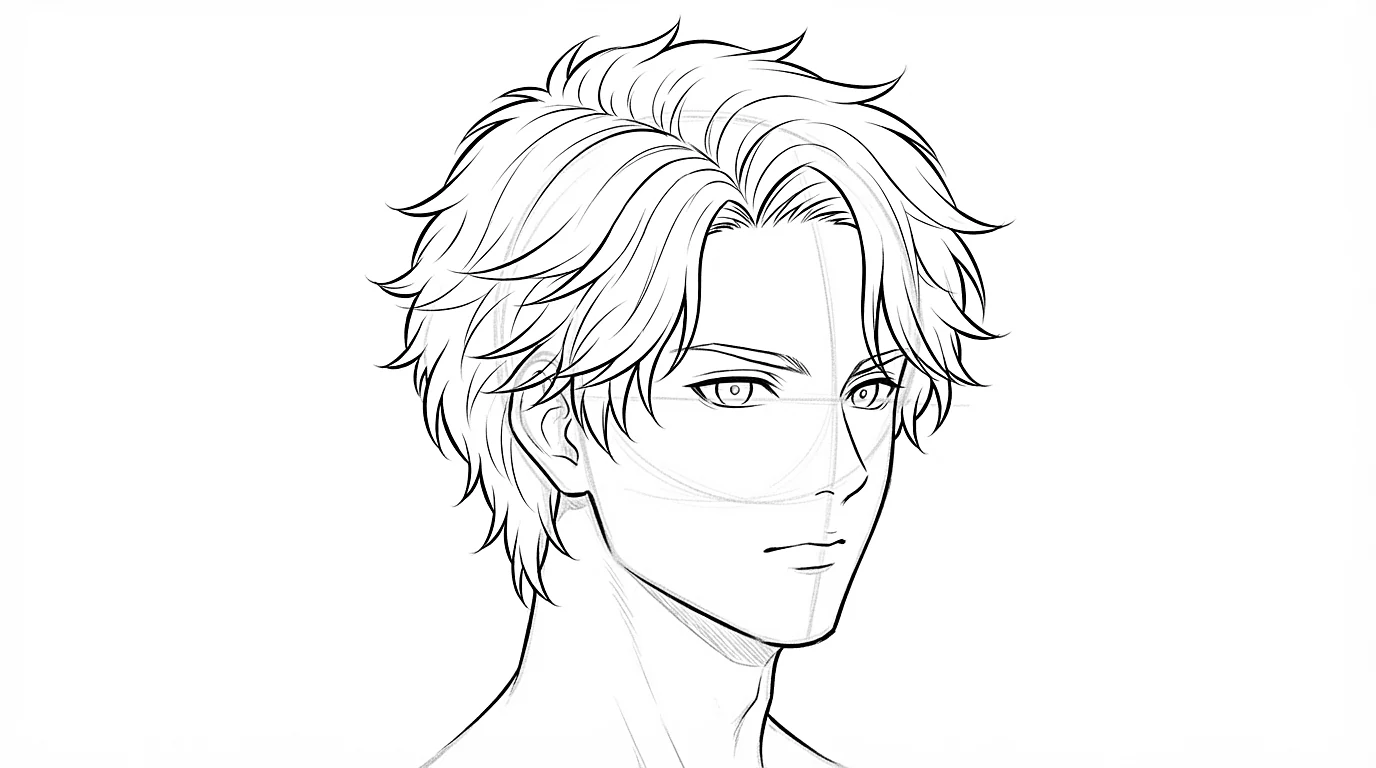
Draw the whole head, skull included, even if it will be hidden. Hair goes on top of it: it doesn't replace the top of the head.
-
Step 2The volume
Draw a helmet a little bigger than the skull, a finger or two above it. Hair stuck to the skull makes the head look too small.
-
Step 3Hairline and parting
Mark where the hair starts on the forehead, and the parting if the character has one. Every lock starts from there.
-
Step 4The big locks
Cut the helmet into a few big locks that start at the parting or the crown and follow the curve of the head. Small locks come last.
If the hairstyle looks flat, check the top of the skull: it almost always lacks volume at the crown.
Drawing a lock
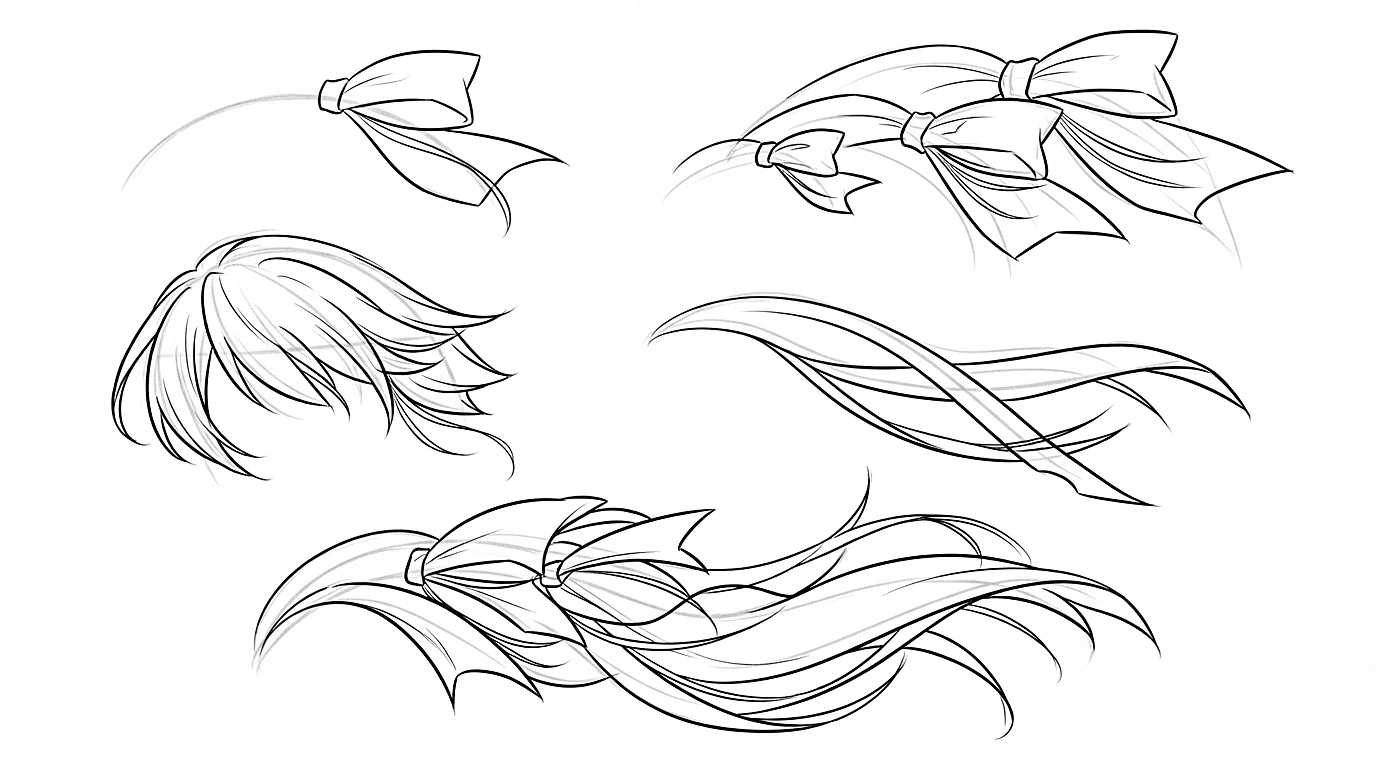
- A lock is a ribbon, not a line: two strokes that start together and meet in a point.
- Vary their size: a few big ones, some medium ones and two or three small ones. Locks that are all alike look like a saw blade.
- Overlap them: a lock passing in front of another creates depth right away.
- Keep the tips going in the same general direction, then let one or two locks escape. That bit of mess makes the hair look natural.
- Don't draw every hair: a few thin strokes inside the big locks are enough to give texture.
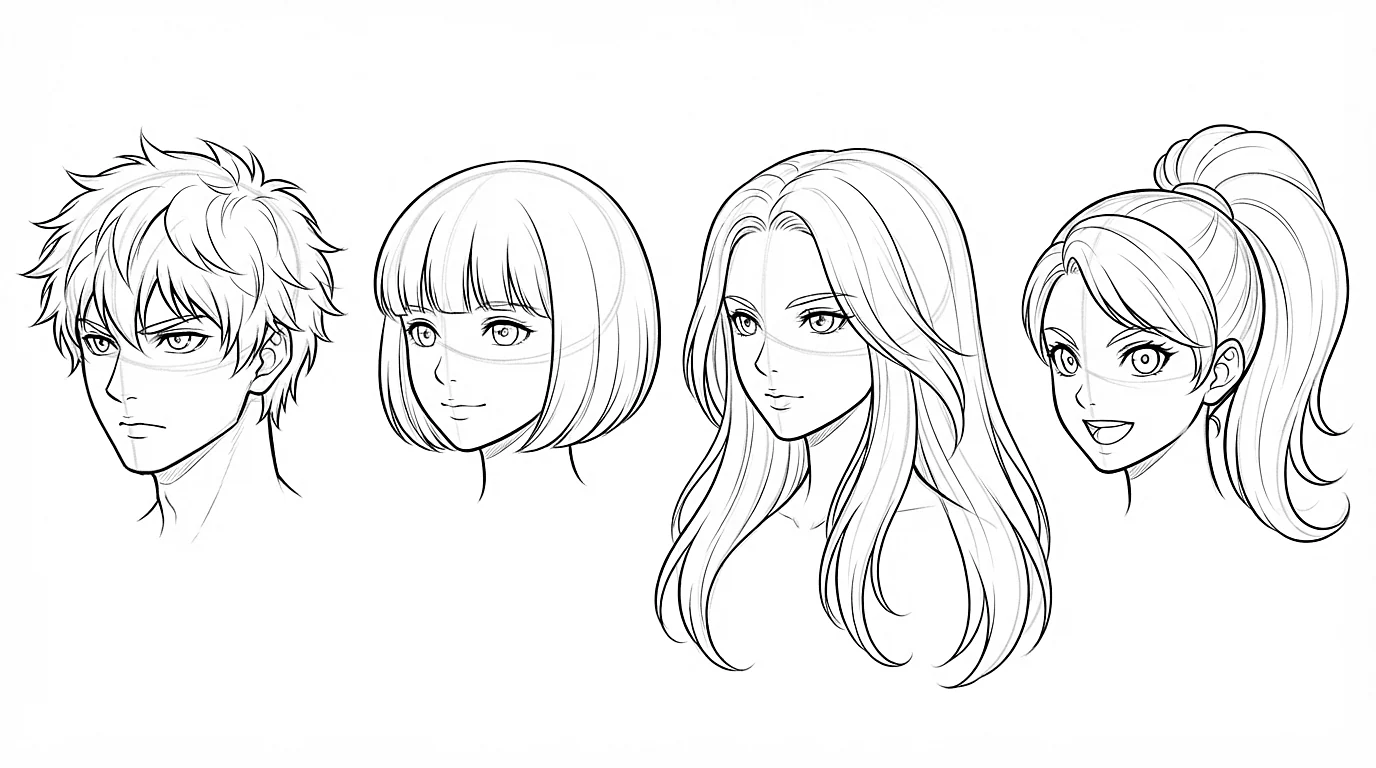
Four hairstyles to know
-
Step 1Short and spiky
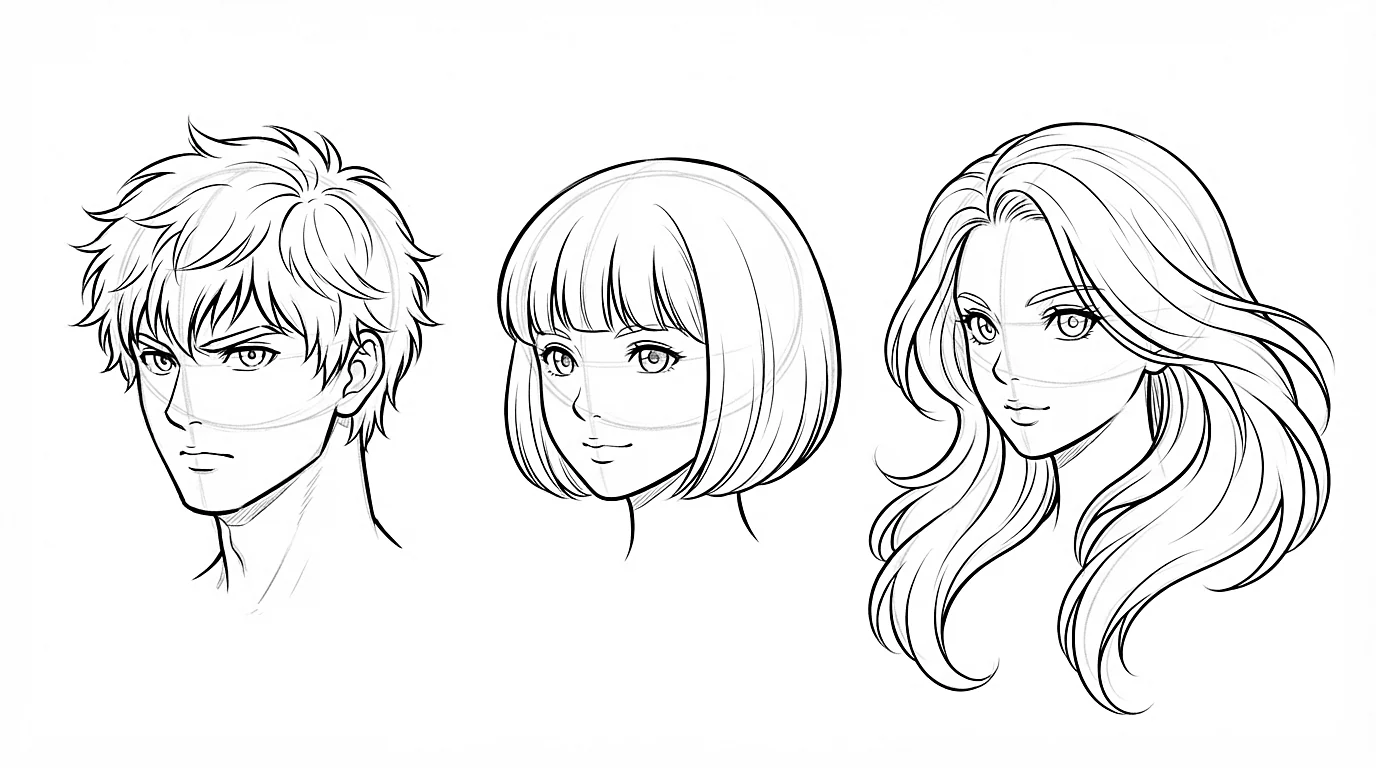
The shonen hero's hairstyle: big pointed locks leaving the crown in every direction. Keep an overall fan shape.
-
Step 2Bob and bangs
The mass falls straight and stops at the jaw. The bangs follow the curve of the forehead, with tips of different lengths.
-
Step 3Long
The hair falls past the shoulders in a few long locks that widen, then thin out. Always separate what falls in front of the shoulder from what falls behind it.
-
Step 4Tied up
For a ponytail, the hair is pulled toward the hair tie: every lock converges on it, tight against the skull. The volume opens up again after it.
Hair in motion
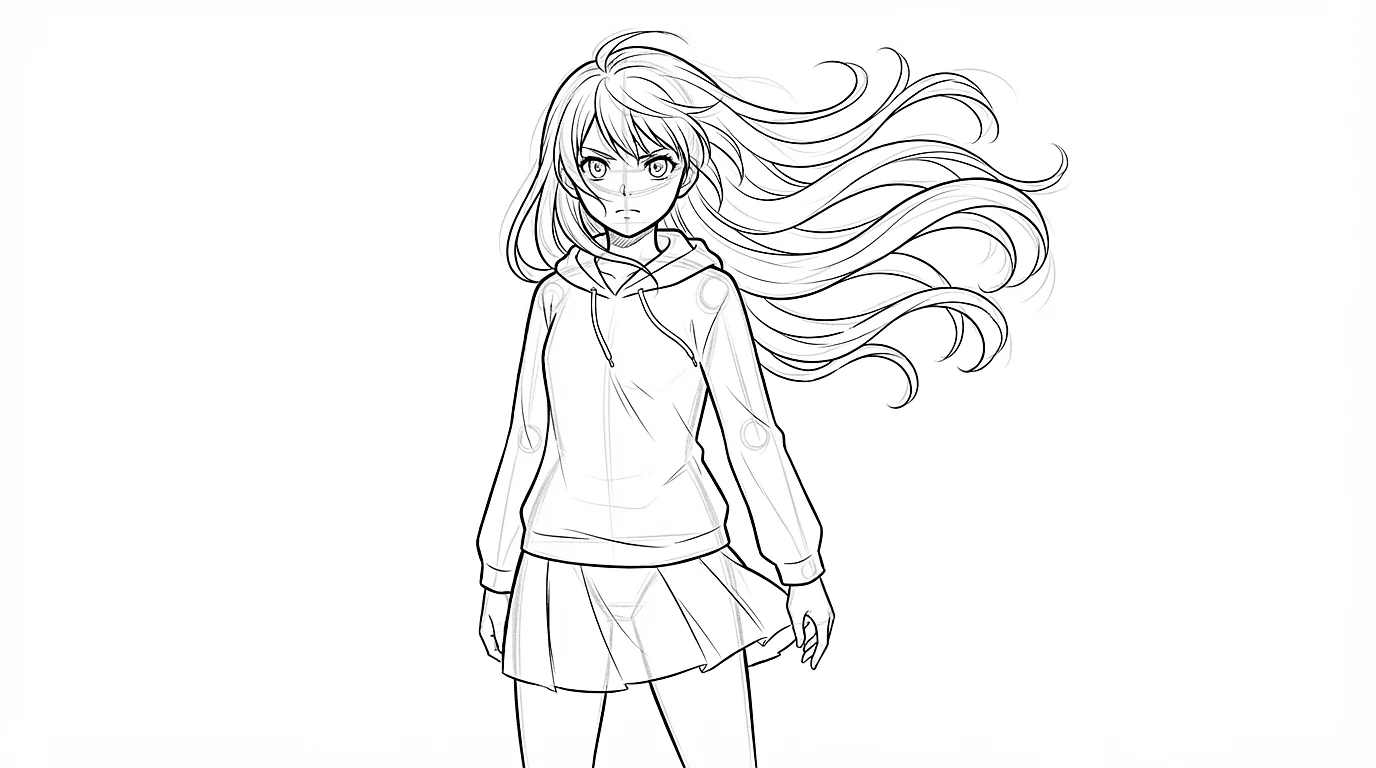
Moving hair brings a panel to life, even when the character stands still.
-
Step 1Find the force
Wind, a turn of the head or a run: decide where the force comes from. Every lock points the other way.
-
Step 2Keep the roots
The hair stays fixed to the skull: only the tips fly. The longer a lock, the more it moves.
-
Step 3Behind the movement
When the head turns, the hair follows a moment later. Draw it still on the side the movement comes from.
-
Step 4S curves
A floating lock waves in an S and thins toward its tip. A straight line looks stiff, like plastic.
Make the clothes move the same way as the hair: if they disagree, the eye feels something is off.
The coach's tips
- Draw the hair once the face is in place: it is built on the head, not the other way around.
- Mass first, locks next, single hairs never.
- For shine, leave a white band following the curve of the skull, with a zigzag edge.
- A hairstyle is recognized by its silhouette: fill it in black, and if it still reads, it works.
- In the app, trace a hairstyle you like and find its parting: you'll see where every lock starts.
Practice right now
Once the lesson is read, draw this exercise: it takes about 15 minutes.
Draw the same head three times and give it a different hairstyle each time: short and spiky, bob with bangs, long. Always start with the helmet.
Keep learning
 Beginner
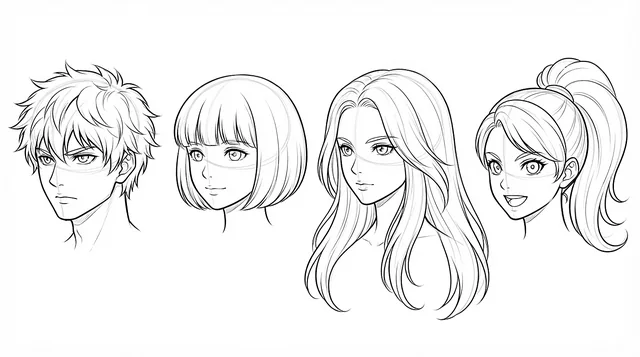
How to draw anime hair, step by step
A mass around the skull, big locks from the parting, then spiky, long, curly and tied-up styles.
 Beginner
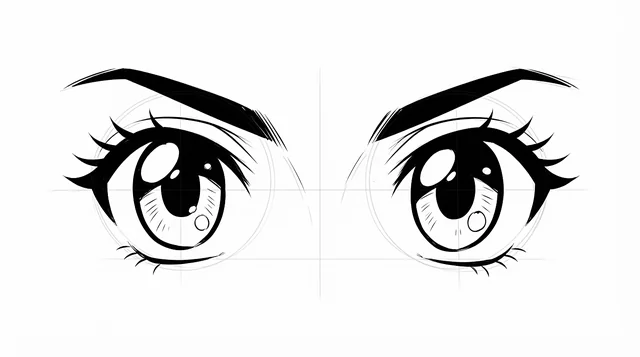
Manga eyes: place them, build them, bring the gaze to life
Place them, build them, bring the gaze to life.
 Beginner
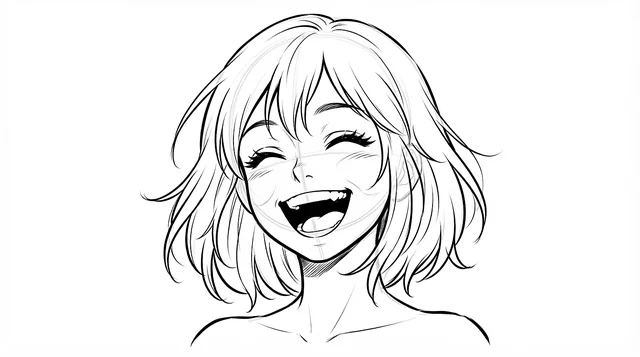
Expressions: eyebrows, mouth and manga codes
Eyebrows, mouth and manga codes.