
Lesson · Basics
Perspective: horizon, vanishing points and characters in a scene
Perspective is what keeps a character standing in a scene: without it, they float. You don't need complicated rules to start: a horizon line and one or two points are enough to make a scene believable.
- Intermediate
- 15 min practice
- 3 min read
- Updated
Key takeaways
- One horizon per panel. Two horizons mean two cameras, and the eye feels that the scene is broken.
- A seated or shorter character doesn't have their eyes on the horizon: measure them against a standing character next to them.
- Keep these angles for big moments: if they are everywhere, they stop surprising.
On this page
The horizon line
-
Step 1It's your eye level
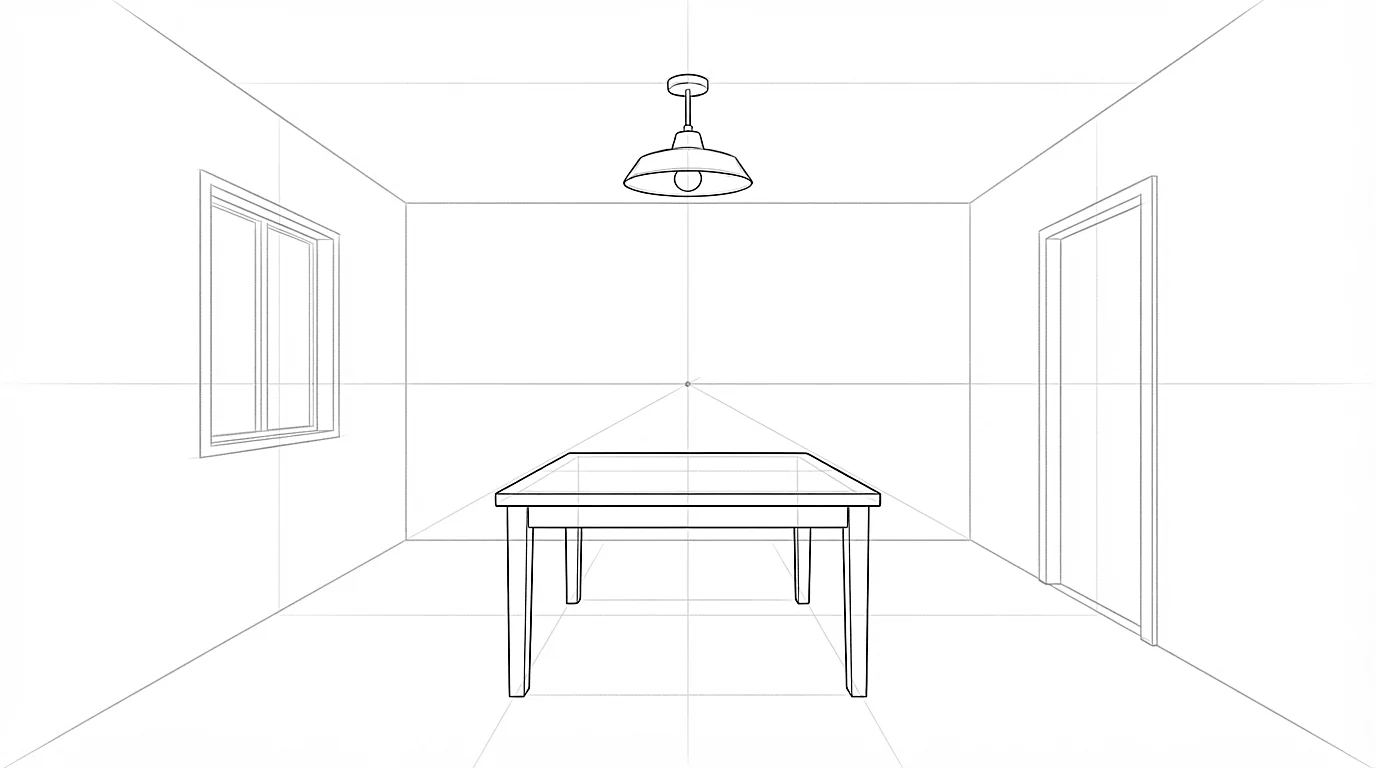
The horizon line is always at the viewer's eye level, whether or not the real line between sky and ground can be seen.
-
Step 2Above or below
What is below the horizon is seen from above; what is above it is seen from below. A table shows its top, a ceiling shows its underside.
-
Step 3One height, one feeling
Low horizon: the scene feels big and imposing. High horizon: we look down on the scene and the characters feel small.
-
Step 4Draw it first
Before even the first character, place the horizon. Everything else in the panel is organized around it.
One horizon per panel. Two horizons mean two cameras, and the eye feels that the scene is broken.
One and two vanishing points
-
Step 1One vanishing point
Put a point on the horizon. Every line going into the depth converges toward it: a corridor, a road, rails. Perfect for a scene seen from the front.
-
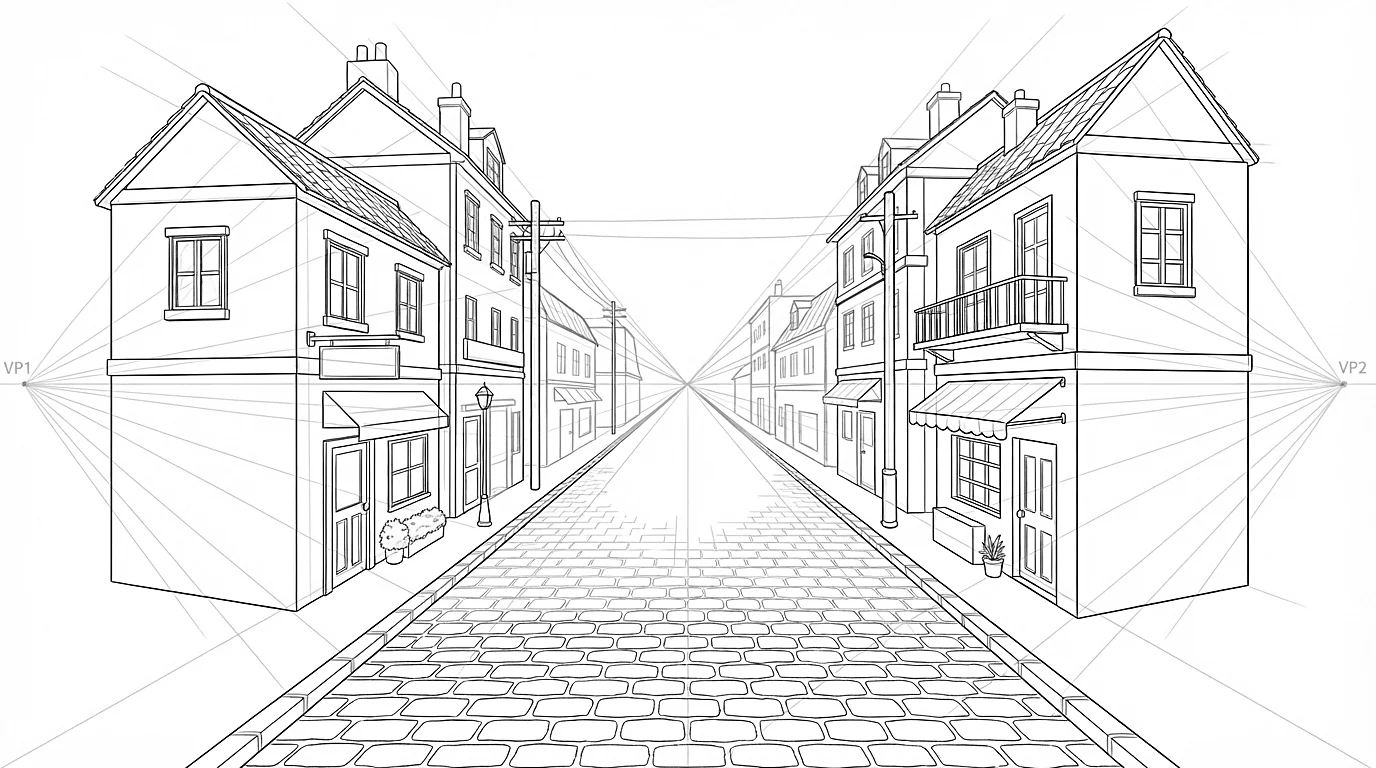
Step 2Two vanishing points
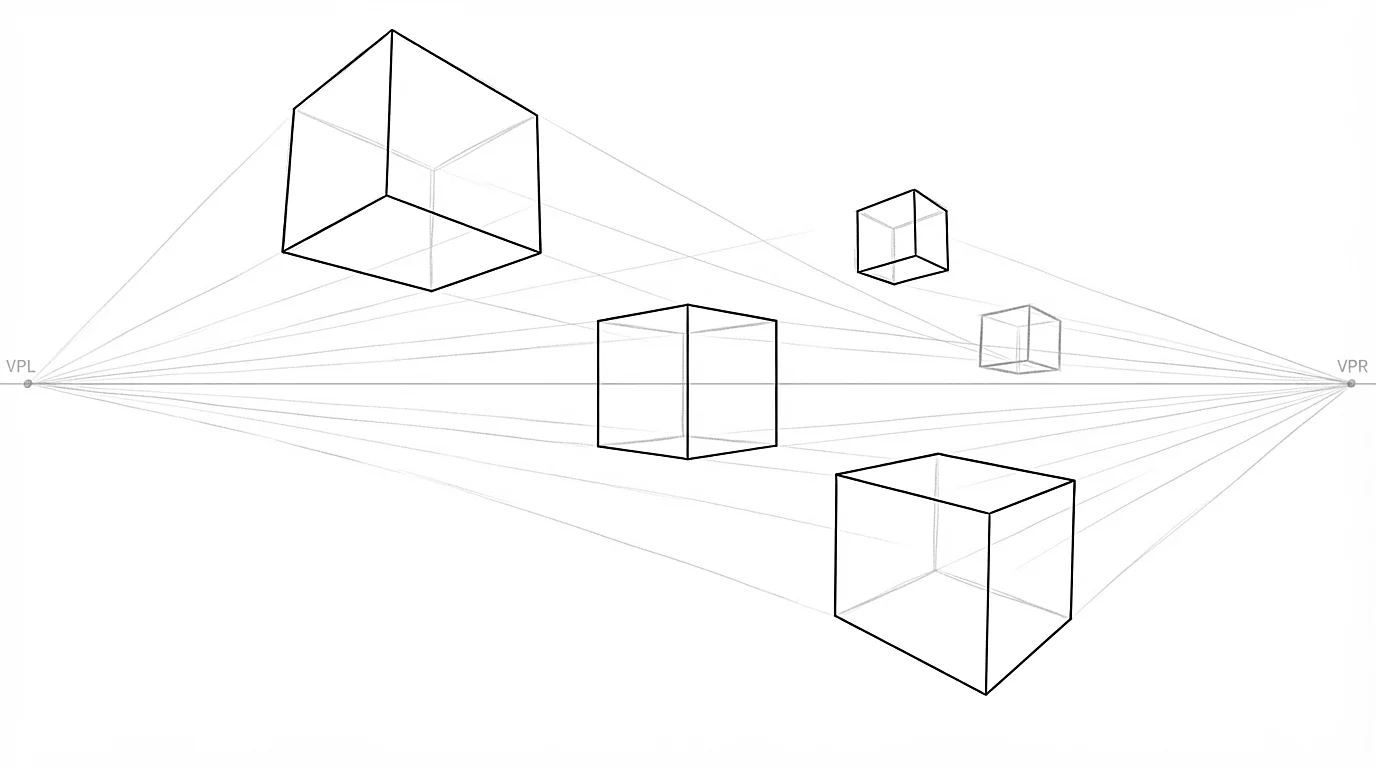
Put two points far apart on the horizon. Each side of a box runs toward one of them, and verticals stay vertical. It is the three-quarter view of a building.
-
Step 3Points far from the drawing
Vanishing points too close together warp everything. Don't hesitate to put them outside the sheet.
Placing characters in a scene
-
Step 1The horizon crosses everyone at the same place
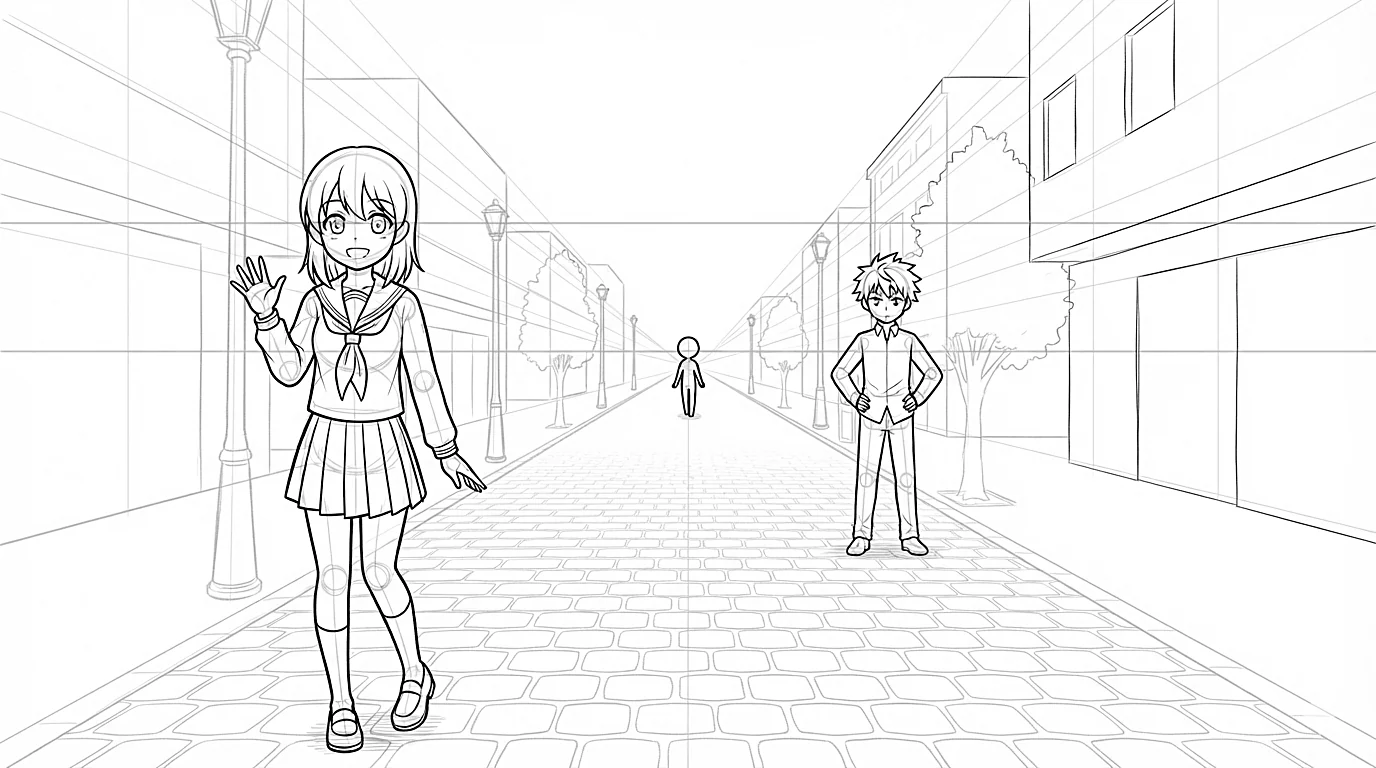
If the camera is at a person's height, the horizon goes through the eyes of every standing character, near or far. Only their size changes.
-
Step 2Farther, higher and smaller
A character farther away has their feet higher on the page, closer to the horizon, and is smaller.
-
Step 3Feet on the ground
Draw the ground around the feet, even roughly: a shadow or a line is enough to keep a character from floating.
A seated or shorter character doesn't have their eyes on the horizon: measure them against a standing character next to them.
High and low angles
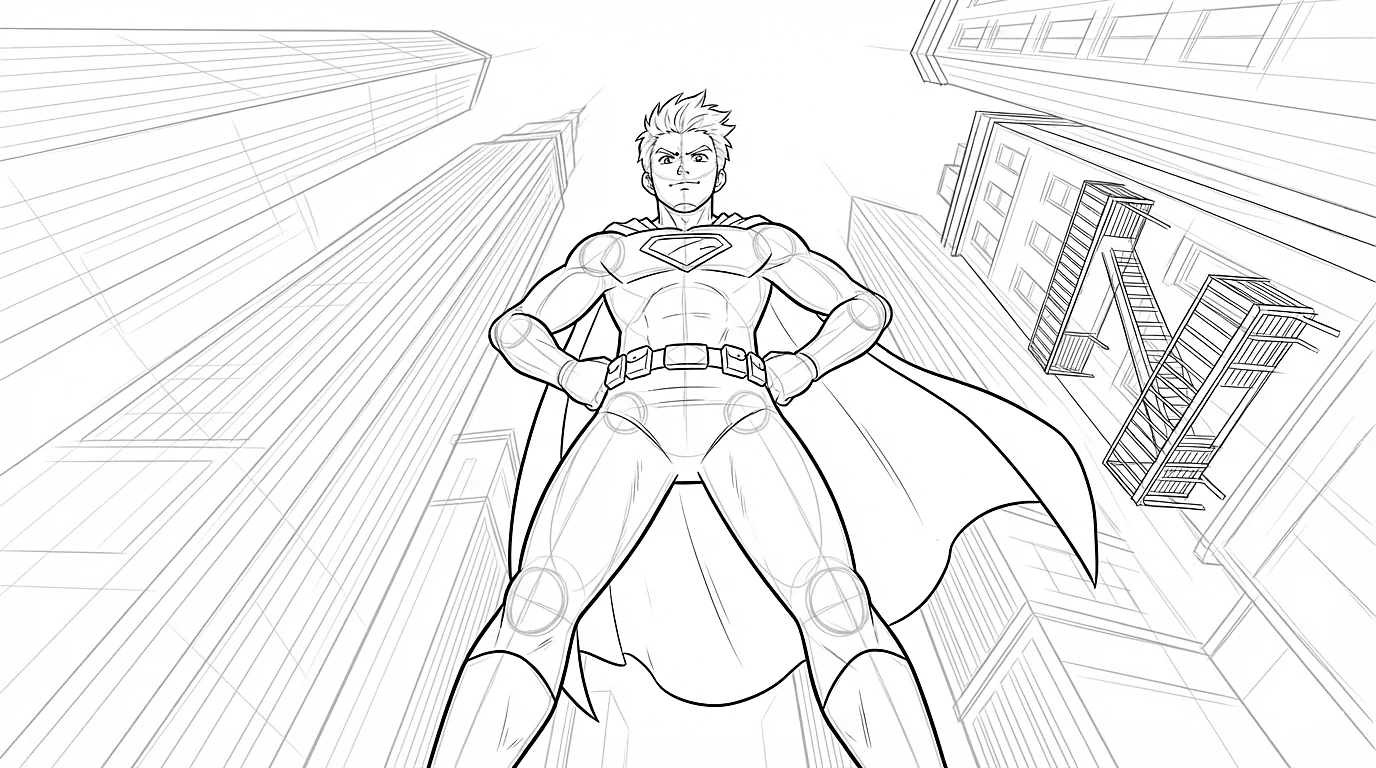
When the camera looks up or down, verticals are no longer parallel: they run to a third point. It is the angle of fights and towering heroes.
-
Step 1The third point
Put it far above the panel for a low angle, far below it for a high angle. The verticals of buildings and bodies converge on it.
-
Step 2Low angle: power
Seen from below, the feet are big, the head small, the chin and the underside of the nose visible. The character towers over the reader.
-
Step 3High angle: vulnerability
Seen from above, the head and shoulders are big and the legs get shorter. We see the top of the skull and the ground around the character.
-
Step 4Build with boxes
First draw the rib cage and pelvis as boxes in this perspective: the rest of the body follows.
Keep these angles for big moments: if they are everywhere, they stop surprising.
The coach's tips
- Take a photo of your room and trace the floor and ceiling lines over it: you'll see where the vanishing points are.
- Use a ruler for perspective lines at first: freehand will come later.
- You don't need a full background: a floor, a wall and a door are enough to set a scene.
- If something looks off, extend its lines: the one that doesn't go to the right point is the culprit.
- In the app, look at characters seen from above or below and find where their verticals would go.
Practice right now
Once the lesson is read, draw this exercise: it takes about 15 minutes.
Draw a horizon and two vanishing points, then a street with three boxes for buildings and three standing characters at different distances, their eyes on the horizon.
Keep learning
 Beginner
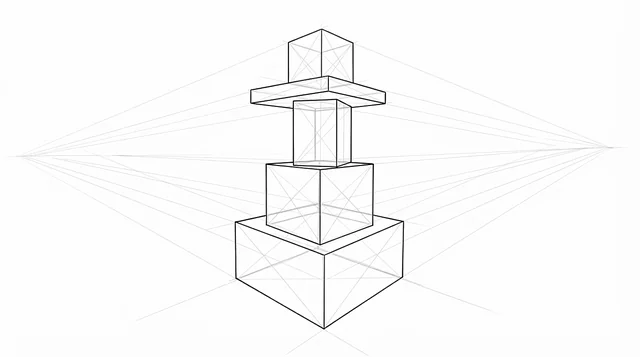
How to draw a box in perspective, step by step
One face, three edges for the depth, the hidden edges: then turn the box any way you like.
 Beginner
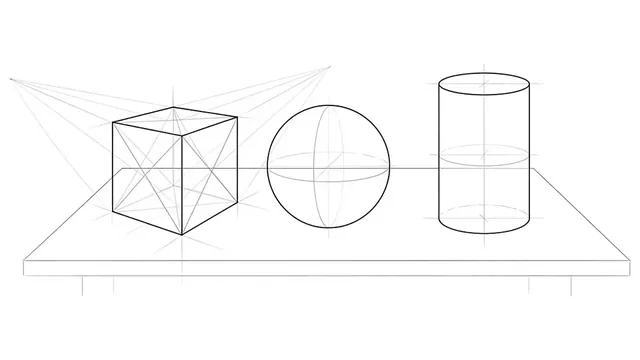
Drawing basics: lines, circles, shapes and cubes: every artist's warm-up
Lines, circles, shapes and cubes: every artist's warm-up.
 Intermediate
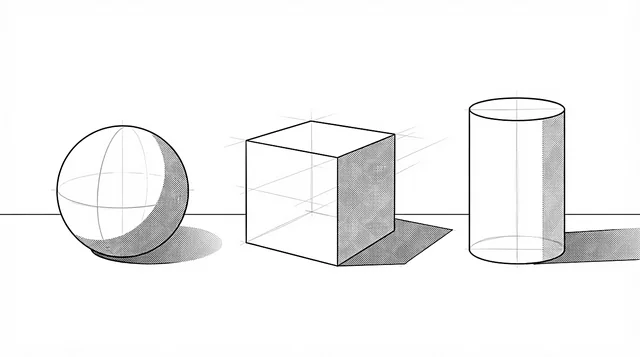
Light and shadow: one light source, two shadows, and volume appears
One light source, two shadows, and volume appears.