
Tutorial · Shapes, boxes & perspective
How to draw a box in perspective, step by step
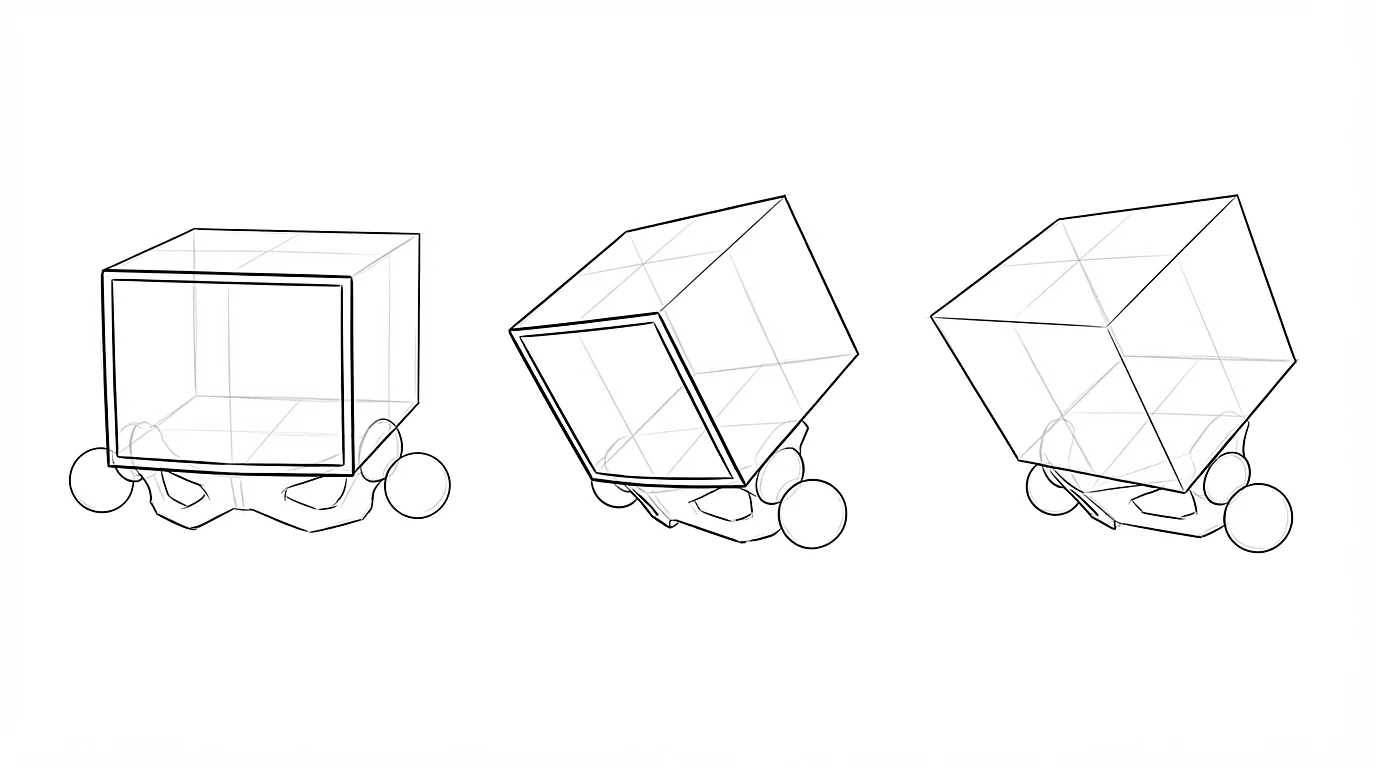
To draw a box in perspective, start with one face, a slightly distorted square. From its corners, draw three edges for the depth, all going in the same direction, then join their ends to close the box and draw the hidden edges lightly. Extend the edges to check them: those going the same way should slowly come together, never spread apart. Then draw the box again, turned a little more each time.
- Beginner
- 25 min practice
- 7 min read
- Updated
You'll need
- HB pencil
- Eraser
- A ruler for the construction lines (optional)
- Printer paper
Key takeaways
- A box holds in 3 directions: set them right and it turns any way you like.
- Start with one face, add three depth edges in the same direction, then close the volume.
- Draw the hidden edges lightly: they show whether the box holds together.
- Don't chase a perfect perspective at first: watch how the faces change as the box turns.
On this page
Why artists draw so many boxes
A box is the simplest shape that shows all three directions of space: width, height and depth. If you can draw a box turned any way, you can draw almost anything turned any way, because most objects and body parts fit inside a box.
In anime drawing, the box is everywhere under the surface. It is the volume that shows where your character is facing: the chest and the pelvis are boxes, the palm of the hand is a flat box, and a small box inside the skull makes heads easy to turn. That is why, in SketchAI, the box in perspective is the second Practice session, right after the volumes of the body.
Perspective in two minutes
Things look smaller as they get farther away, so lines that are parallel in reality seem to come together until they meet at a vanishing point. The vanishing points sit on the horizon line, which is always at the viewer's eye level, whether or not you can see the real line between sky and ground.
What is below the horizon is seen from above, and what is above it is seen from below: a table shows its top, a ceiling its underside. That is all the theory you need to start drawing boxes.
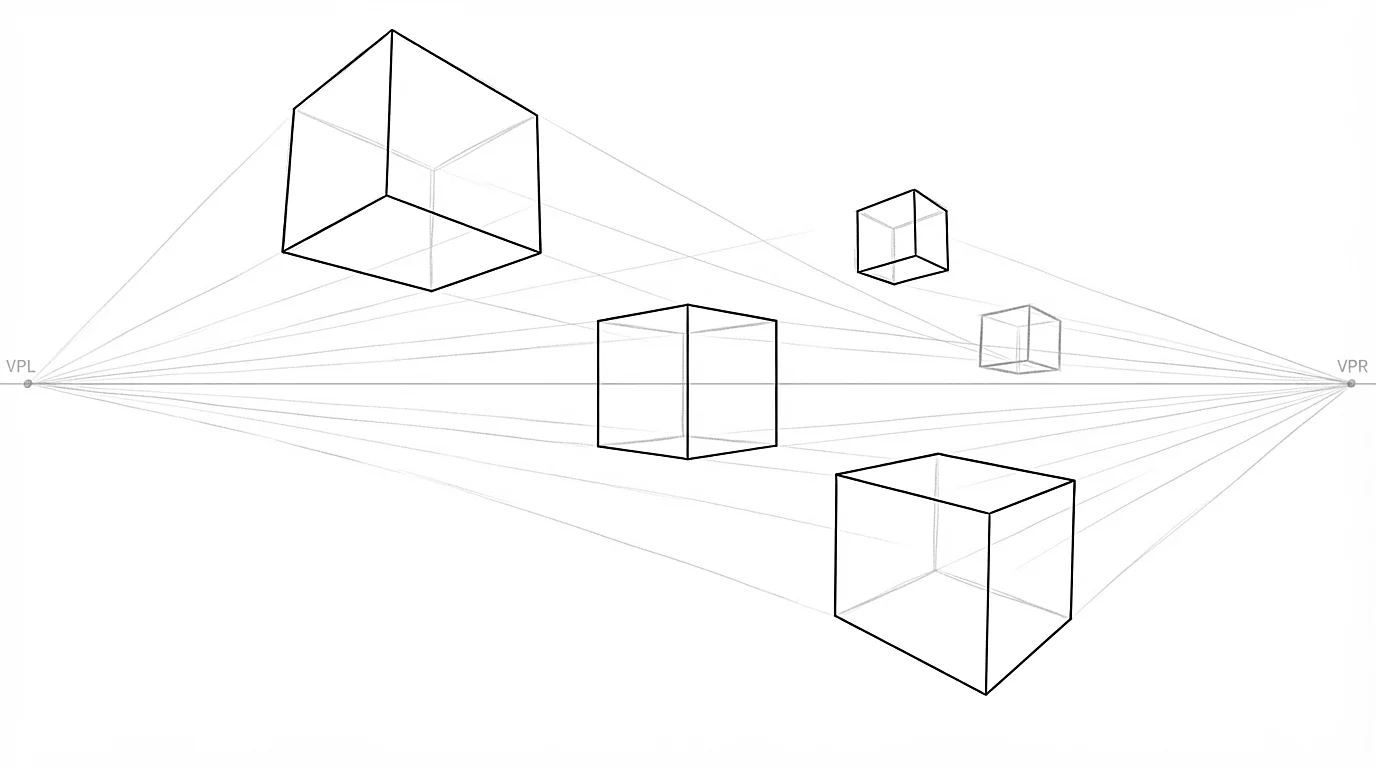
- One vanishing point: a box seen with one face toward you. Every line going into the depth converges toward one point on the horizon.
- Two vanishing points: a box seen by a corner. Each side runs toward one of two points far apart on the horizon, and the verticals stay vertical.
- Three vanishing points: a box seen from very high or very low. The verticals run to a third point, far above or below.
- Points far from the drawing: vanishing points too close together warp everything. Put them outside the sheet if you need to.
How to draw a box step by step
Draw boxes big enough to see every corner, about the size of your palm, lightly and in confident strokes. A wobbly but confident line teaches you more than a slow, careful one.
-
Step 1Start with one face
Draw a square or a rectangle for the face of the box: in perspective, it is a slightly distorted square. It does not need to be perfect, and it can already be tilted if the box is turned.
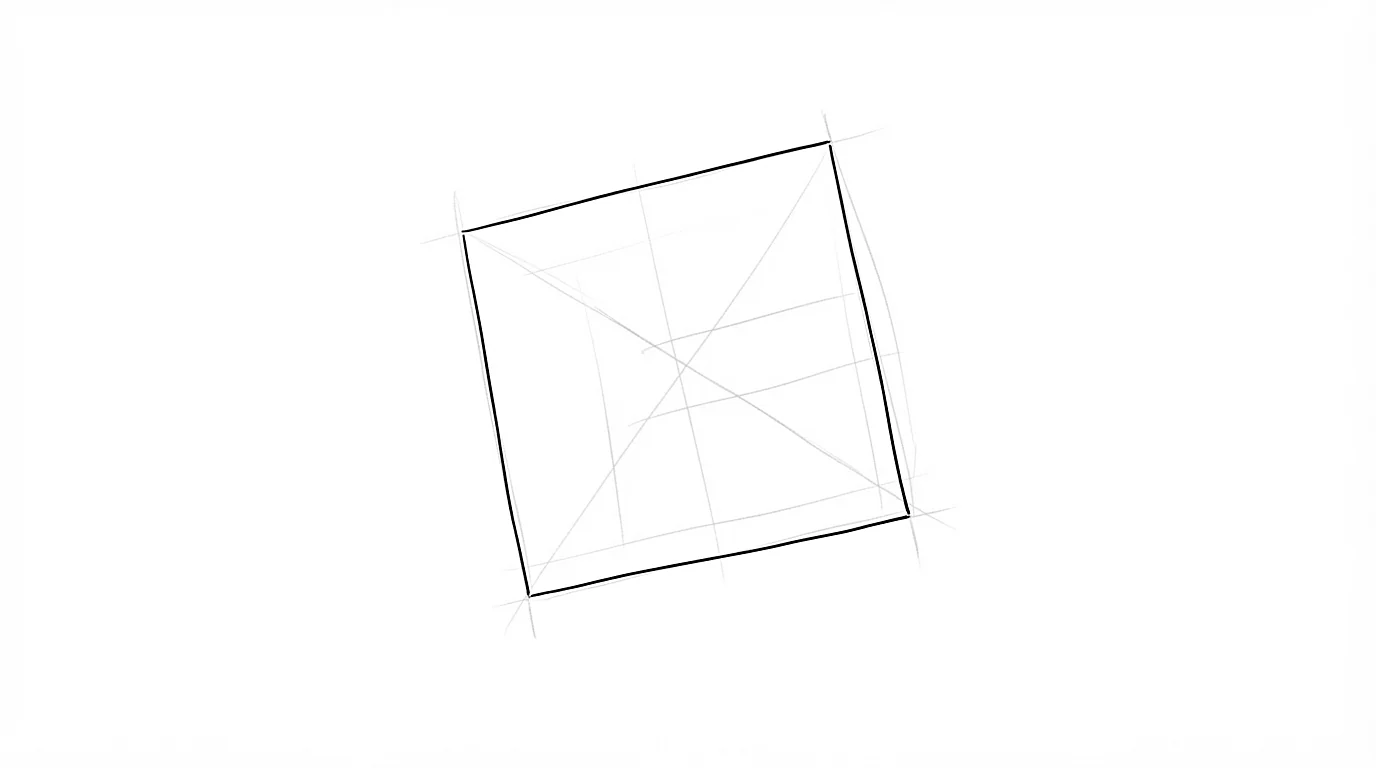
One face of the box: a slightly distorted square, already turned in space. -
Step 2Add the depth
From the corners of that face, draw three edges going back into space, all in the same direction. Their orientation shows how the box turns. Keep them parallel, or let them come together very slightly as they go back, never spread apart.
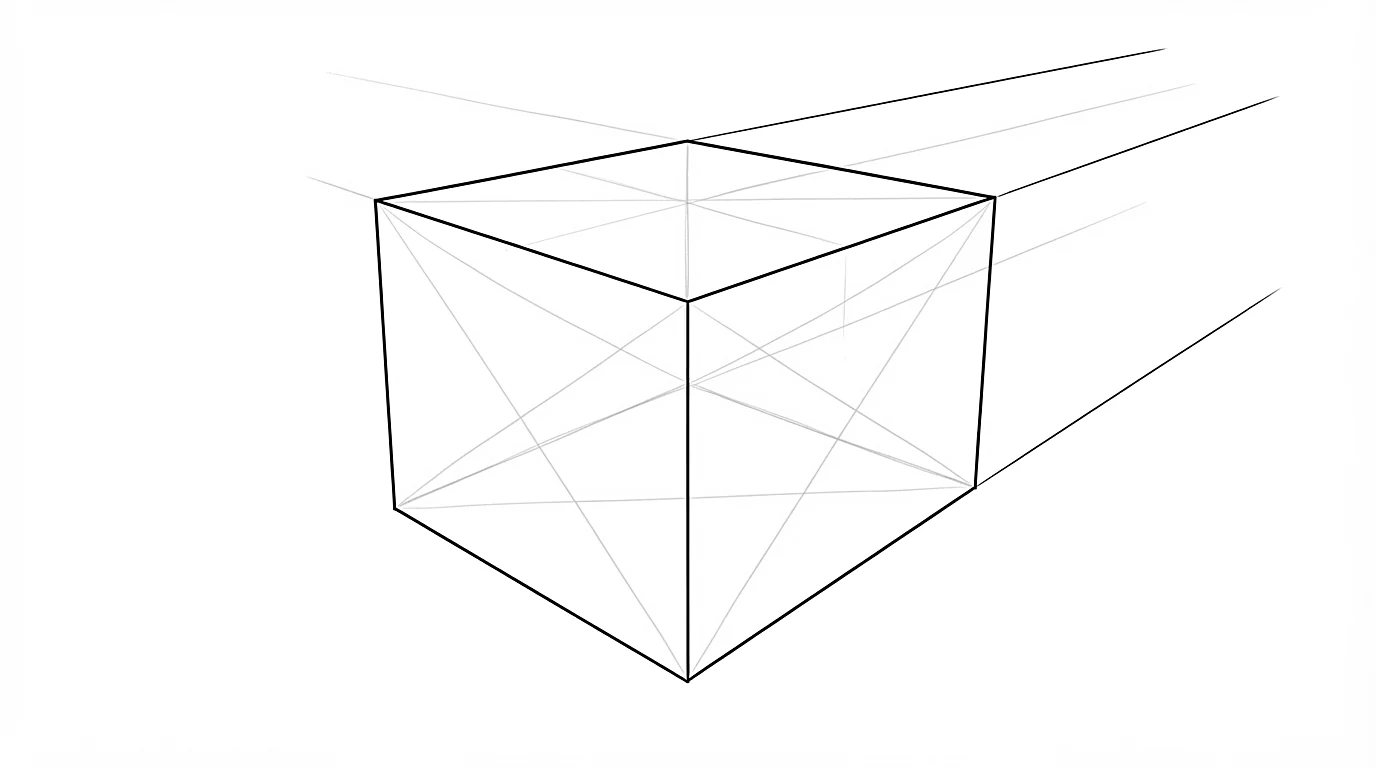
Three depth edges leaving the corners in the same direction, coming slightly closer as they go back. -
Step 3Close the volume
Join the ends of the depth edges to draw the back face. Then draw the hidden edges with light strokes, as if the box were made of glass. They help you understand the whole structure and see whether the box holds together.
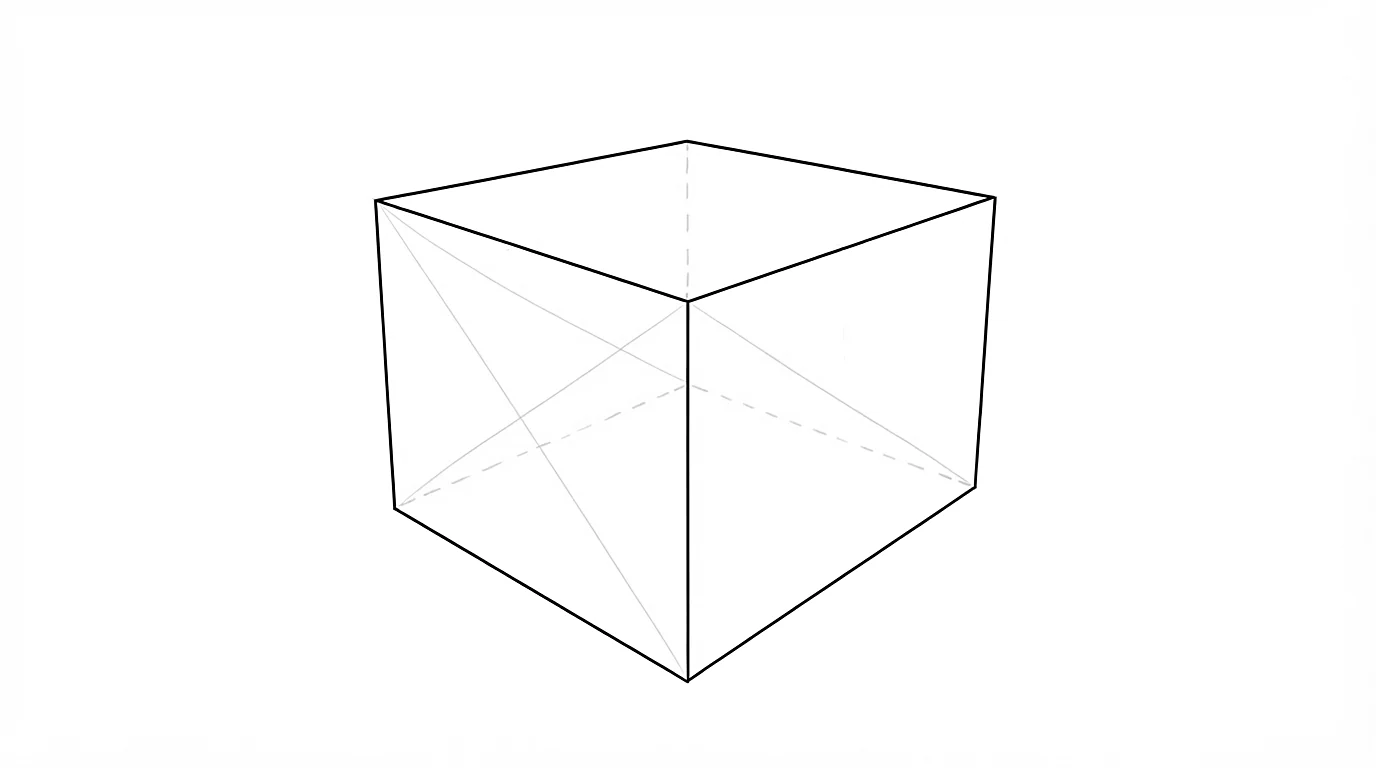
The closed box, with its hidden edges drawn lightly. -
Step 4Check with construction lines
Extend the edges of each direction with long, light lines. Edges of the same direction should slowly come together toward the same point. If one goes its own way, it is the culprit: correct it on top rather than erasing everything.
-
Step 5Darken the visible edges
Go over the edges you can actually see with a darker line, and press a little harder on the edges closest to you. Keep the hidden edges light. The box pops off the page.
-
Step 6Turn the box
Draw the same box again, turned a little more each time. Watch how one face grows while another shrinks: understanding how the faces change as the volume turns is the skill you are building, more than any exact perspective rule.
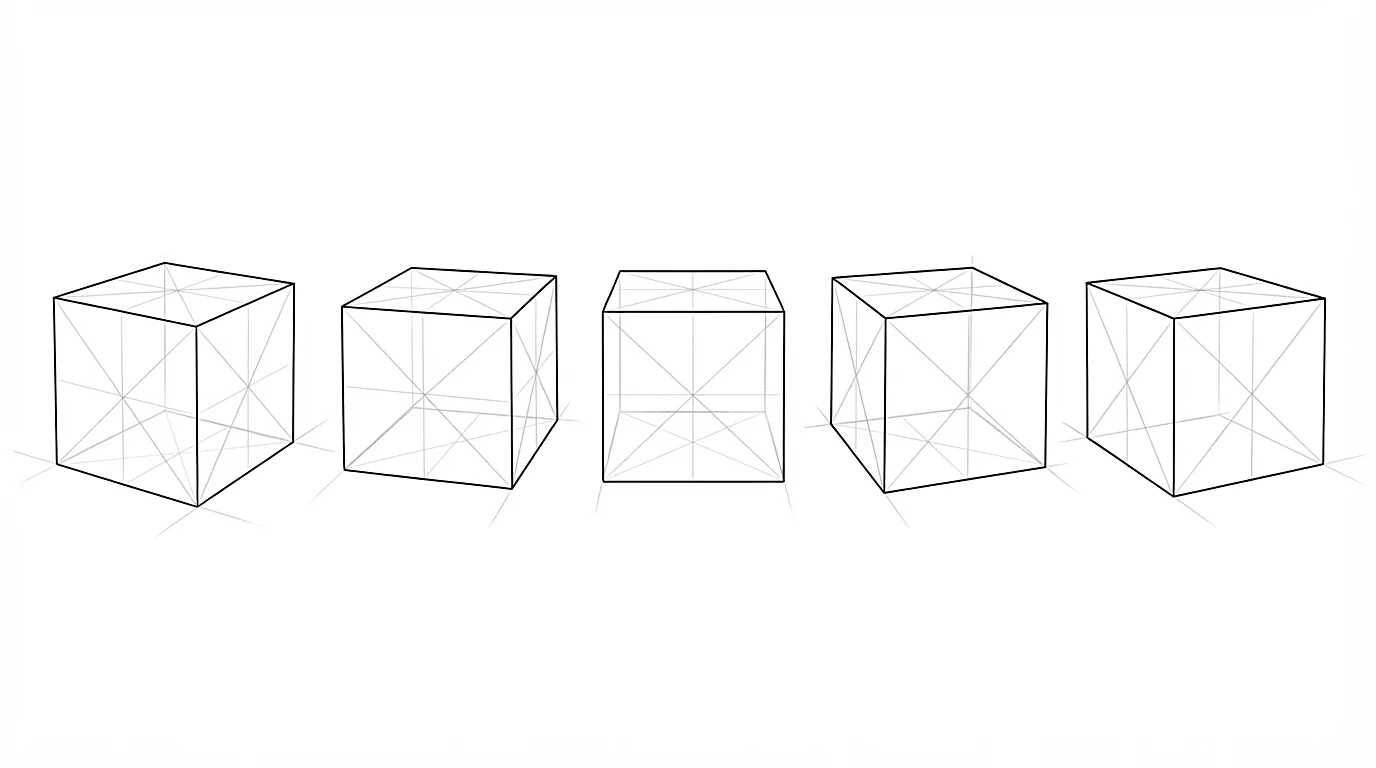
The same box drawn five times, turning a little more each time.
Draw 10 to 20 boxes per session, with a different orientation each time. Complicated vanishing points can wait.
From square to cube: a warm-up
Before boxes in a scene, warm up with squares and cubes. Place the four corners of a square as light dots, then join them: it is easier than drawing side by side. Then turn each square into a cube with three parallel edges and a back face, hidden edges included.
Do it again with tilted cubes: no edge is horizontal anymore, but the edges of the same direction stay parallel. Turn your page upside down to check: tilted sides and wrong angles jump out.
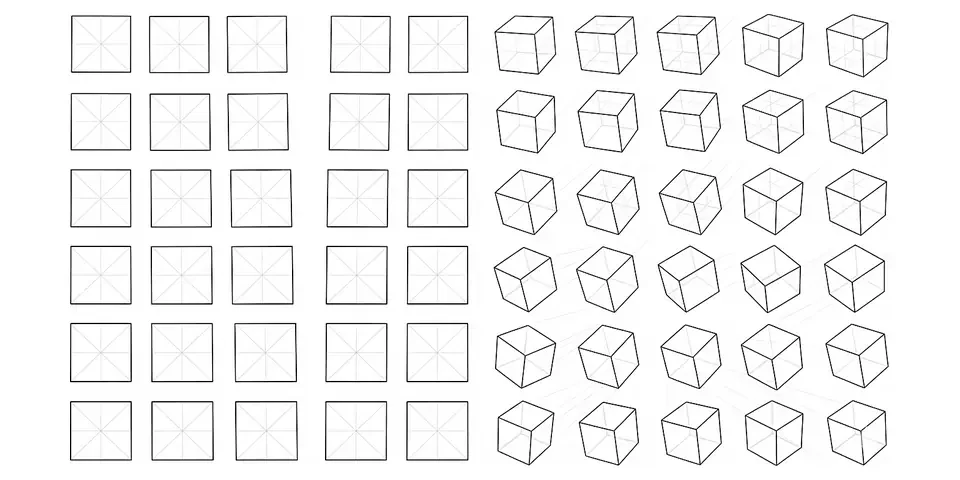
Boxes from above, from below and in a room
Once your boxes stand on the ground, draw them above and below the horizon. Seen from above, the top face takes more room; seen from below, the bottom face appears. Mix both on the same page: manga uses high and low angles constantly, and boxes are the cheapest way to get used to them.
Then draw a room in one-point perspective: the horizon at eye level, one point in the middle, the floor, the ceiling and the walls running to it, and a table as a box. Take a photo of your own room and trace the floor and ceiling lines over it: you will see where the vanishing points are.
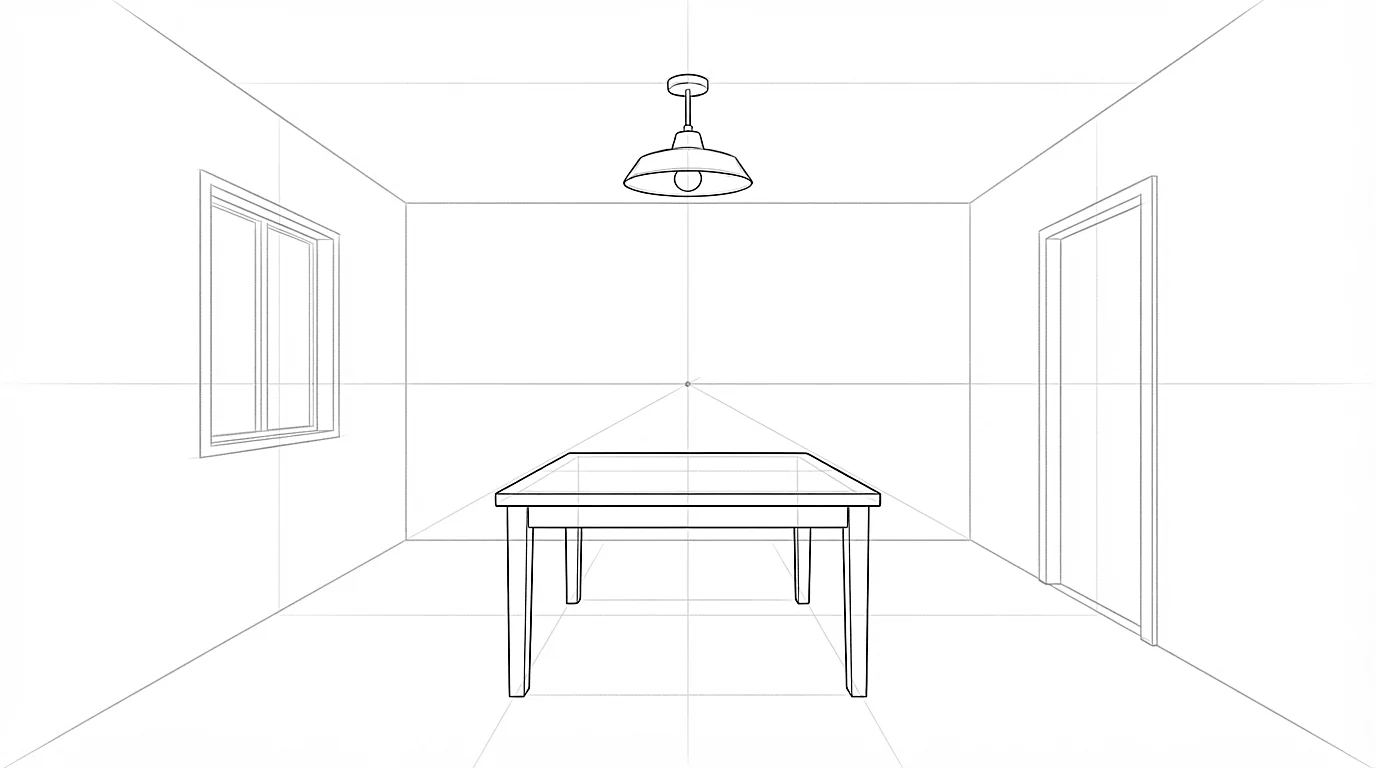
Stretched and stacked boxes
Real objects are rarely cubes. Draw long boxes, flat boxes and wide boxes: a book, a plank, a phone, a bench. Stretching a box tests your perspective much more than a cube, because errors grow with the length.
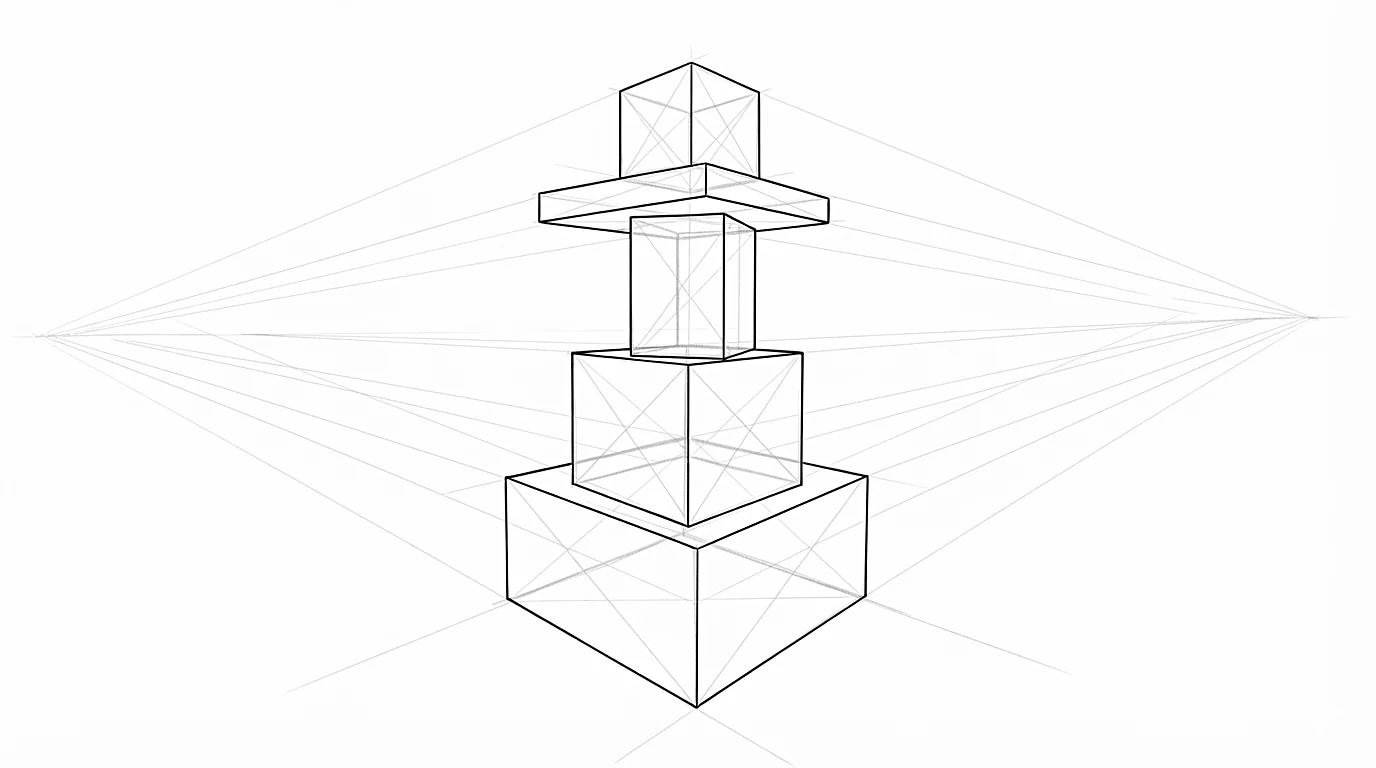
Then stack 4 boxes of different sizes, each one turned a different way. It trains you to keep several volumes in the same space, the skill you need to connect a chest, a pelvis and limbs that all face different ways.
From boxes to anime characters
Boxes come back in every part of character drawing. The chest can be drawn as a box with rounded corners, and the pelvis as a box that tilts: its front face shows which way the hips face, and the legs connect to it. Draw the chest box five times, from the front, in three-quarter view to the left and to the right, in profile and from above, and put the head on top: you can now turn a body.
The palm of the hand is a flat box, and a small box inside the skull makes heads easy to turn. See the anime body, hands and head from any angle tutorials to use them.
Common mistakes when drawing boxes
Don't just draw the visible outline: imagine the full volume. Most wrong boxes come from one of these.
- Edges that change direction for no reason: edges of the same direction should all head the same way.
- Faces that do not meet: close every corner, or the volume falls apart.
- Boxes that look flat: draw the hidden edges and imagine the full volume, not just the outline.
- Edges that spread apart: going back into space, parallel edges stay parallel or come together, never the opposite.
- Chasing perfect perspective: complicated vanishing points can wait; understand how the faces change first.
Draw 10 to 20 boxes in one session, each with a different orientation, then extend the edges of five of them to check them. Finish with a stack of 4 boxes of different sizes, each turned a different way, in 3 minutes.
Frequently asked questions
How do you draw a box in perspective for beginners?
Draw one face, add three depth edges from its corners going in the same direction, then close the volume with the back face and draw the hidden edges lightly. Extend the edges to check that those going the same way come together.
What is the box method in drawing?
It is the habit of building objects and body parts from boxes before drawing their outline. A box shows width, height and depth, so it helps you turn anything in space, from a chest to a hand.
How do you draw a cube?
Draw a square for the front face, three parallel edges going back from its corners in the same direction, then the back face. Draw the hidden edges lightly to check that the cube holds together.
Why do my boxes look wrong?
Usually because edges that should run the same way spread apart or change direction. Extend them with light lines to see where they head: the one that doesn't go to the right point is the culprit.
How many boxes should I draw?
10 to 20 per session, each turned a different way. A few minutes of boxes in your drawing sessions keeps your sense of volume sharp.
Keep learning
 Beginner
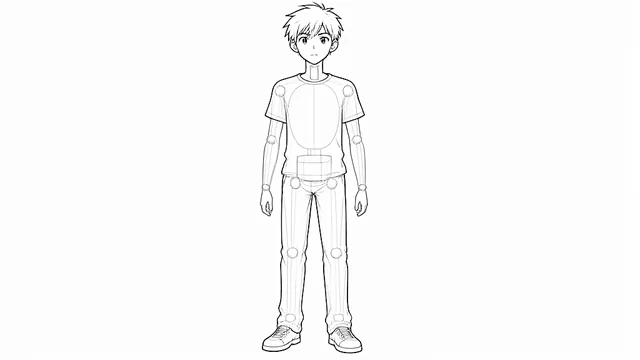
How to draw an anime body, step by step
Measure the body in heads, build it with simple volumes, then draw the outline and the clothes.
 Intermediate
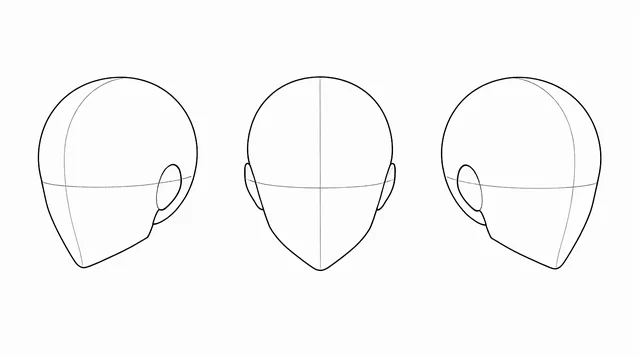
How to draw an anime head from any angle
Turn the head as a volume, then let the eyes, nose and mouth follow it, from the front to the profile.
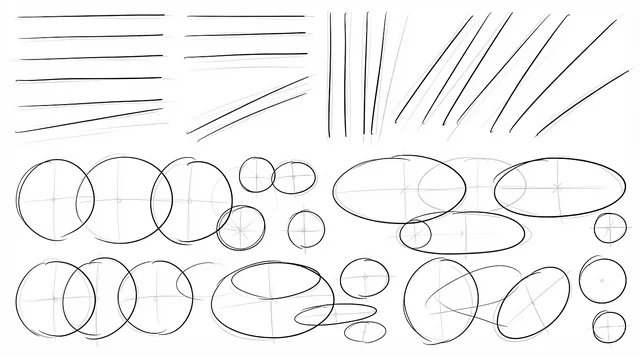
7 drawing exercises for beginners who want to draw anime
Lines, ellipses, boxes, cylinders, mannequins, lines of action and heads, with counts and timings.