
Tutorial · Heads & faces
How to draw an anime head from any angle
To draw an anime head from any angle, build it as a ball you carve, always in the same 4 steps: a sphere for the skull, a slice cut off its side, a curved axis down the middle of the face, then the jaw down to the chin. Draw the axis first when the head turns: it decides where the eyes, the nose and the mouth go. For difficult angles, imagine a small box inside the skull, turned the same way, and place the features on its faces.
- Intermediate
- 40 min practice
- 7 min read
- Updated
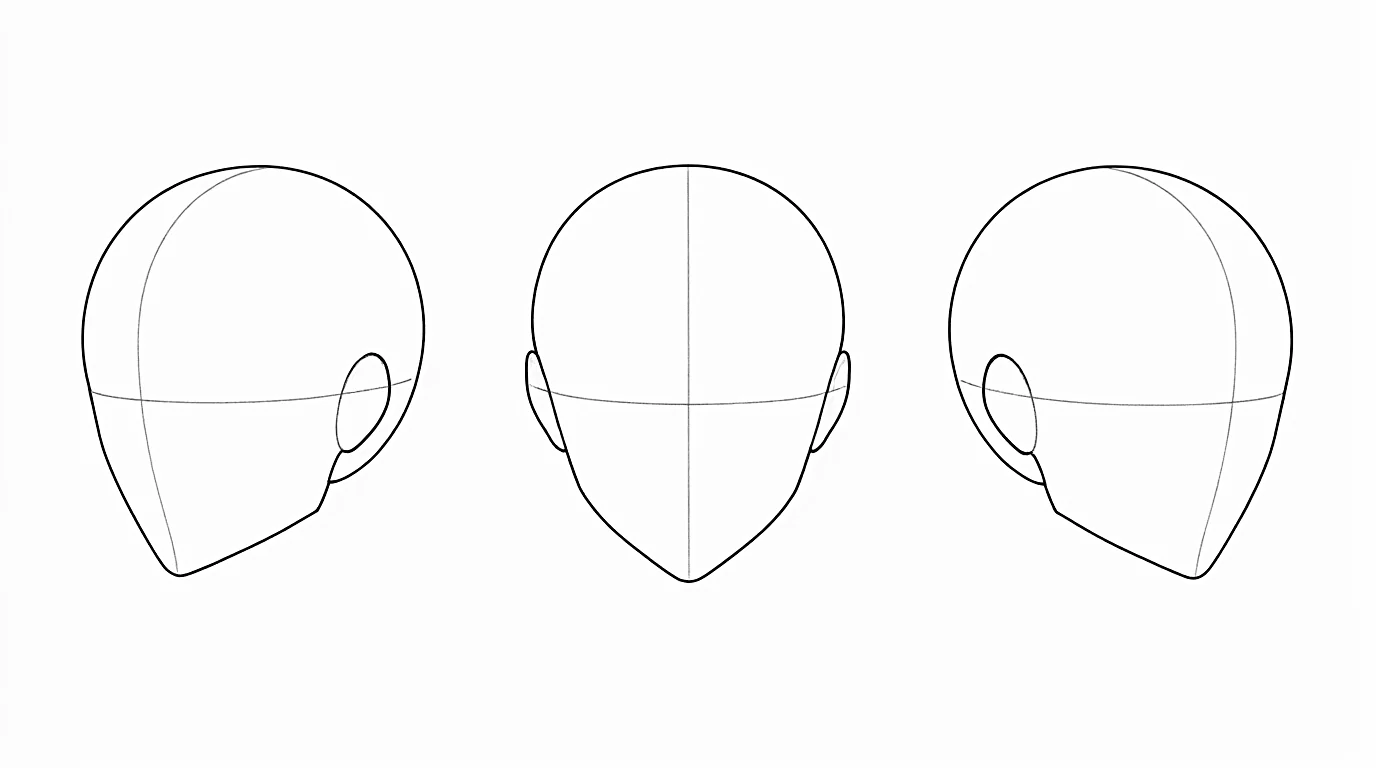
You'll need
- HB pencil
- 2B pencil for the final lines
- Eraser
- Printer paper or a sketchbook
Key takeaways
- Build the head in 4 steps, always the same: the skull, the side plane, the axis of the face, the jaw and chin.
- When the head turns, draw the axis first: it decides where the eyes, the nose and the mouth go.
- The guidelines wrap around the ball: on a turned or tilted head, the axis and the eye line curve.
- A small box inside the skull makes difficult angles easy: the features sit on its faces.
On this page
Why turning a head is hard
Most people learn faces from the front and try to rotate that flat picture in their head. It works for a slight turn, then the eyes slide, the nose floats and the jaw breaks. The problem is not the features: it is the missing volume underneath.
The fix is to draw the head as a 3D object you can turn, then let the features ride on it. A manga head is not a flat circle: it is a ball you carve, in four steps that never change, whichever way it turns. Once you trust those four steps, an angle is just the same construction turned a little more.
How to draw a head from any angle step by step
Start with a slight three-quarter view, then push the angle further each time. Keep every guideline light: you will draw over them several times, and you will erase them at the end.
-
Step 1Draw the skull
Draw a sphere, or a slightly egg-shaped circle, for the skull. It is the main volume: everything else hangs on it. Decide now which way the head turns and tilts, before any other line.
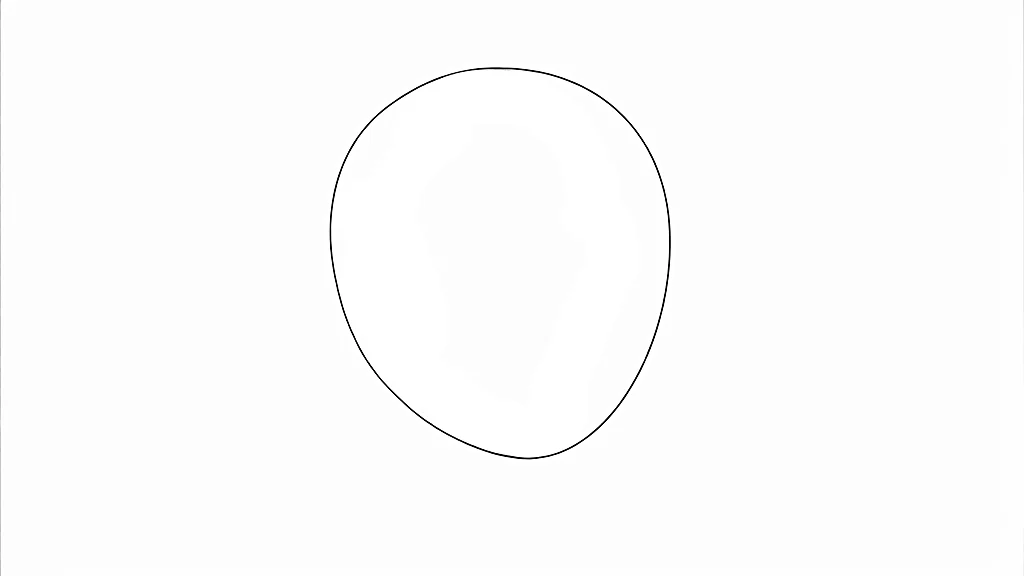
The skull: a sphere or an egg shape, drawn in one or two light strokes. -
Step 2Cut the side plane and draw the axis
Cut a slice off the side of the sphere that faces you: that flat oval is the temple, where the ear will go. Then draw the axis of the face, a curved vertical line through the middle of the face. On a turned head, it moves toward the far side and wraps around the ball.
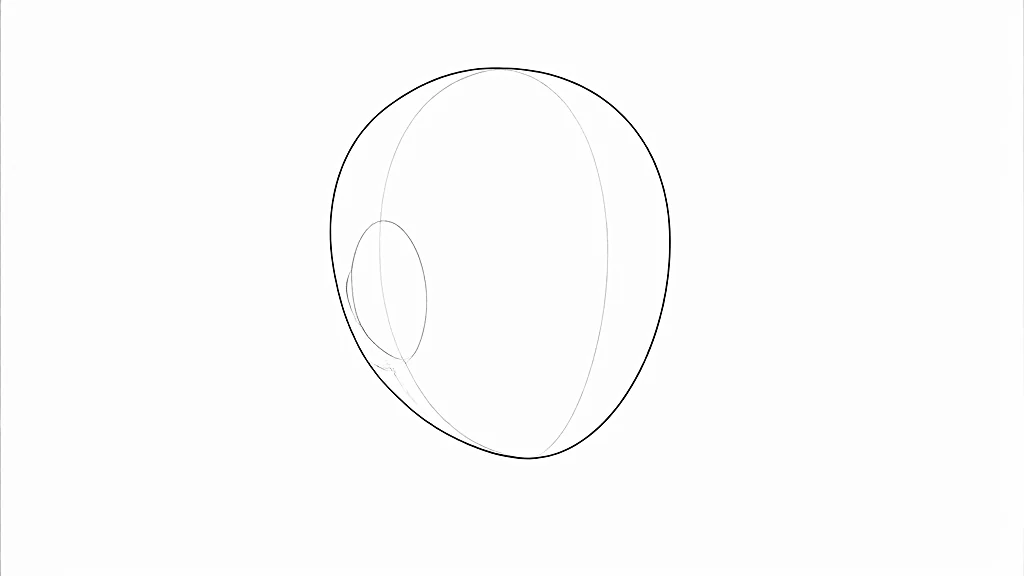
The side plane on the side of the skull, and the axis of the face curving around the ball. -
Step 3Draw the eye line and the jaw
Cross the axis with the eye line, halfway down the head: it follows the surface of the face and turns with it. Then come down from each side of the skull to the chin, on the extension of the axis. Keep the chin thin and slightly pointed.
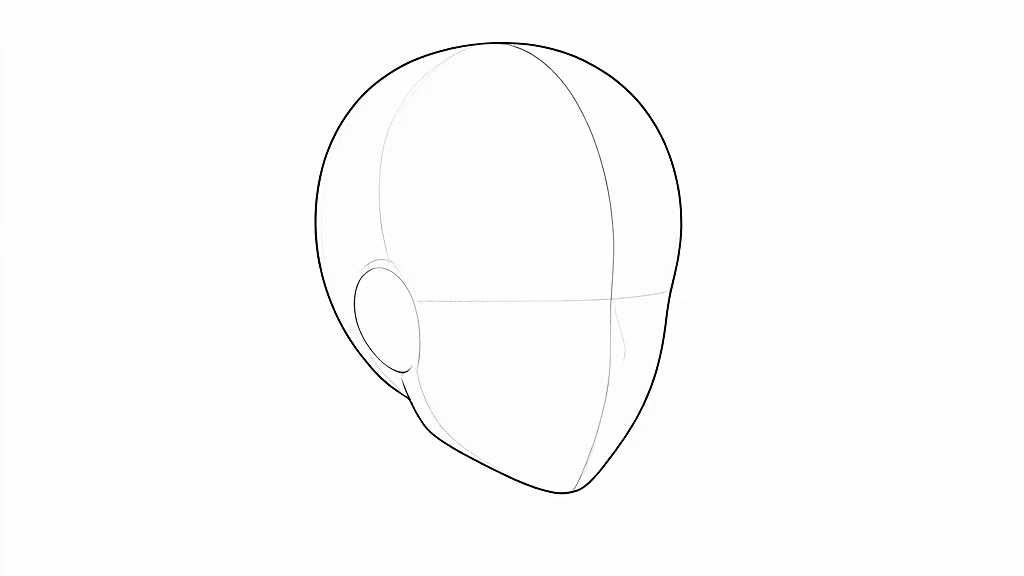
The eye line turning with the head, and the jaw from the sides of the skull to the chin. -
Step 4Turn a box inside the skull
For a difficult angle, imagine a small box inside the head, its front face where the eyes, the nose and the mouth go. Turn it exactly like your guidelines. It is much easier to see how a box turns than a sphere, and the box keeps the features square to each other.
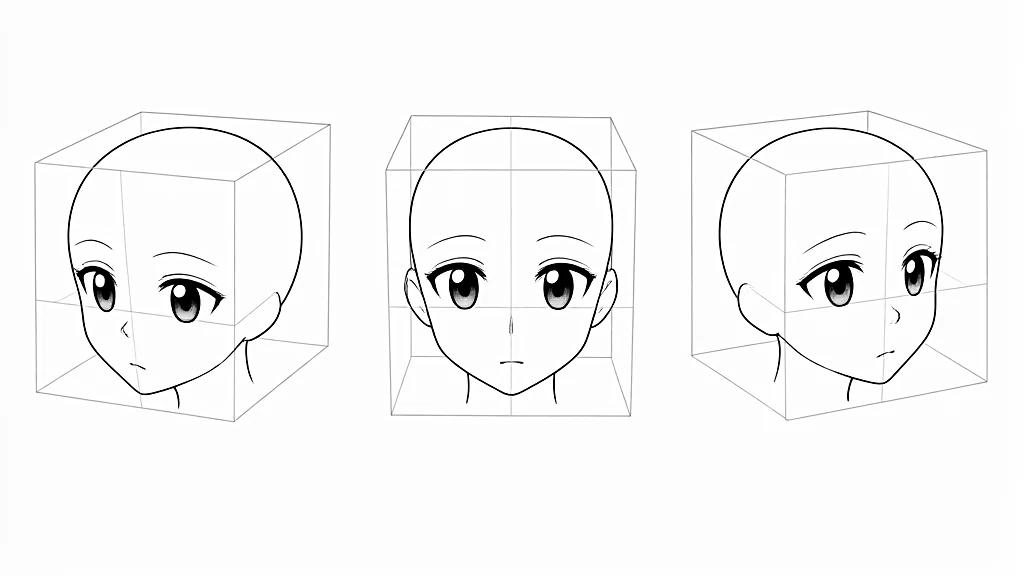
A box inside the skull, from three angles: the features sit on its front face and turn with it. -
Step 5Place the features on the turned guides
Put the eyes on the eye line, the nose and the mouth on the axis, and the ear on the side plane. In three-quarter view, the far eye gets narrower and moves closer to the nose, the tip of the nose sticks out past the axis, and the far side of the mouth gets shorter.
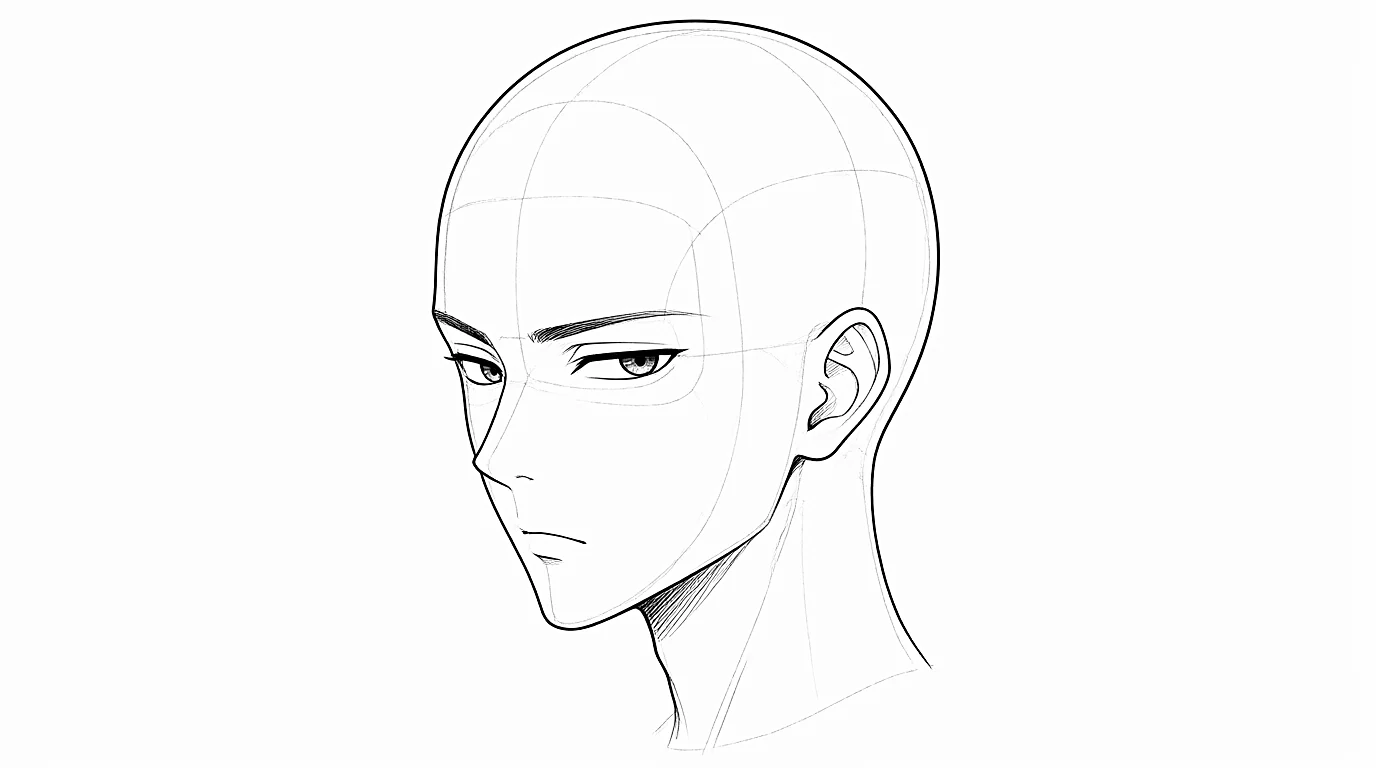
A head in three-quarter view: the far eye is narrower and the features follow the curved axis. -
Step 6Add the hair and the final lines
Draw the hair as a mass a little bigger than the skull, then the big locks starting from the parting, wrapping around the head like the construction lines. Go over the final lines and erase the construction. Draw the same character again from another angle to check that they stay recognizable.
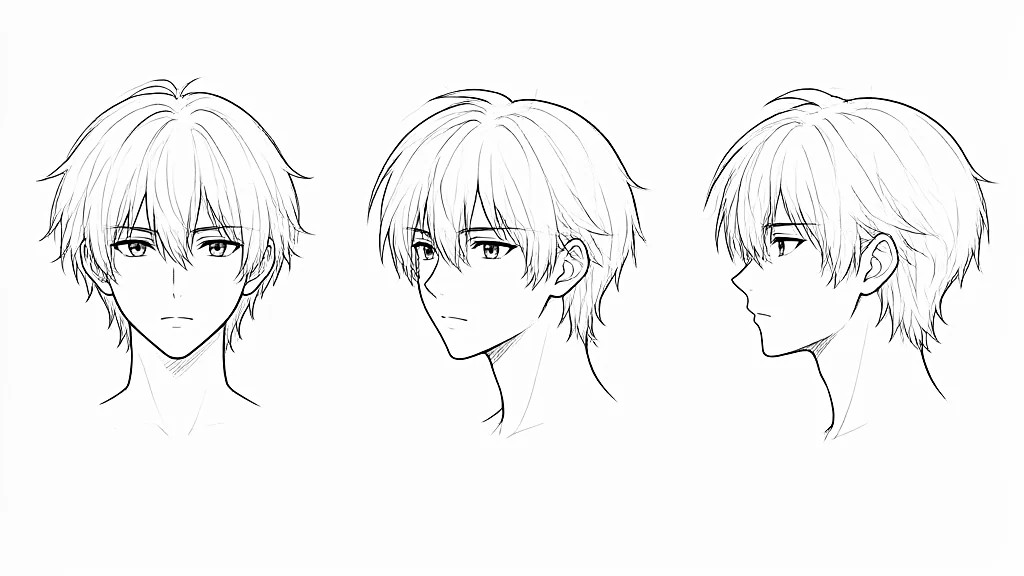
One character from the front, in three-quarter view and in profile, with the same hair and features.
When the head turns, draw the axis of the face before anything else: it decides where the eyes, the nose and the mouth go.
How to draw a three-quarter view
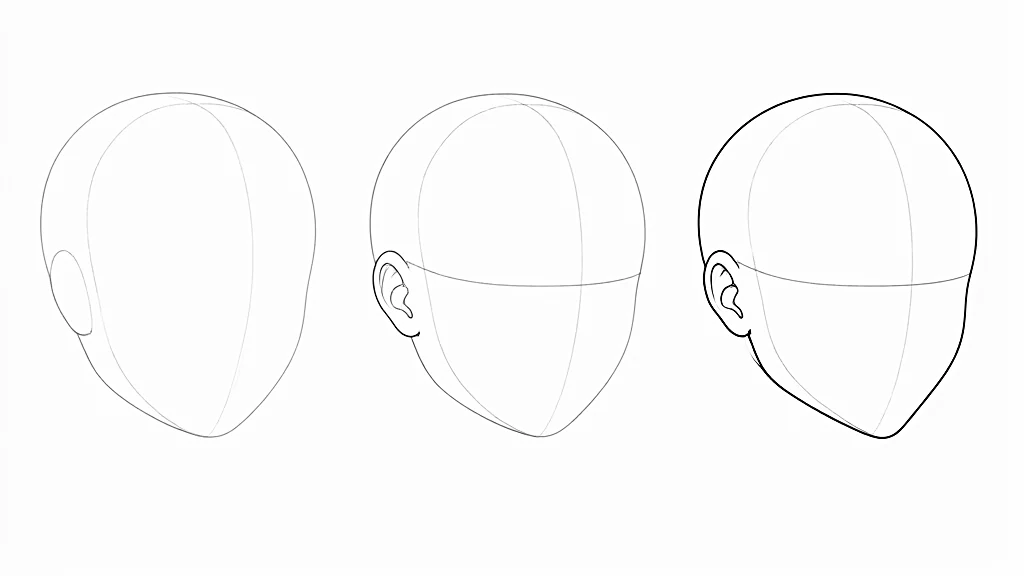
The three-quarter view is the most common angle in manga because it shows both the shape of the face and its features. Move the axis about a quarter of the way toward the far side and curve it around the sphere. The side plane you see grows, and the ear moves toward the middle of the head.
The near eye keeps its shape, the far eye gets narrower and closer to the nose, and the tip of the nose overlaps the far cheek. On the far side, the outline of the face shows the brow, the cheekbone and the chin instead of the round shape of the skull.
How to draw a head in profile
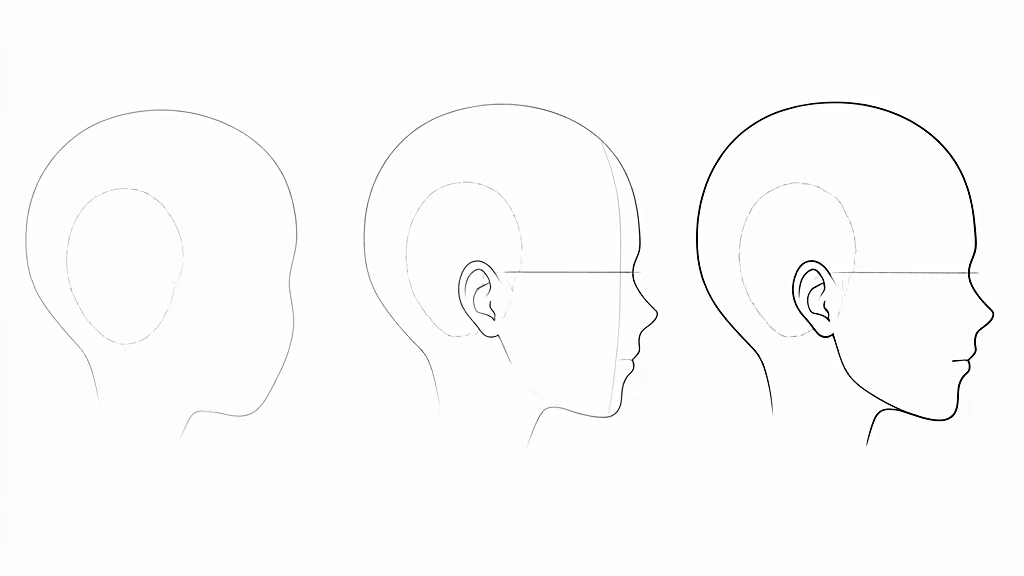
In profile, the side plane faces you and the axis becomes the outline of the face: the brow, the nose, the mouth and the chin all sit on it. The jaw goes back from the chin toward the ear, which sits on the side plane, behind the middle of the head.
The eye becomes an arrowhead pointing toward the nose, with a thin oval iris, set back from the bridge of the nose. The nose comes out of the face outline as a small triangle, and the mouth leaves only a small notch under it, set back a little.
How to draw a head looking up or down
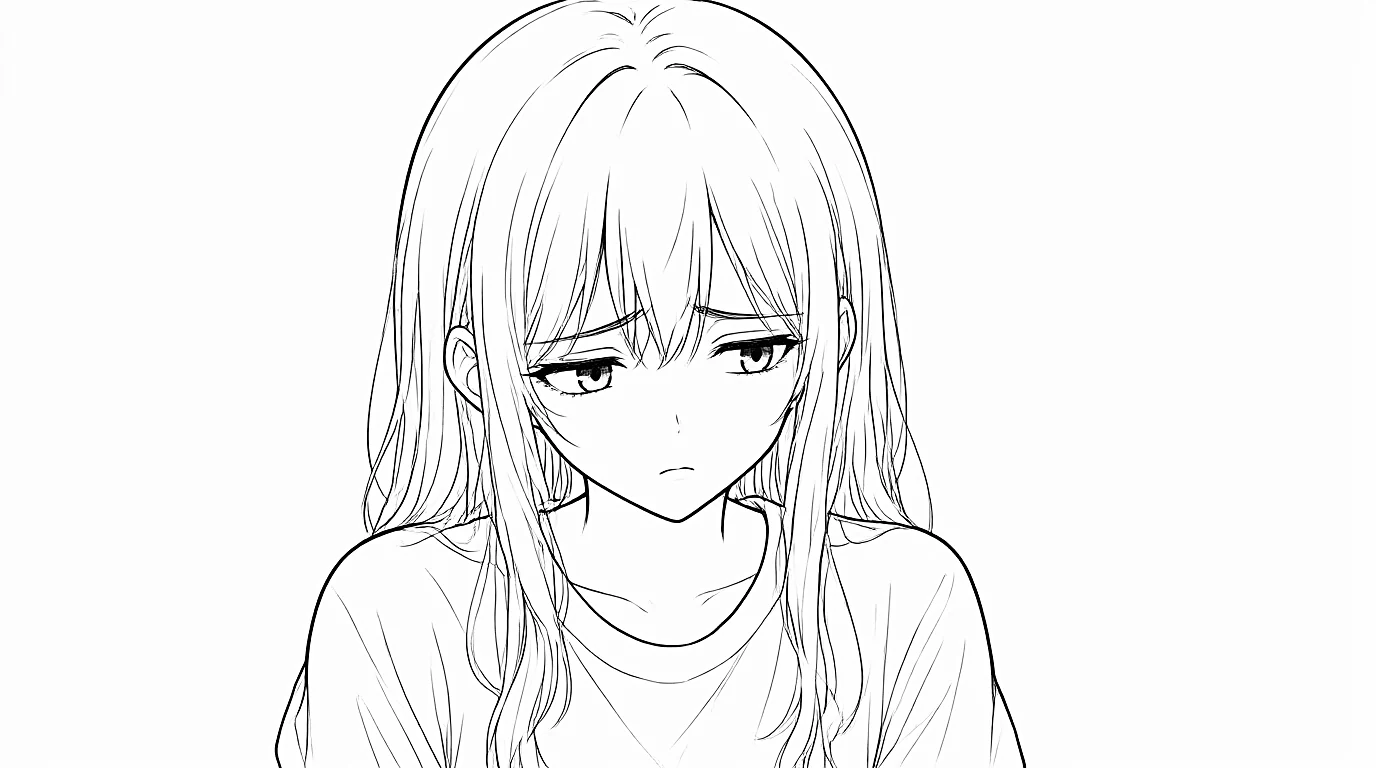
When the head tilts down, the top of the skull takes more room, the face gets shorter and the chin tucks in. The eye line curves downward in the middle, like a U, and the ears move up compared with the eyes. A head that drops also tells an emotion: sadness, shyness, a heavy thought.
When the head tilts back, the eye line arches upward in the middle, the underside of the jaw and the neck appear, and the ears move down compared with the eyes. The nostrils and the underside of the nose show more, and the eyes look closer to the top of the face.
High and low angles
A head can also be seen from above or below while it stays straight: that is the camera moving, not the character. Seen from above, the top of the skull and the forehead get bigger and the chin smaller, which often reads as small or vulnerable.
Seen from below, the chin and the underside of the nose are visible, the jaw looks heavier and the character looks strong or threatening. In both cases, curve the guidelines the same way as for a head tilting down or up, and keep these angles for the big moments of a story.
Common mistakes when drawing heads at an angle
Before you draw the eyes, the hair and the final outline, check that the head is correctly oriented. Most heads that look wrong at an angle were drawn as a front view and pushed sideways.
- Straight guidelines on a turned head: the face looks pasted on. Curve the axis and the eye line around the volume.
- Both eyes the same width: in three-quarter view, the far eye is always narrower.
- Ears that never move: they sit on the side plane and move with the turn and the tilt.
- Keeping the round skull as the face outline: on a turned head, the outline shows the brow, the cheekbone and the chin.
- Memorizing one angle: practice many small turns instead of one favorite pose.
Pick 2 finished faces from a manga or a guided sketch, find the sphere, the side plane, the axis and the jaw under each one, then draw them. Then draw one head in 1 minute, construction included, twice. It is how the SketchAI program starts, and the fastest way to stop depending on the front view.
Frequently asked questions
How do you draw an anime head from different angles?
Build the head in 4 steps: a sphere for the skull, the side plane, the axis of the face and the jaw. Turn the axis first, then place the eyes on the eye line, the nose and the mouth on the axis and the ear on the side plane. For difficult angles, turn a small box inside the skull.
How do you draw a three-quarter view anime face?
Move the axis about a quarter of the way to the far side and curve it around the head. Keep the near eye full width and make the far eye narrower and closer to the nose, with the tip of the nose sticking out past the axis.
How do you draw an anime head looking up?
Arch the eye line upward, show the underside of the jaw, the neck and the nostrils, and move the ears down compared with the eyes.
How do you draw an anime head looking down?
Curve the eye line downward in the middle, give more room to the top of the skull, shorten the face, tuck the chin in and move the ears up compared with the eyes.
Is the Loomis method good for anime heads?
Yes. Building the head from a sphere with a side plane, an axis and a jaw, as in this tutorial, is the same idea, and it works for any style once you adapt the features.
Keep learning
 Beginner
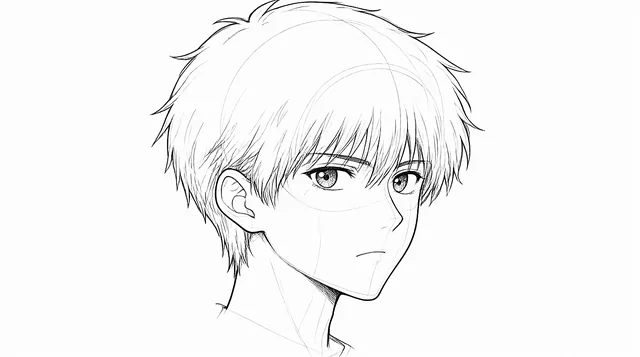
How to draw an anime face, step by step
Build the head as a volume, then place the eyes, nose, mouth and hair on it, one at a time.
 Beginner
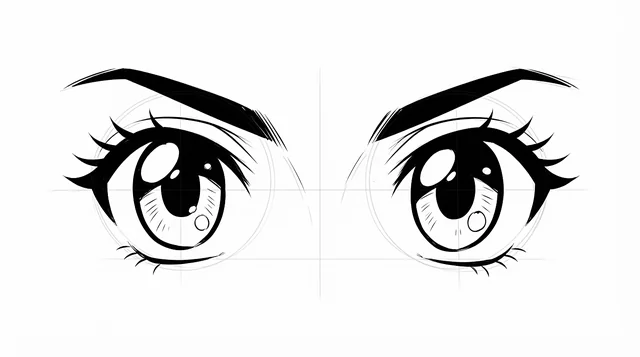
How to draw anime eyes, step by step
Build an anime eye in four stages, place it on the face, then change its style and emotion.
 Beginner
How to draw a box in perspective, step by step
One face, three edges for the depth, the hidden edges: then turn the box any way you like.