
Guide · Practice & exercises
7 drawing exercises for beginners who want to draw anime
The best drawing exercises for beginners train the hand and the sense of volume at the same time: confident lines, circles and ellipses, boxes turned in every direction, cylinders, quick mannequins, lines of action and simplified heads. Do one or two of them every day for a few minutes, with a timer, next to the drawing you are learning, and they will make every anime character you draw easier.
- 7 min read
- Updated
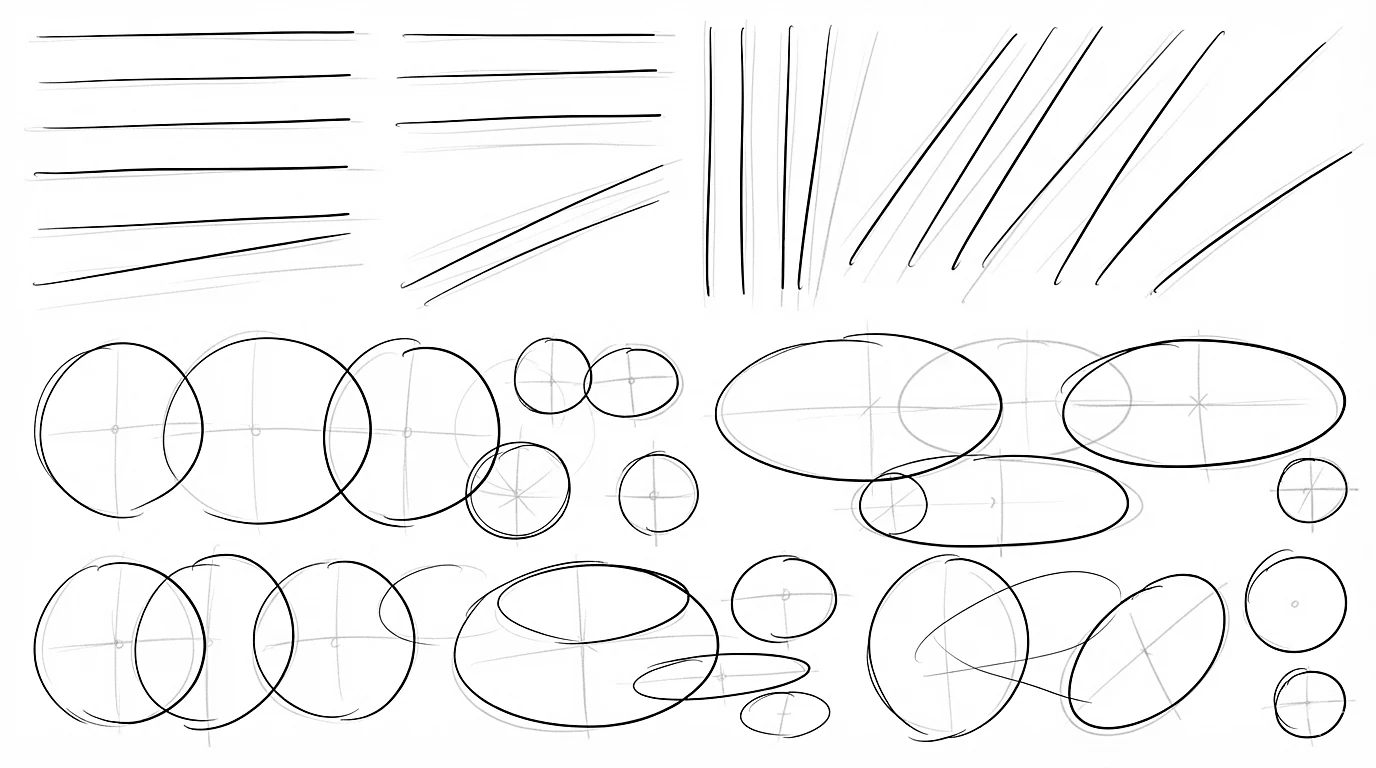
Key takeaways
- Start with line control: confident lines, circles and ellipses, each in one stroke.
- Then train volume: boxes and cylinders that turn in space.
- Move on to figures: quick mannequins, lines of action and simplified heads.
- Short, daily and timed sessions work better than long, rare ones: work fast rather than perfect.
On this page
Why drawing exercises work
Drawing a character mixes several skills at once: controlling your lines, seeing in 3D, knowing proportions and catching a movement. When a drawing goes wrong, it is hard to tell which skill failed. Exercises isolate one skill at a time, so you can repeat it until it becomes automatic.
They are also short. Each exercise below takes 1 to 10 minutes, and one or two of them make a perfect warm-up before the drawing you are working on. Draw on cheap printer paper, so you never hesitate to fill a page, and draw big enough: a stamp-sized shape teaches you nothing.
1. Confident lines
Confident lines are the base of clean anime lineart. For long lines, lock your wrist and move your whole arm, from the shoulder: the line gets straighter and more even. Hold your pencil further from the tip for big strokes, closer for details.
To aim, place two dots and move back and forth above the paper without touching it, then draw in one go: this is called ghosting. Start with light strokes and strengthen only the useful lines. A quick, slightly curved line beats a slow, shaky one.
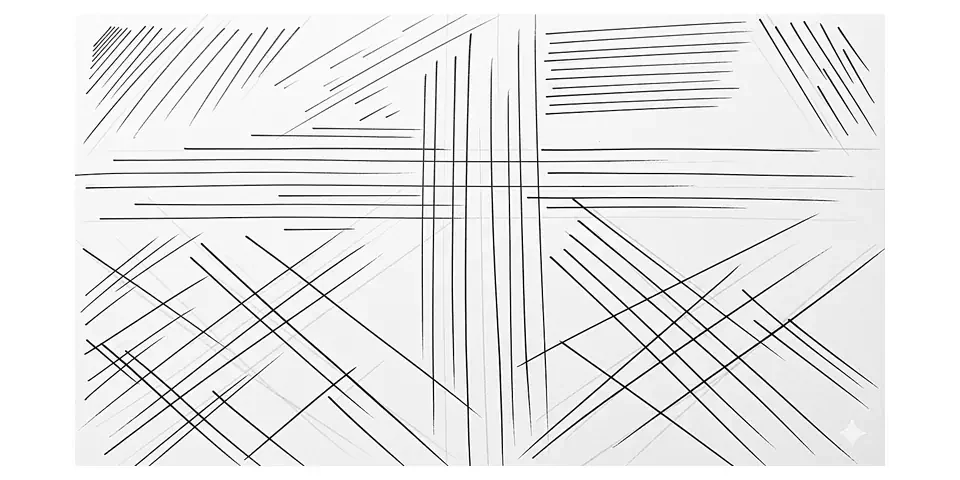
Fill a page with straight lines in 5 minutes: horizontal, vertical and diagonal, short and long, then lines connecting pairs of dots. Rotate the page so you always draw in the direction that's most comfortable for your hand.
2. Circles and ellipses
Heads, eyes, joints and the ends of every cylinder are circles and ellipses. Go around the shape in one fluid motion, two or three times on top, rather than in small hesitant strokes.
An ellipse is a tilted circle: the more you see the circle from the side, the flatter it gets, and its two halves always stay symmetrical. Draw a line through the middle of each ellipse, along its length, to keep it straight and even. No points at the ends: they stay rounded.
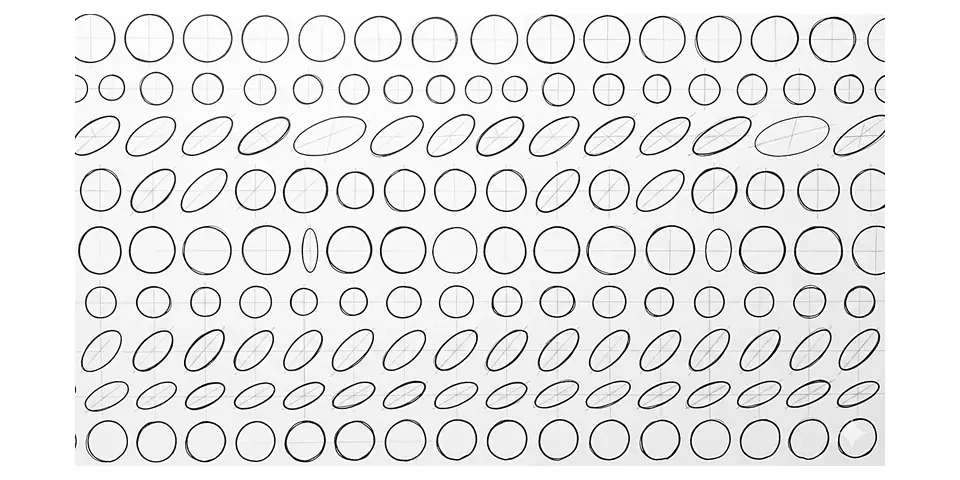
Draw 30 circles and 20 ellipses without a compass in 10 minutes, then circle the five best ones and try to beat them.
3. Boxes in perspective
The box is the most useful shape in drawing: it teaches you how a volume turns in space, and the chest, the pelvis, the hands and even the head can be built from boxes. Draw one face, add three depth edges going in the same direction, then close the volume.
Draw the hidden edges lightly, as if the box were made of glass, and extend the edges to check that those going the same way come together. The box in perspective tutorial explains each step.
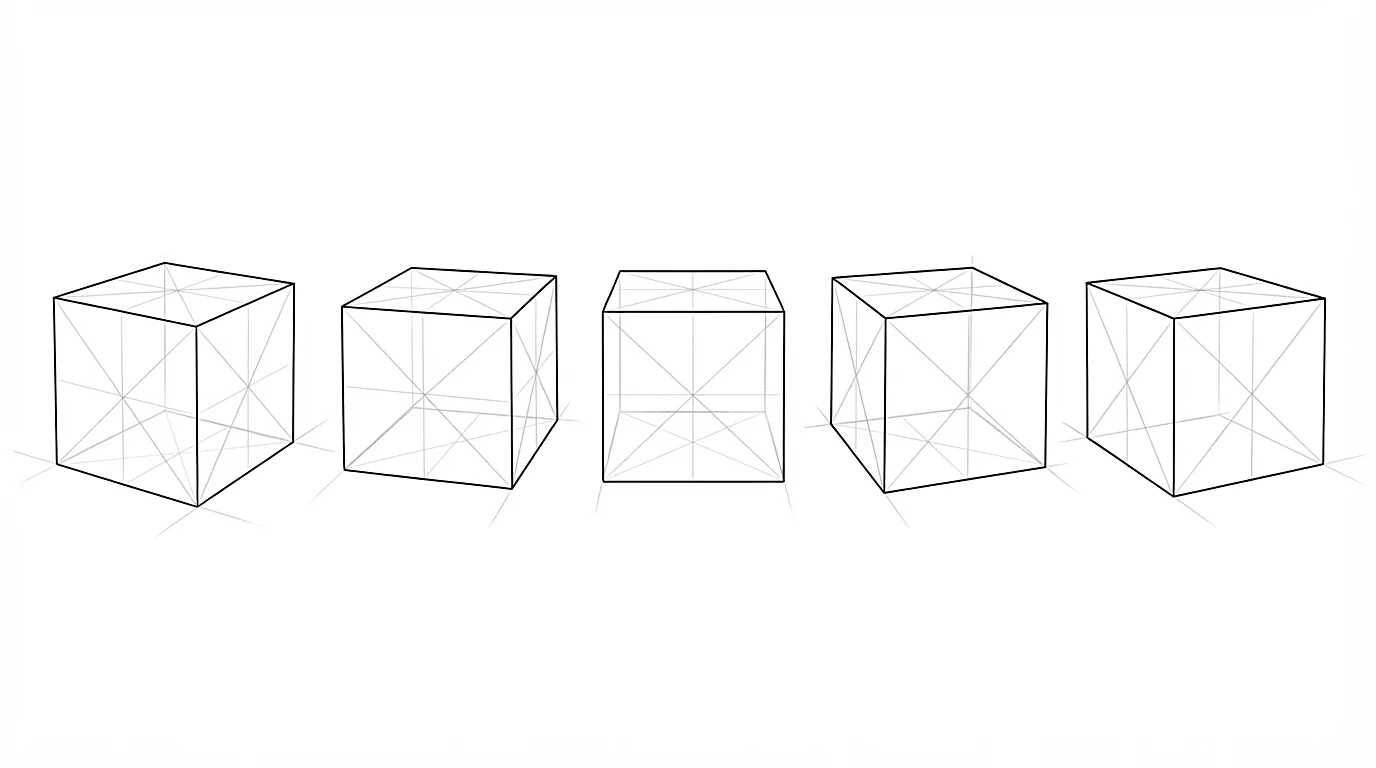
Draw 5 to 10 boxes in 10 minutes, each turned a different way: seen from above, from below and from the side.
4. Cylinders
Cylinders become arms, legs, necks and fingers. A cylinder is two ellipses and two lines: draw it standing, lying and tilted, and watch the ellipses get rounder as the cylinder turns toward you, until the last one is just a circle.
Never draw a limb as two random parallel lines: draw its axis first, an ellipse at each end, then connect them, varying the thickness for each part of the body.
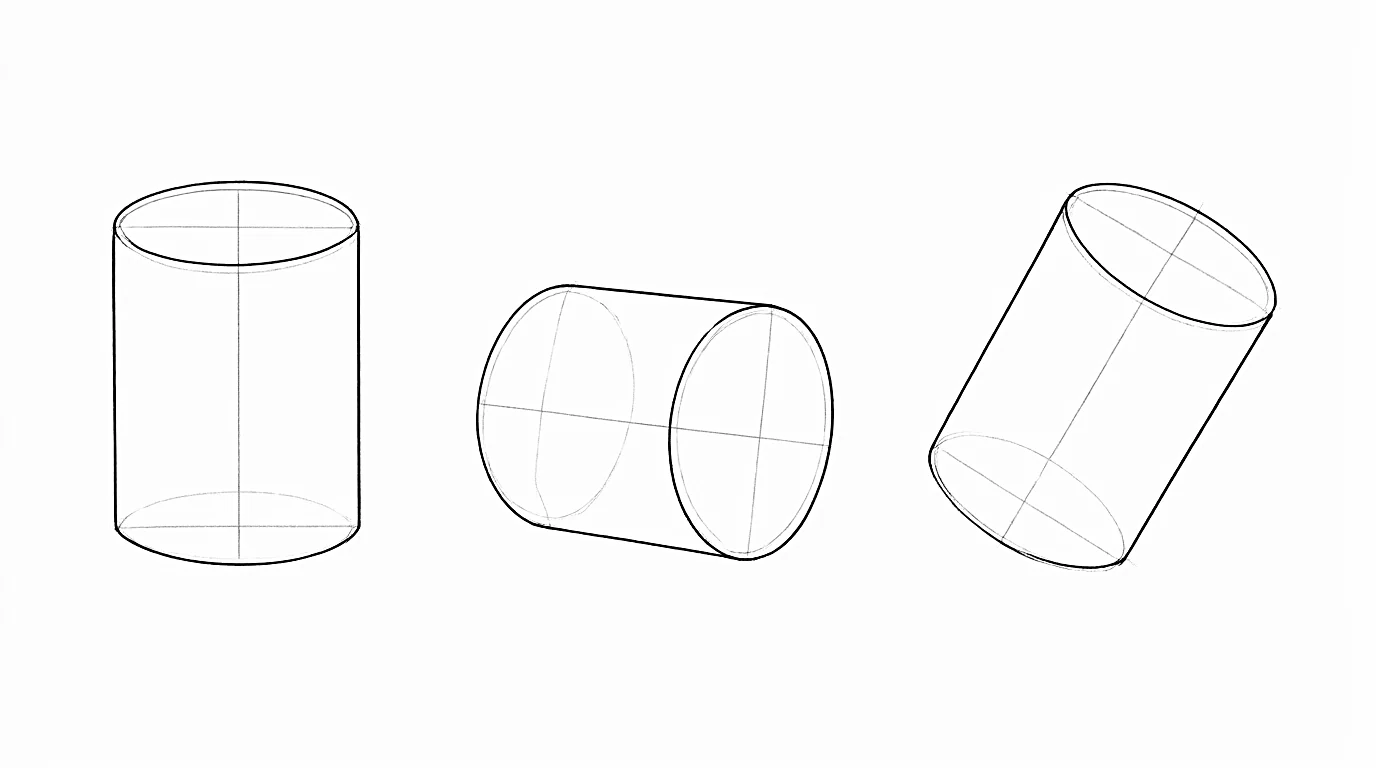
Draw 10 quick cylinders in 5 minutes, standing, lying down and tilted, then 6 cylinders seen more and more from the end.
5. Quick mannequins
A mannequin is a body reduced to simple volumes: a sphere for the head, an egg for the rib cage, a box for the pelvis, cylinders for the limbs and balls for the joints. Drawing many of them quickly teaches proportions and poses faster than any detailed drawing.
Do not add any clothes or details. Change the pose every time: walking, sitting, leaning, kneeling, reaching. When a pose does not work, look at the rib cage and the pelvis first. The anime body tutorial shows how to build one step by step.
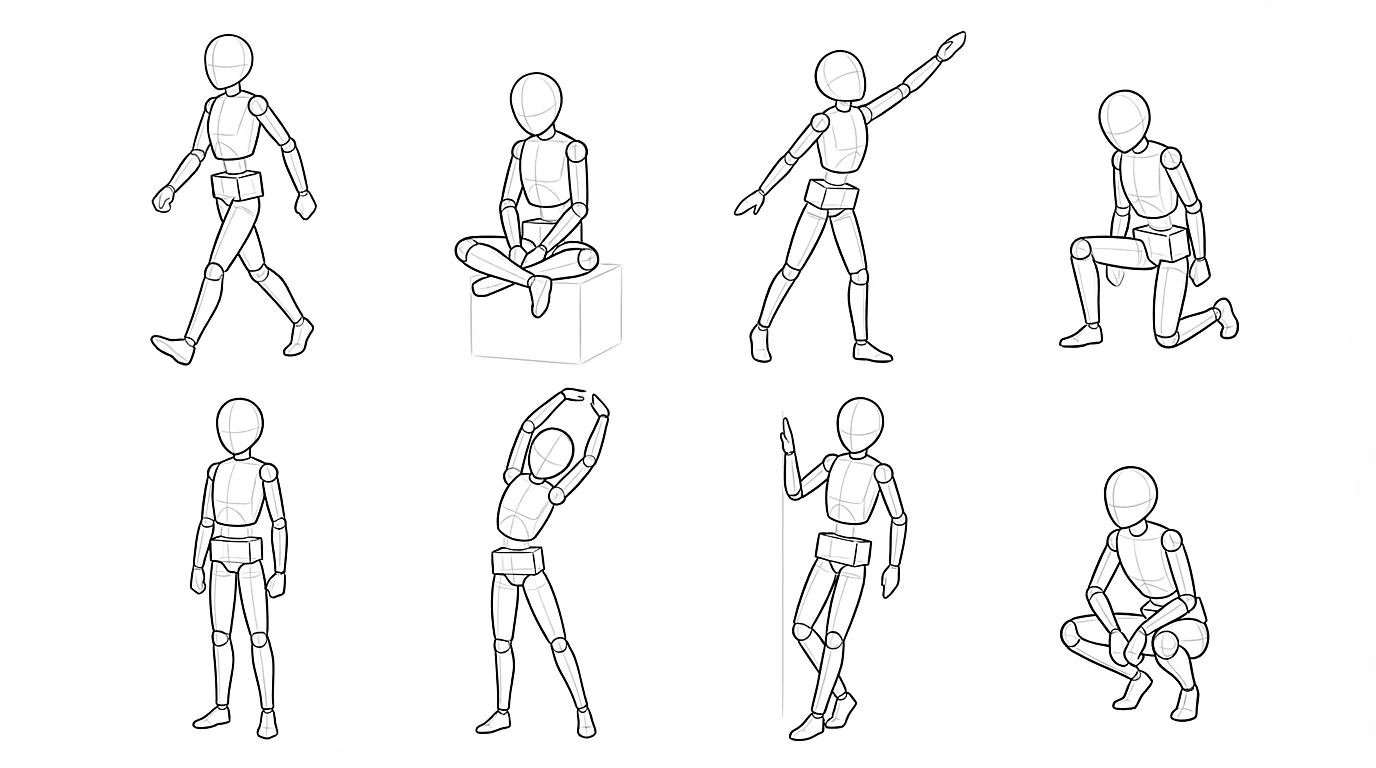
Draw 10 small mannequins in 10 poses in 10 minutes, with the arms and legs in a different position each time.
6. Lines of action
A line of action is a single curve from the head to the foot that carries the weight: it is the movement of the whole pose. Look at a photo of a person moving and catch only that curve, in 30 seconds or less, then the head and the limbs as simple lines.
The time limit is the point: it forces you to see the big movement instead of the small parts. Your sketches will look messy, and that is fine: the shorter the sketch, the more alive the gesture. The anime poses tutorial turns these lines into full poses.
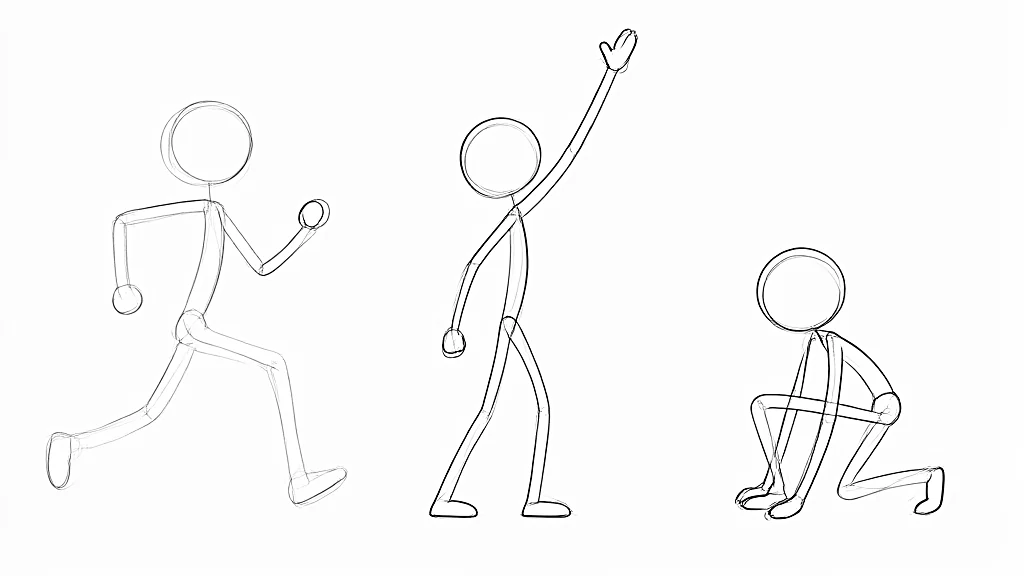
Set a timer and draw 4 poses in 30 seconds each from photos or people around you, only the line of action. Then turn your favorite into a mannequin.
7. Simplified heads
Before drawing faces, draw heads as volumes, always in the same 4 steps: a sphere for the skull, a slice cut off its side, a curved axis down the middle of the face, then the jaw down to the chin. Turn them in every direction.
This exercise makes faces at an angle much easier later. The head from any angle tutorial goes through the full construction.
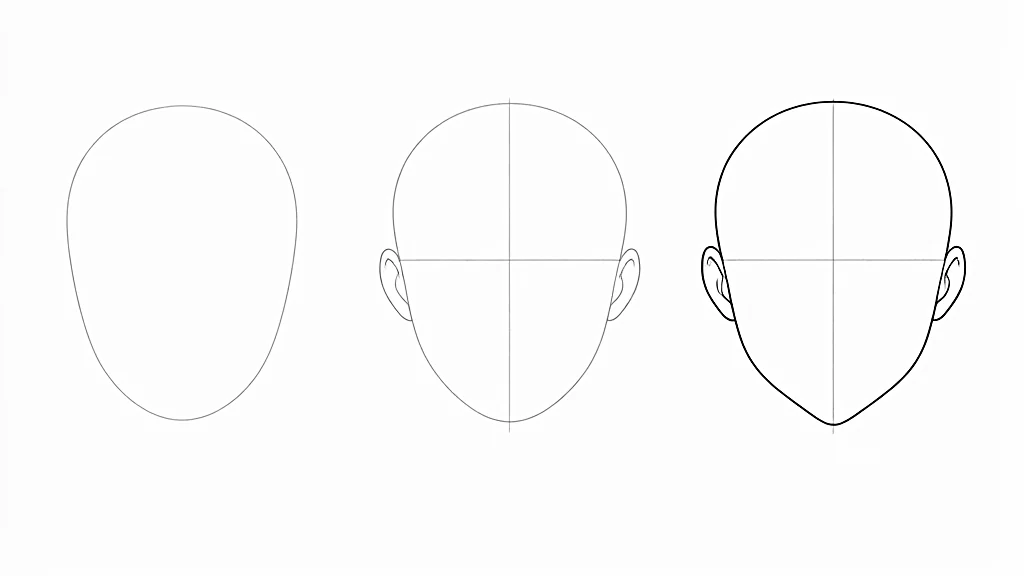
Draw 10 quick circles of the same size, then turn 3 to 5 of them into simplified heads with a side plane, an axis and a jaw, in 5 minutes. Then draw one head in 1 minute, construction included.
How to turn these exercises into a daily plan
You do not need all seven every day. Keep your sessions short, 10 to 15 minutes, so that a daily session never feels like a chore, and build each one around one new thing to learn, with a quick exercise to warm up. The SketchAI program is built this way, and you can follow the same plan in any sketchbook.
Next to the session, keep a few exercises going for weeks, whatever you are learning: 5 to 10 boxes in different orientations, 5 cylinders from several angles, 3 to 5 simplified heads, 5 torsos as two boxes and 5 to 10 quick mannequins.
- Warm-up, 30 seconds to 1 minute: lines, circles or one of the shapes of the day, just to loosen your hand.
- The method, a few minutes: read or watch how the thing of the day is built, step by step.
- Follow it, 3 to 5 minutes: draw it once following the steps.
- Your turn, 5 to 6 minutes: draw it again on a new subject, on your own.
- A challenge, 2 minutes: the same thing faster, or from a harder angle.
Erasing every line that is not perfect. Exercises are meant to be messy: don't erase every mistake right away, spot what doesn't work and correct it on top, then look at the page as a whole when you are done.
Frequently asked questions
What should a beginner practice first in drawing?
Line control first: confident lines, circles and ellipses. Then boxes and cylinders in perspective, which are the building blocks of every character, and simple heads and mannequins built from them.
How long should I practice drawing every day?
10 to 15 minutes of focused practice is enough to progress, as long as you do it every day. A short daily session beats a long one once a week.
What are good drawing warm-up exercises?
One minute of lines, circles and ellipses drawn in one stroke, moving from the shoulder. They loosen your hand and make the rest of the session cleaner.
Do drawing exercises help with anime drawing?
Yes. Anime characters are built on the same volumes and proportions as any figure, so boxes, cylinders, mannequins, lines of action and simplified heads make anime drawings look more solid.
Should I use a ruler for straight line exercises?
No. The goal is to train your hand to draw straight lines freehand, so draw each line in one quick stroke without a ruler. A ruler is fine later, for perspective lines in a scene.
Keep learning
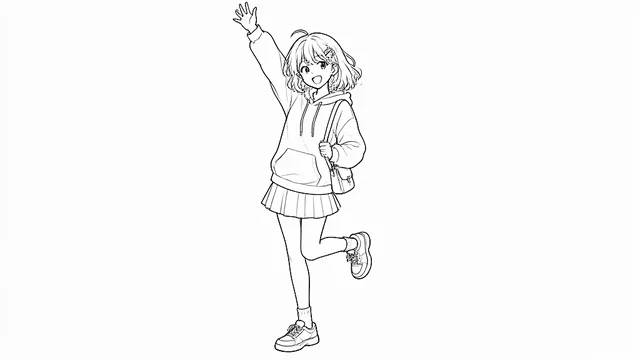
How to learn to draw anime: a roadmap from zero
A realistic roadmap from the head to expressions, bodies, poses, hands and clothes, a little every day.
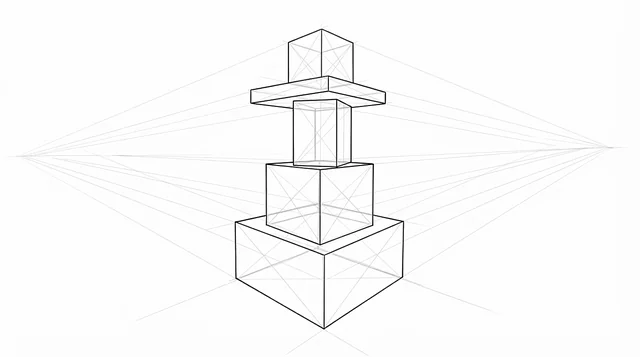 Beginner
How to draw a box in perspective, step by step
One face, three edges for the depth, the hidden edges: then turn the box any way you like.
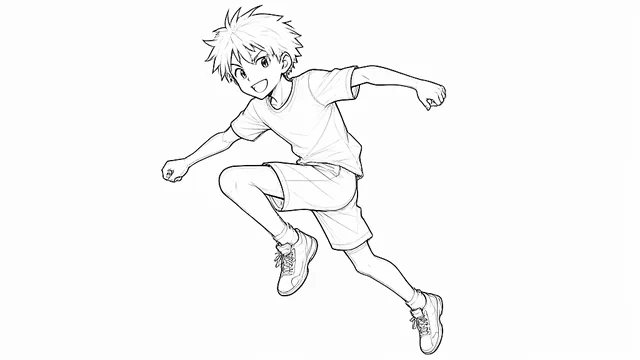 Intermediate
How to draw anime poses, step by step
Start with a line of action, build the mannequin on it, then add balance, depth and action.