
Lesson · Faces & expressions
Manga eyes: place them, build them, bring the gaze to life
The eyes are the first place the reader looks. In manga, they carry the character's style and almost all of their emotion. Well placed and well built, they bring a face to life with very few lines.
- Beginner
- 10 min practice
- 3 min read
- Updated
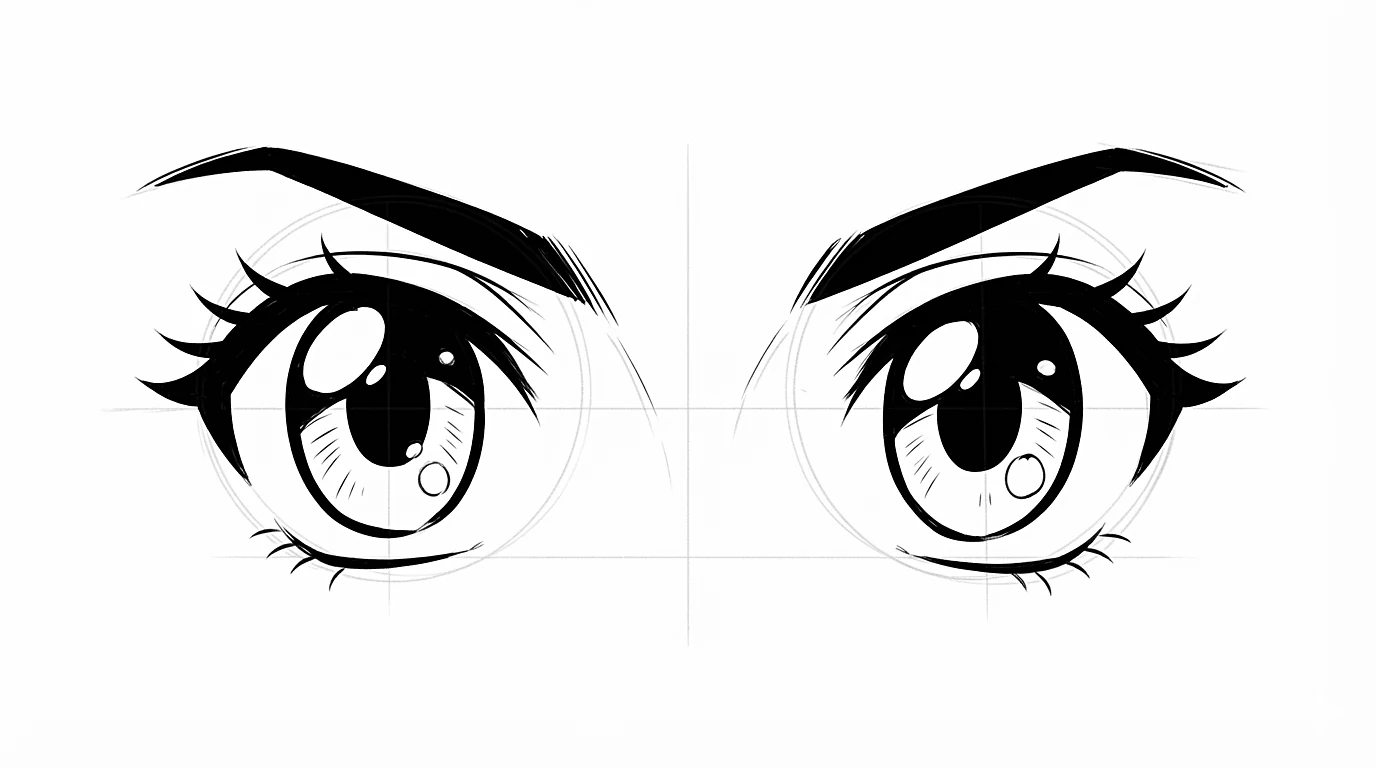
Key takeaways
- Flip your drawing horizontally to check it: an eye higher than the other jumps out once mirrored.
- The highlights must be in the same place in both eyes. If they are not, the character looks cross-eyed.
- Keep the same eye style for every character on a page, or they will look like they come from different manga.
On this page
Placing the eyes
-
Step 1The eye line
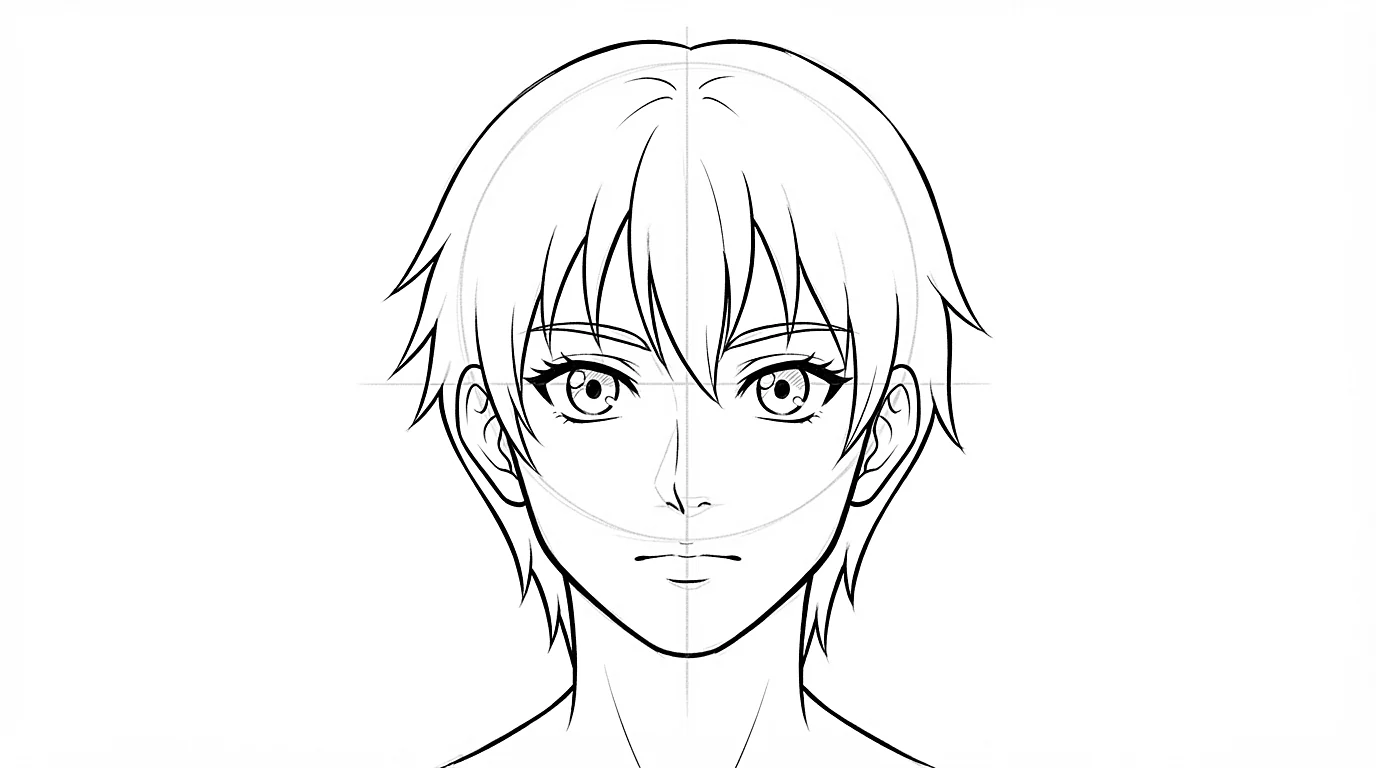
On the built head, the eyes sit on the horizontal line halfway between the top of the skull and the chin. Manga often lowers them a little for a younger face.
-
Step 2One eye apart
Leave about the width of one eye between the two. More space looks soft and childlike, less space looks harsh or grown-up.
-
Step 3Follow the curve of the head
The eyes sit on a sphere: on a three-quarter head, the far eye gets narrower and closer to the edge of the face. Both eyes stay on the eye line, even when it tilts.
-
Step 4The eyebrow above
Place the eyebrow about half an eye above. It follows the brow ridge and already sets a good part of the expression.
Flip your drawing horizontally to check it: an eye higher than the other jumps out once mirrored.
Building an eye in four steps
-
Step 1The upper eyelid
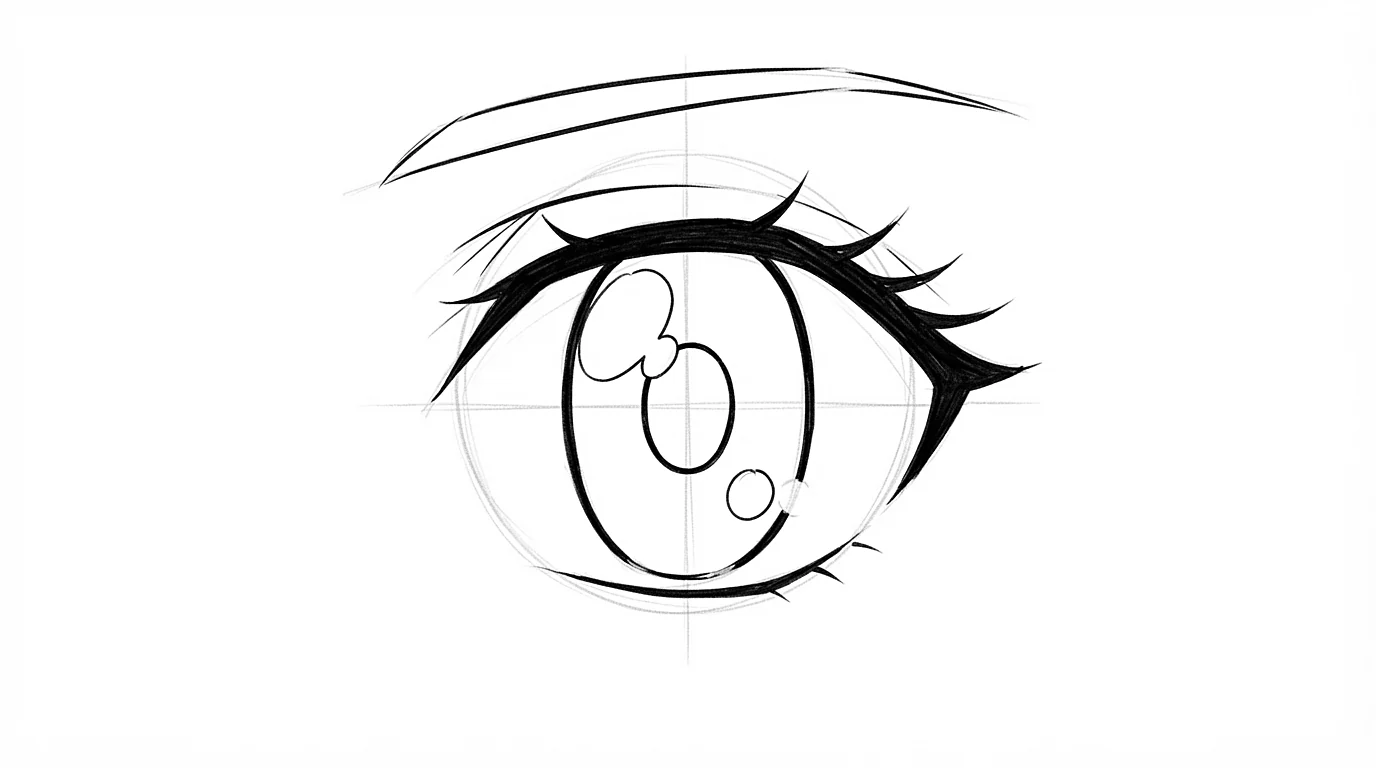
Start with the thickest line: the upper eyelid, like a roof. It decides the shape of the eye, round, almond or stretched.
-
Step 2The iris
Draw a tall oval, cut at the top by the eyelid. A fully visible iris makes the gaze look shocked or staring: let it touch the upper line.
-
Step 3Pupil and highlights
Add the pupil in the middle, then one or two highlights on the same side in both eyes, as if a single lamp lit the face. They are what makes the eye shine.
-
Step 4The lower eyelid
A thinner, shorter line, often broken. The less of it there is, the lighter the drawing looks.
The highlights must be in the same place in both eyes. If they are not, the character looks cross-eyed.
What changes a gaze
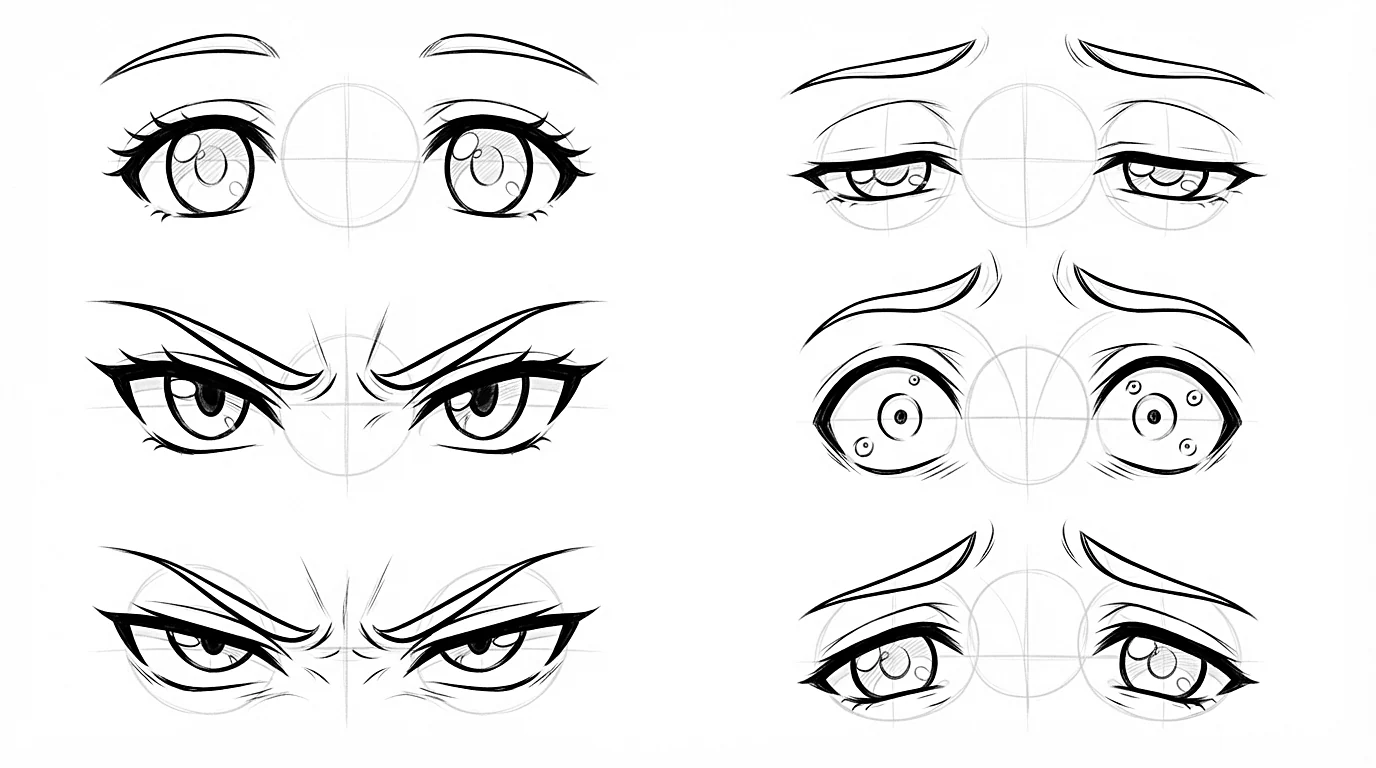
- A high, round eyelid: a gentle or naive character. A low, flat eyelid: a calm, confident or tired one.
- The size of the iris: large, the character looks young and open; small, tense, scared or threatening.
- Where the irises point: both look at the same spot. Move them together, never one without the other.
- Lashes: a few thick strokes at the outer corner are enough. The heavier they are, the more feminine or dramatic the gaze.
- The eyebrow: low and close to the nose, it shows anger; raised in the middle, sadness or worry.
One eye in every style
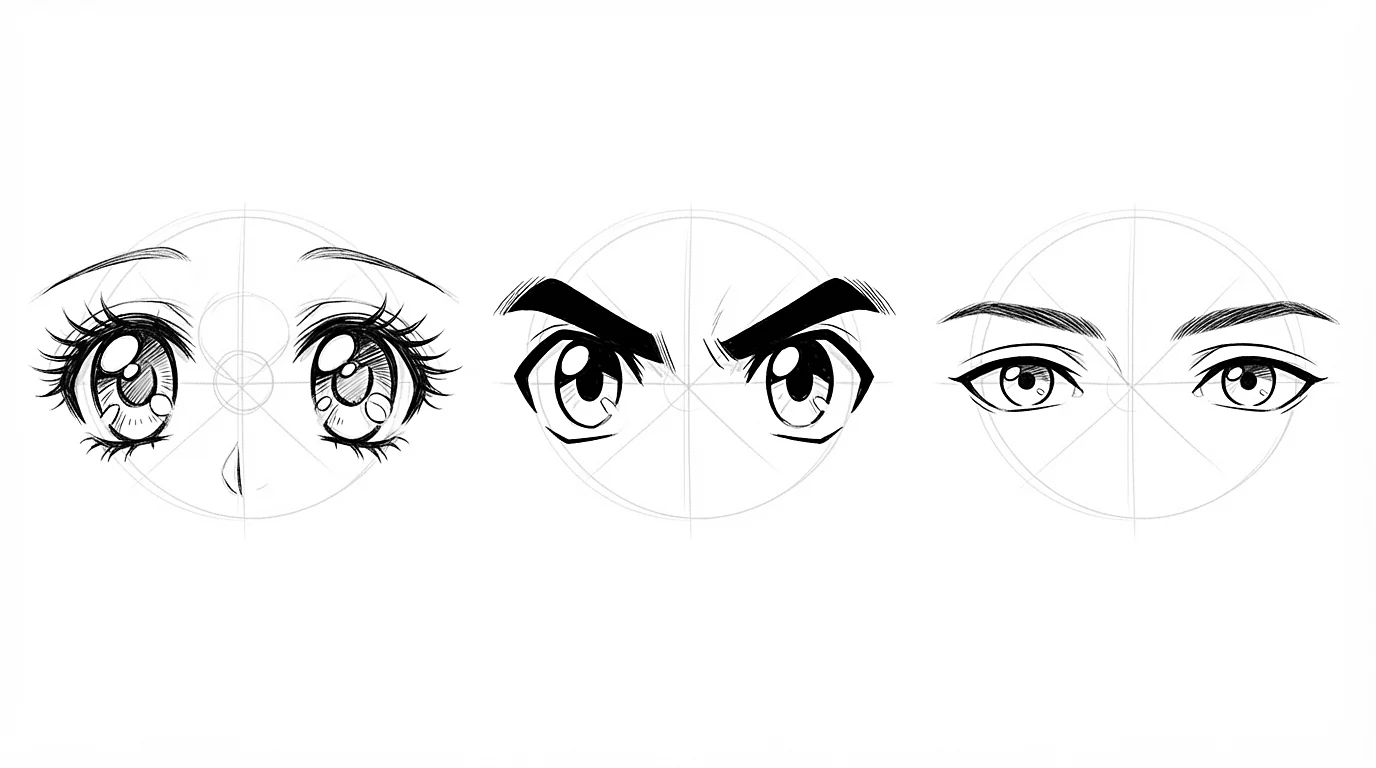
The same character changes completely with the style of the eyes. Knowing how to switch from one to the other means choosing who your drawing speaks to.
-
Step 1Shojo
Very big eyes, taller than wide, a huge iris with several highlights and strong lashes. The gaze is soft, dreamy, very expressive.
-
Step 2Shonen
Eyes wider than tall, a thick upper eyelid slanting slightly toward the nose, a single sharp highlight. The gaze is determined.
-
Step 3Seinen
Smaller, more realistic eyes, a thinner eyelid with a visible crease, a smaller iris. The gaze is grown-up and serious.
-
Step 4Chibi and comedy
A black oval with one highlight, or even a single line. The simpler the style, the clearer the expression has to be.
Keep the same eye style for every character on a page, or they will look like they come from different manga.
The coach's tips
- Draw both eyes at the same time, going back and forth: you'll see right away if they are the same size.
- Start with the upper eyelid, never with the iris: the eyelid gives the shape.
- White showing under the iris looks calm; white showing above it looks scared.
- A lifeless gaze usually needs a bigger highlight, not more detail.
- In the app, pick characters with different eye styles and look at the shape of their eyelids before tracing them.
Practice right now
Once the lesson is read, draw this exercise: it takes about 10 minutes.
Draw 6 pairs of eyes in a row: 3 from the front, 3 in three-quarter view. Change only one thing each time: the eyelid, the iris or the eyebrow.
Keep learning
 Beginner
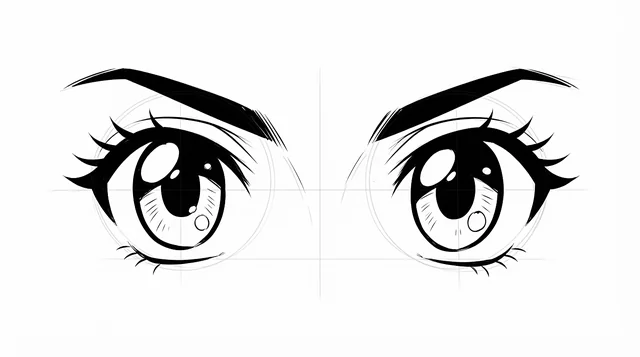
How to draw anime eyes, step by step
Build an anime eye in four stages, place it on the face, then change its style and emotion.
 Beginner
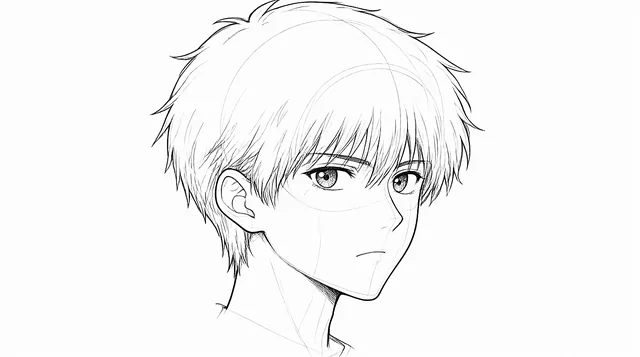
How to draw an anime face, step by step
Build the head as a volume, then place the eyes, nose, mouth and hair on it, one at a time.
 Beginner
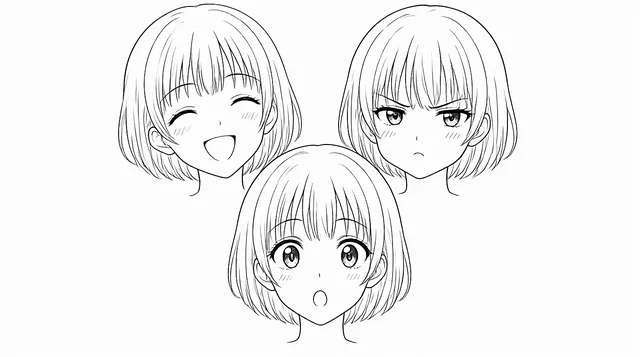
How to draw anime expressions, step by step
Build every emotion with the eyebrows, the eyelids and the mouth, then push it the manga way.