
Lesson · Bodies, hands & poses
Hands: a box, an arc and five fingers are enough
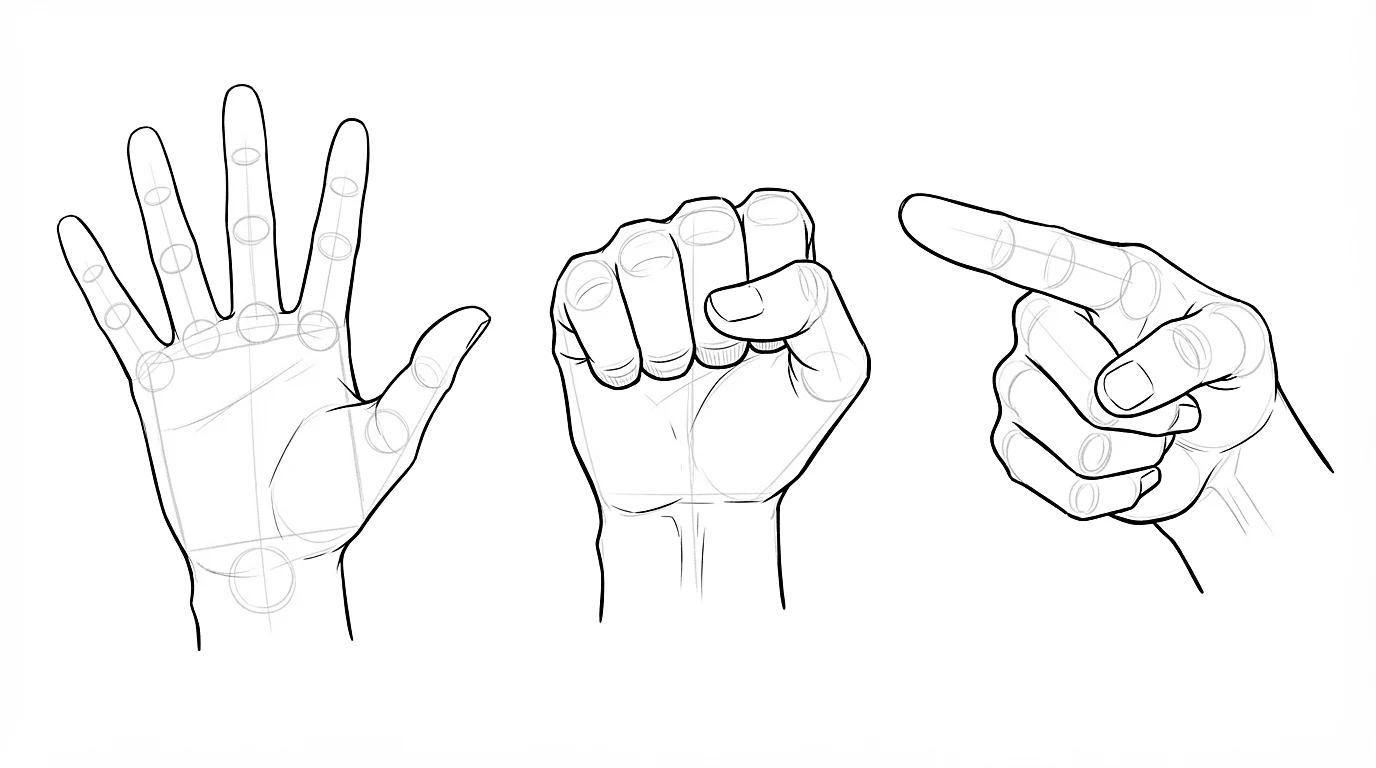
Hands are scary, so they end up in pockets or behind backs. Yet they say almost as much as the face. Once they are reduced to a few volumes, they become much easier to build, from any angle.
- Beginner
- 10 min practice
- 3 min read
- Updated
Key takeaways
- If your hand looks flat, the palm probably has no thickness. Go back to the box before you touch the fingers.
- Always check the wrist: it must stay in line with the forearm, even half hidden.
- Your free hand is a free model: put it in front of you, or take a photo of the gesture you need.
- Draw the silhouette of the hand first, like a mitten, then separate the fingers. The gesture stays readable.
On this page
Build a hand in four steps
-
Step 1The palm as a box
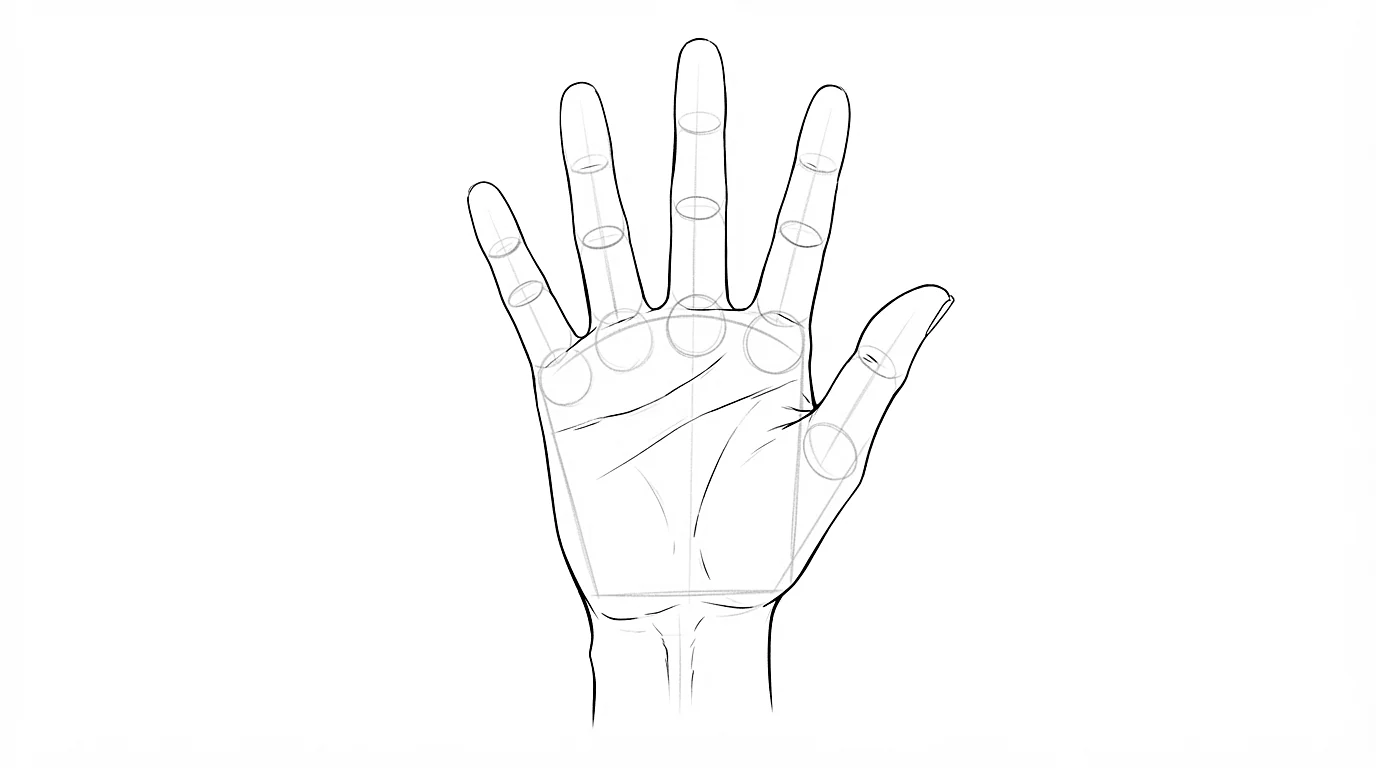
Draw a flat box, about as tall as it is wide. It tells whether we see the back of the hand, the palm or its edge. Give it some thickness right away.
-
Step 2The knuckle arc
The knuckles don't line up: draw an arc that rises to the middle finger, then drops toward the little finger. It follows the top of the palm and bends more as the hand closes.
-
Step 3Fingers in segments
Each finger is made of three cylinders that get shorter. The middle finger is about as long as the palm is tall, the index and ring fingers stop a little lower, and the little finger reaches the last joint of the ring finger.
-
Step 4The thumb on its own
The thumb doesn't start on the line of the fingers but low on the palm, near the wrist. Add the fleshy mass at its base first, then two segments. It works across from the fingers, not next to them.
If your hand looks flat, the palm probably has no thickness. Go back to the box before you touch the fingers.
Landmarks to remember
- An open hand covers roughly the face, from the chin to the forehead.
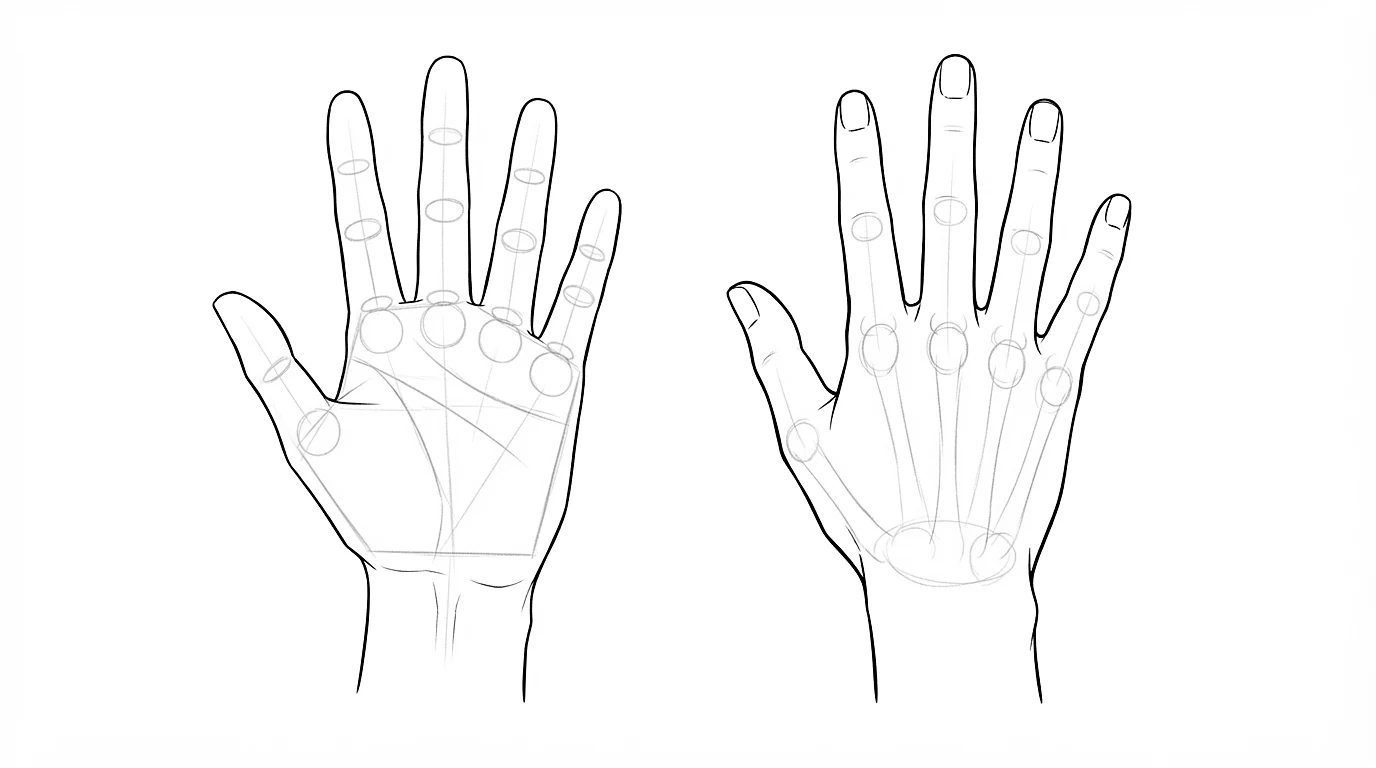
- The wrist is narrower than the palm: show that change, it keeps the hand from looking like a glove.
- On the palm side, fingers look shorter: the skin between them starts higher than the knuckles.
- Fingers are never perfectly parallel. They spread as the hand opens and converge toward the base of the palm as it closes.
- In manga, keep details to a minimum: two or three creases at the joints are enough. Slim, tapered fingers for a delicate hand, squarer knuckles for a strong one.
The gestures to know
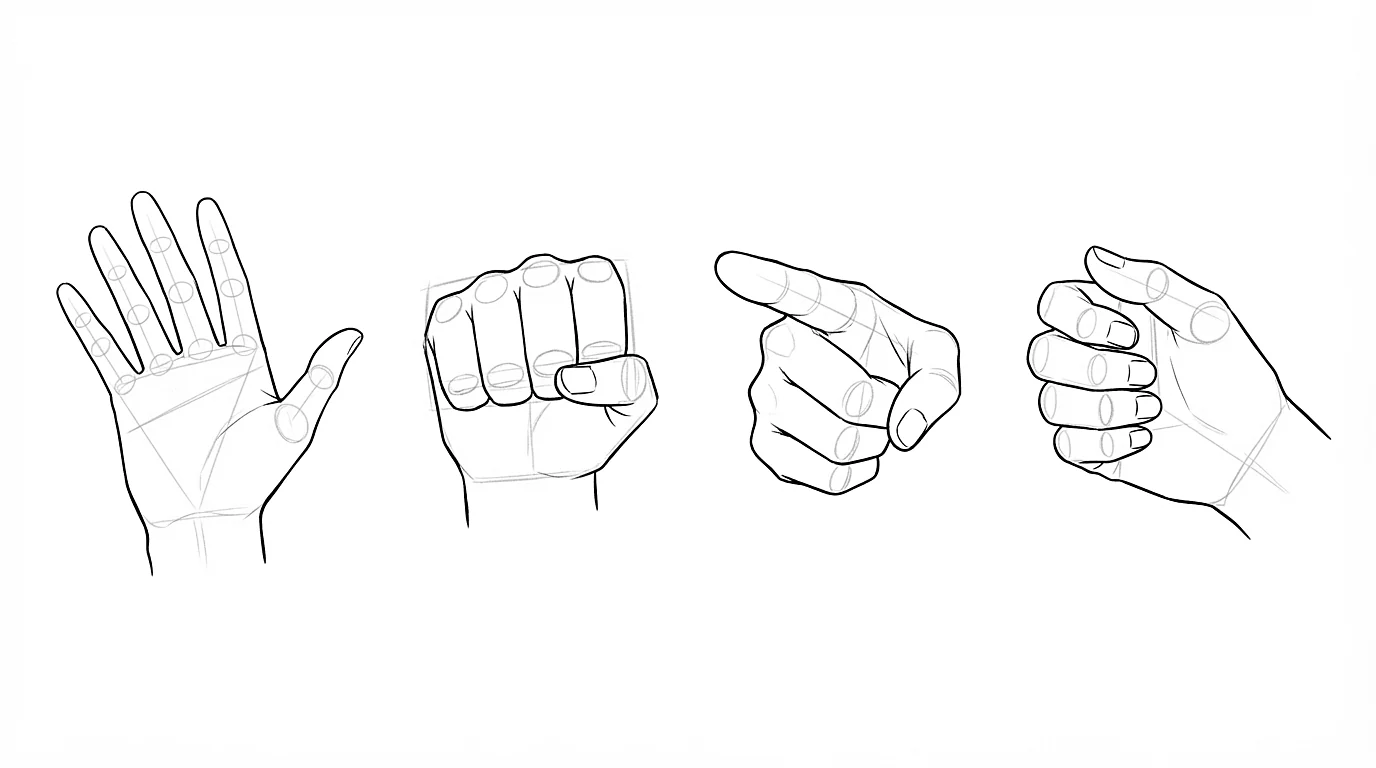
Four gestures cover most manga panels. Always start with the box of the palm, then bend the fingers from the knuckle arc.
-
Step 1The relaxed hand
The fingers bend slightly, a little more with each finger toward the little one. This staircase makes the hand look natural: avoid straight, parallel fingers.
-
Step 2The fist
Fold the fingers onto the palm: you only see their first segments, as blocks. The thumb closes on the outside, over the index and middle fingers, not inside.
-
Step 3The pointing hand
The index stays straight, the other fingers fold like a staircase and the thumb rests on them. Tilt the box so the gesture has a clear direction.
-
Step 4The hand holding an object
Draw the object first, then wrap the fingers around its volume. A hand is often built from what it touches.
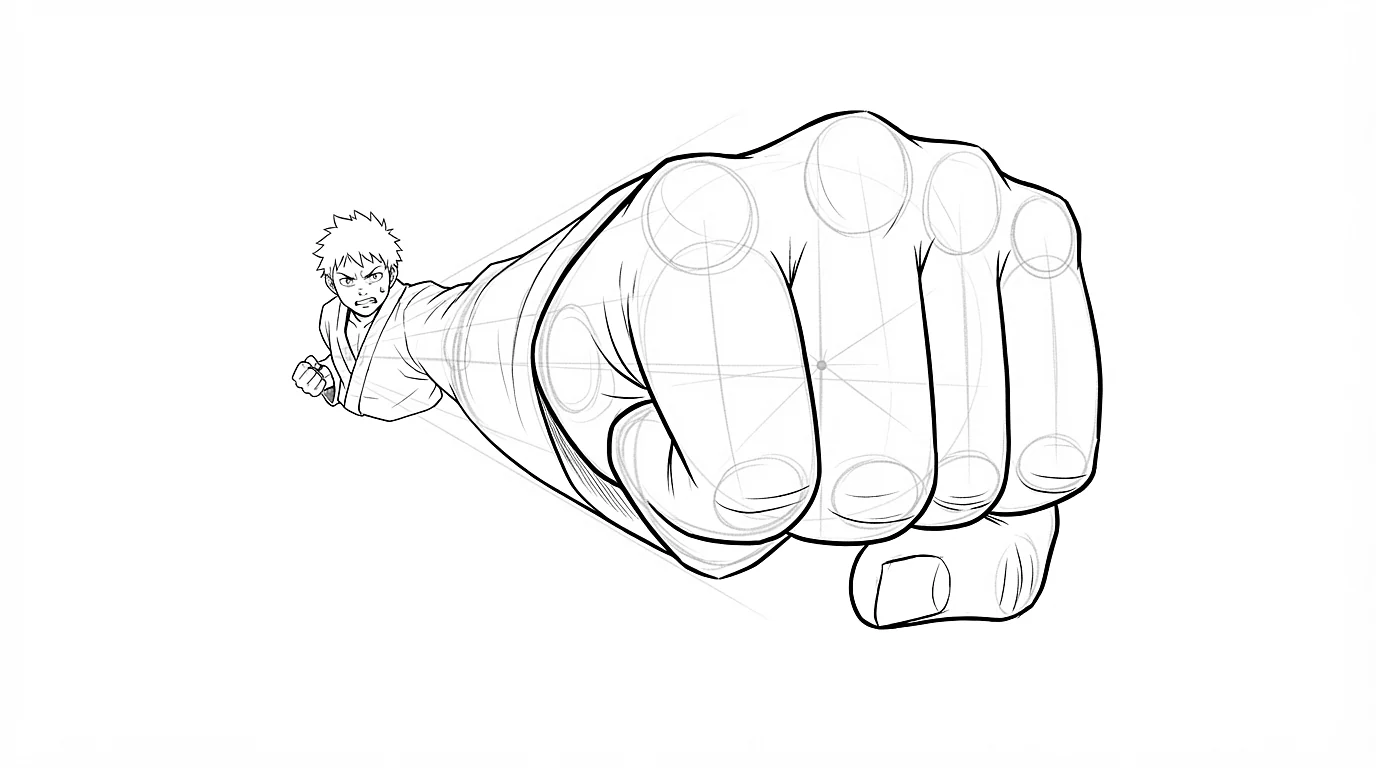
The hand pointing at the reader
It's the most spectacular hand in manga, and the one that impresses the most. The fingers come toward you, they overlap and the palm moves behind them.
-
Step 1Start with the tip
First draw what is closest, big: the fingertip or the fist. The rest hides behind it.
-
Step 2Think in ellipses
A finger seen head-on is no longer a long cylinder but an ellipse. Stack ellipses that shrink toward the palm.
-
Step 3Overlap
Let each shape cover the next one. These overlaps create the depth, not the details.
-
Step 4Dare to exaggerate
In manga, the near hand can be as big as the head, or bigger. The stronger the difference in size, the stronger the effect.
Always check the wrist: it must stay in line with the forearm, even half hidden.
The coach's tips
- Your free hand is a free model: put it in front of you, or take a photo of the gesture you need.
- Draw the silhouette of the hand first, like a mitten, then separate the fingers. The gesture stays readable.
- Group the fingers by two or three: four fingers well apart quickly make a stiff hand.
- A thumb tucked under the fingers is the fist of someone who has never thrown a punch. Handy for a shy character.
- Skip the nails and palm lines on small hands: the fewer the lines, the more confident the drawing looks.
Practice right now
Once the lesson is read, draw this exercise: it takes about 10 minutes.
Draw five box palms from different angles, add the knuckle arc and the fingers as cylinders. Finish with a relaxed hand and a fist.
Keep learning
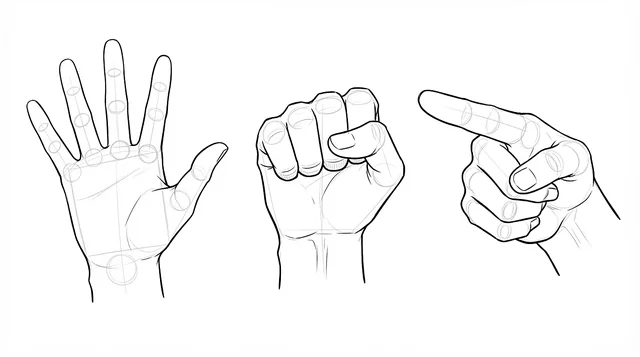 Intermediate
How to draw anime hands, step by step
A box for the palm, an arc for the knuckles and five fingers in segments: hands become simple.
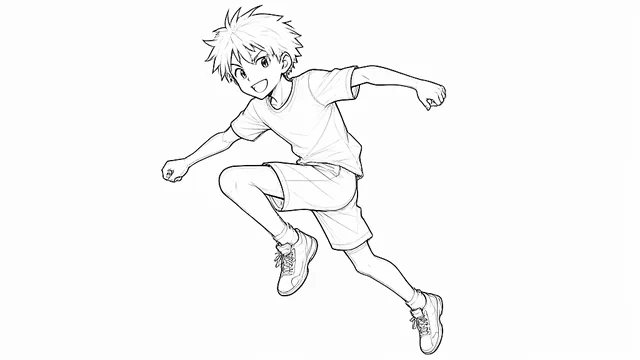 Intermediate
How to draw anime poses, step by step
Start with a line of action, build the mannequin on it, then add balance, depth and action.
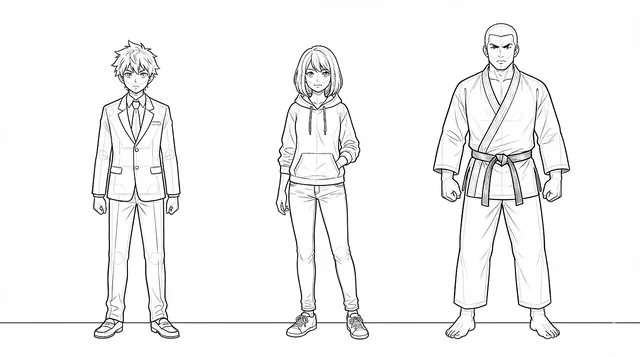 Intermediate
Clothes: see where fabric pulls, falls and folds
See where fabric pulls, falls and folds.