
Lesson · Bodies, hands & poses
Clothes: see where fabric pulls, falls and folds
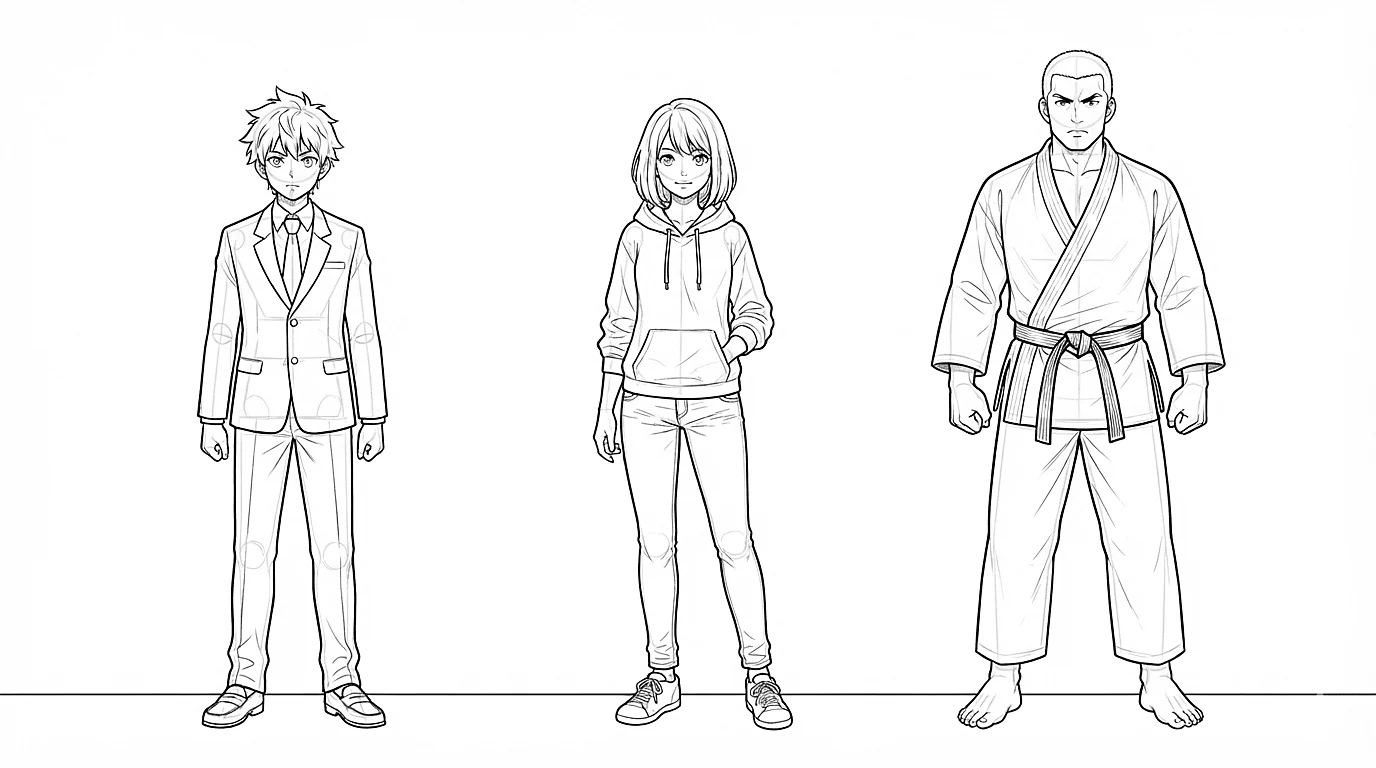
Clothes aren't an outline placed on a character: they are fabric resting on a body, falling with gravity and folding when the body moves. Once you know why a fold exists, you no longer need to invent them at random.
- Intermediate
- 15 min practice
- 3 min read
- Updated
Key takeaways
- A straight hem flattens the whole character. A curved one that follows the cylinder of the arm or leg brings it back to 3D.
- If you can't say why a fold is there, remove it. Three well-placed folds are better than twenty.
- Draw each fold from its starting point and ease off the pressure: a line that thins out looks more natural.
- Don't close every fold: a line that stops before the outline lets the drawing breathe.
On this page
Dress a body in four steps
-
Step 1The body first
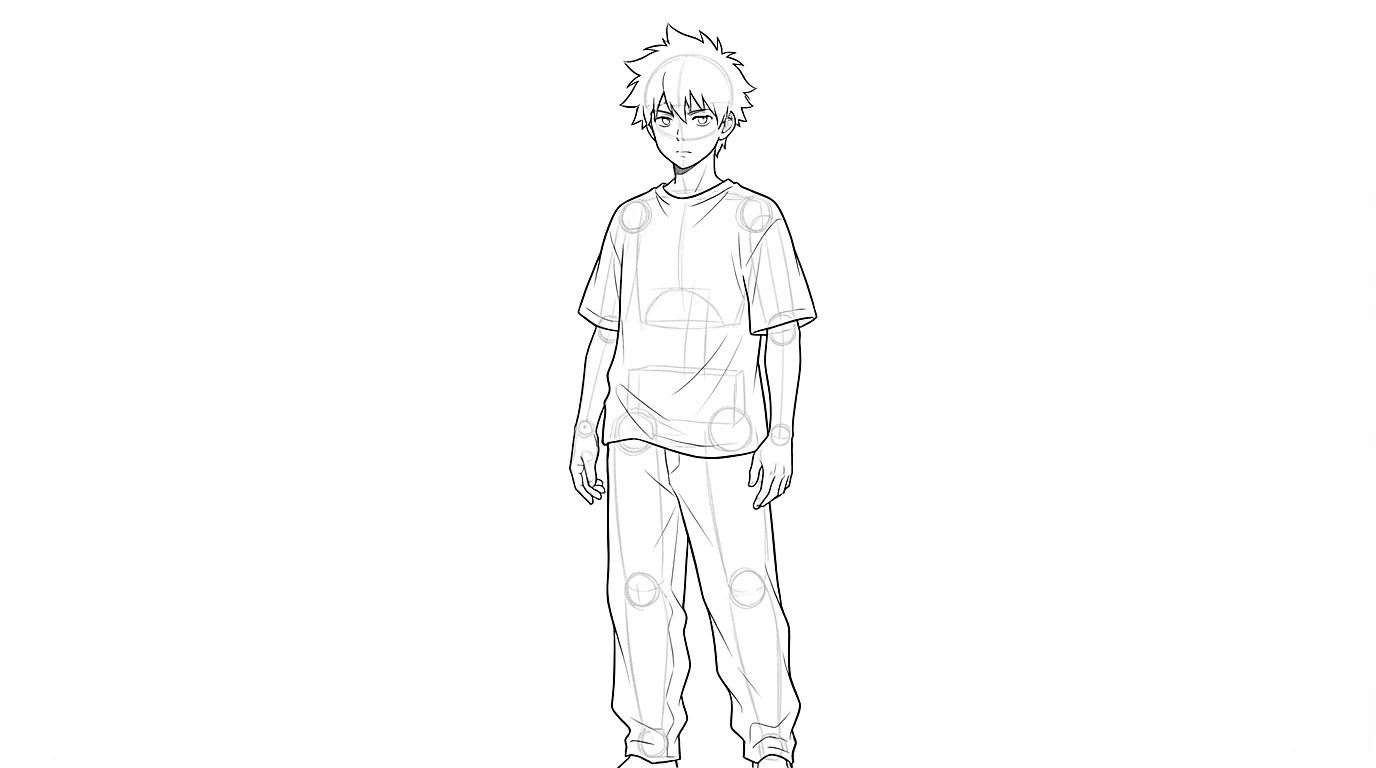
Start with the mannequin, even a simple one. If the pose works without clothes, it will work with them.
-
Step 2The points of support
Find where the fabric really touches the body: the shoulders for a T-shirt, the waist and hips for pants or a skirt. The whole garment hangs from these points.
-
Step 3The air around the body
Between the points of support, move the outline away from the body. The looser or thicker the garment, the bigger the gap.
-
Step 4The lines that go around
Collars, sleeves, hems and belts go around the body: draw them as ellipses. They are what gives a garment its volume.
A straight hem flattens the whole character. A curved one that follows the cylinder of the arm or leg brings it back to 3D.
Why folds appear
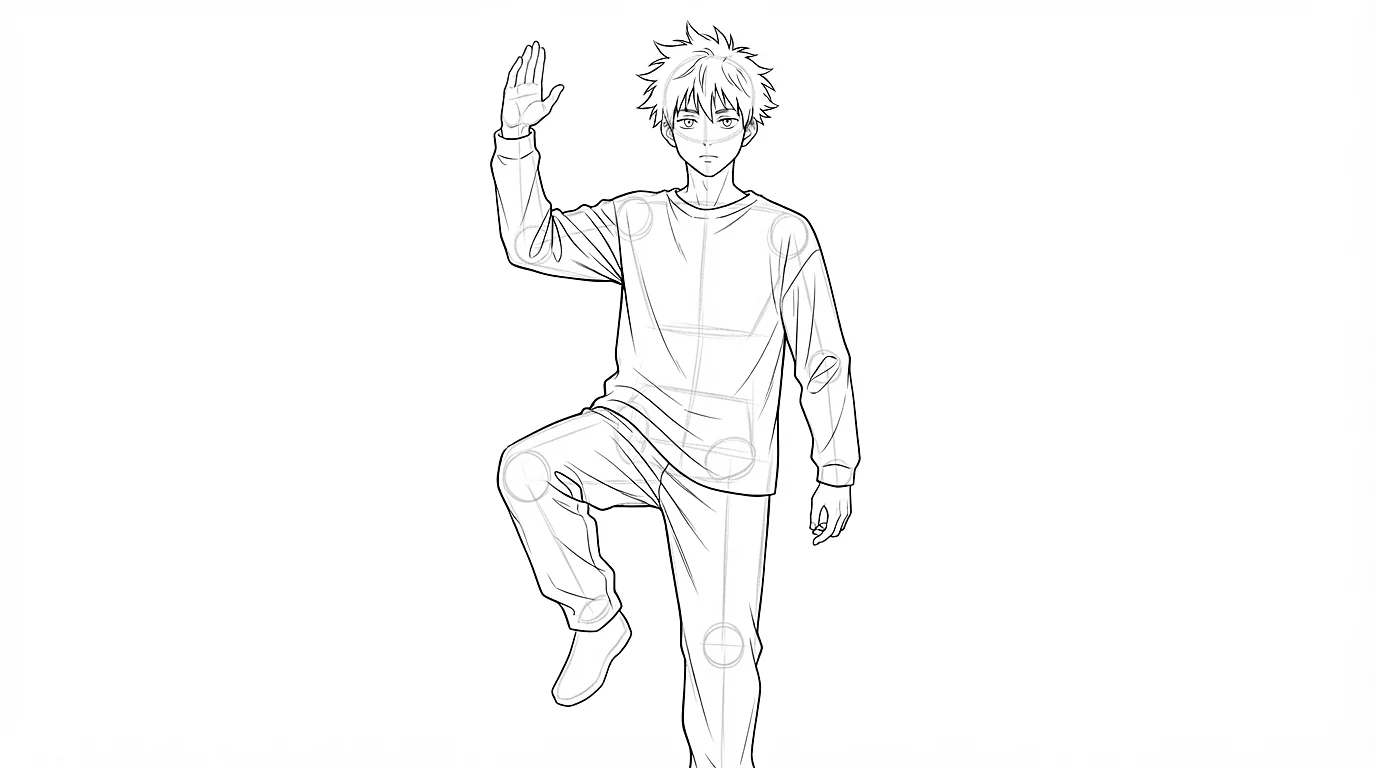
Three forces explain almost every fold. Before you draw one, ask yourself which one is at work.
-
Step 1Tension
When a joint pulls the fabric, folds leave from that point and radiate, as at the armpits, elbows or crotch. They are long, taut lines.
-
Step 2Compression
Inside a bent elbow or behind a bent knee, the fabric bunches up. The folds are short, tight and often change direction.
-
Step 3Gravity
Where nothing holds it, fabric falls. It forms long vertical folds under a point of support, or a U-shaped curve between two points.
If you can't say why a fold is there, remove it. Three well-placed folds are better than twenty.
The five folds to know
-
Step 1The pipe fold
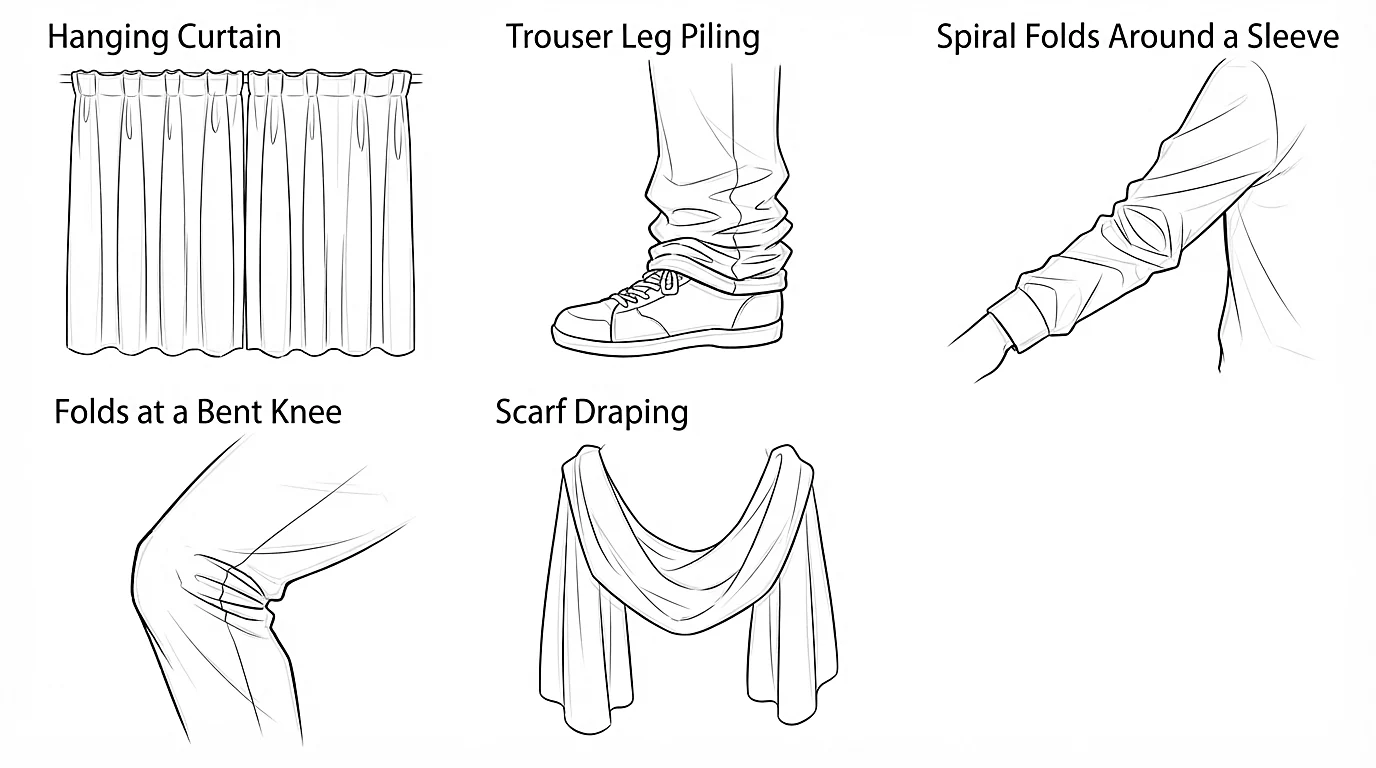
Parallel tubes hanging from a point of support: curtains, capes, long skirts.
-
Step 2The zigzag fold
Fabric piling up on itself: a trouser leg on a shoe, a pushed-up sleeve.
-
Step 3The spiral fold
It wraps around a cylinder: a tight sleeve, a narrow trouser leg.
-
Step 4The locked fold
In the crook of a joint bent all at once, the fabric jams into a sharp angle, like at the knee of a seated character.
-
Step 5The U fold
Fabric hanging between two points of support: a scarf, a wide collar, the sleeve of a raised arm.
Fabrics and manga outfits
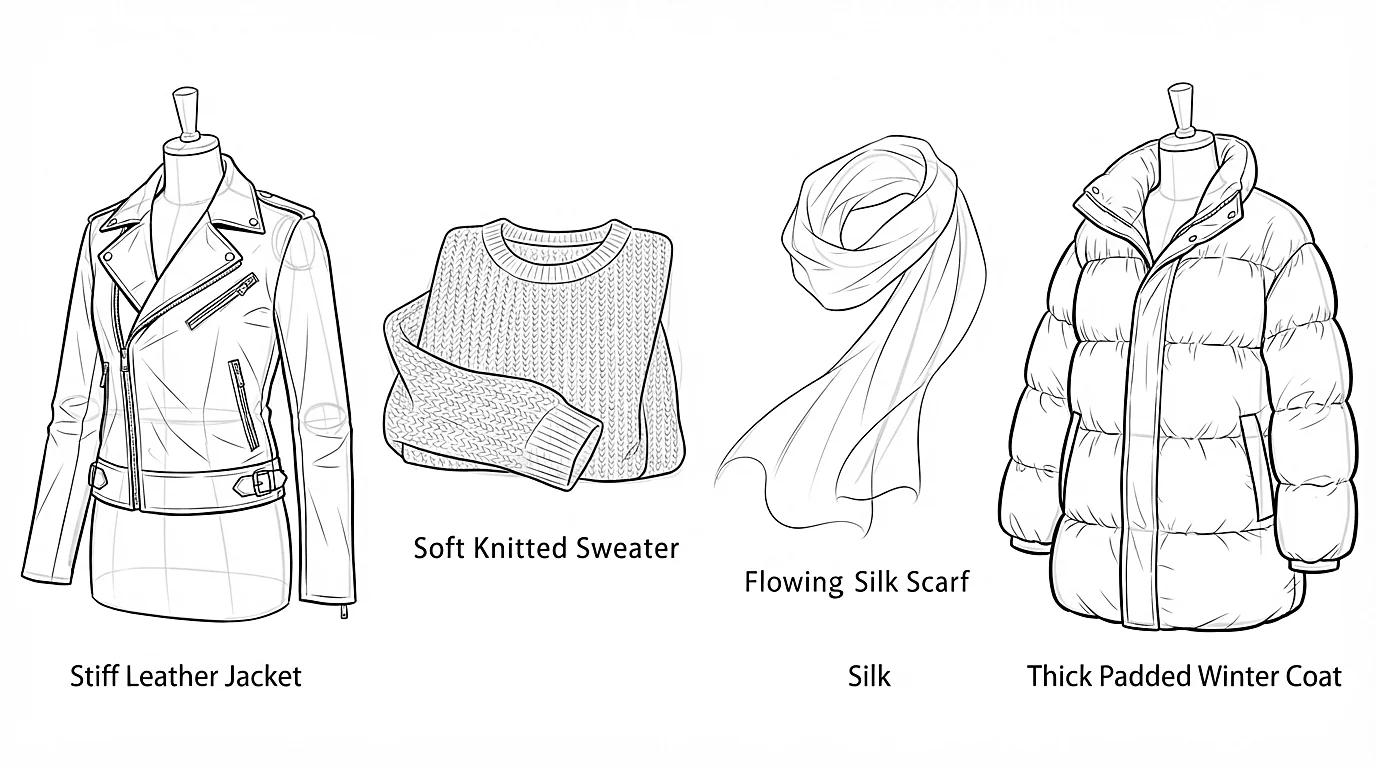
The same fold isn't drawn the same way on every fabric. That is what makes a jacket, a dress or a uniform believable.
-
Step 1Thin fabric
Silk, a light shirt: many long, thin folds that hug the body. A light, supple line.
-
Step 2Thick fabric
Coats, jackets, jeans: few folds, wide and angular. The garment keeps its own shape and stands away from the body.
-
Step 3The pleated skirt
Draw an ellipse at the waist and another at the hem, then join them with pleats that open downward. The hem makes a regular zigzag that follows the ellipse.
-
Step 4The school uniform
Sailor collar or jacket, the collar rests on the shoulders and follows their slope. Place buttons and ties on the center line of the torso: they follow its curve.
-
Step 5Fabric in motion
Capes, scarves and coat tails lag behind the body: start them from the line of action and carry the movement out to their tips.
The coach's tips
- Draw each fold from its starting point and ease off the pressure: a line that thins out looks more natural.
- Don't close every fold: a line that stops before the outline lets the drawing breathe.
- Look for folds where the body bends. On flat areas, like a torso seen from the front, leave the fabric alone.
- Bend your own arm in front of a mirror or take a photo: your T-shirt is a free reference.
- An outfit tells a story: an open collar, rolled-up sleeves or a loose tie say a lot without a word.
Practice right now
Once the lesson is read, draw this exercise: it takes about 15 minutes.
Draw a standing mannequin with one arm and one leg bent. Dress it in a T-shirt and pants, mark the tension points, then draw three folds at most per area.
Keep learning
 Beginner
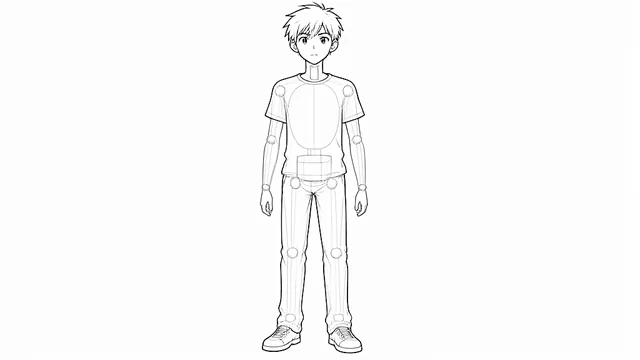
How to draw an anime body, step by step
Measure the body in heads, build it with simple volumes, then draw the outline and the clothes.
 Beginner
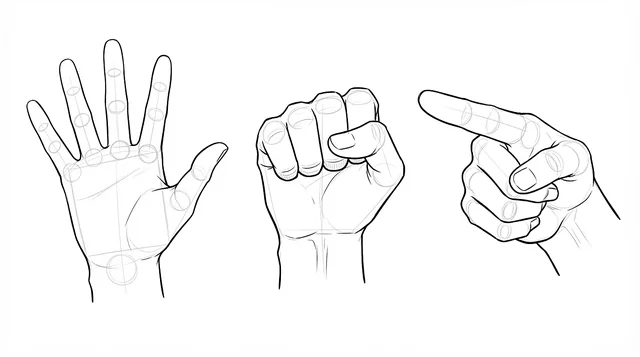
Hands: a box, an arc and five fingers are enough
A box, an arc and five fingers are enough.
 Intermediate
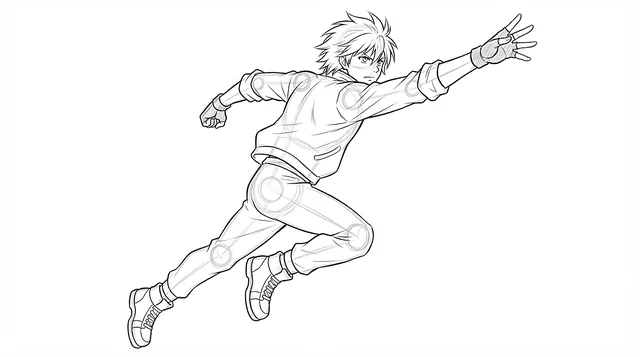
Poses: from gesture to a living pose, readable in a second
From gesture to a living pose, readable in a second.