
Lesson · Making manga
Composition and framing: where to place the subject and how to frame it
The same drawing can be dull or striking depending on where it sits in the frame. Composition is the art of guiding the reader's eye to what matters.
- Intermediate
- 15 min practice
- 3 min read
- Updated
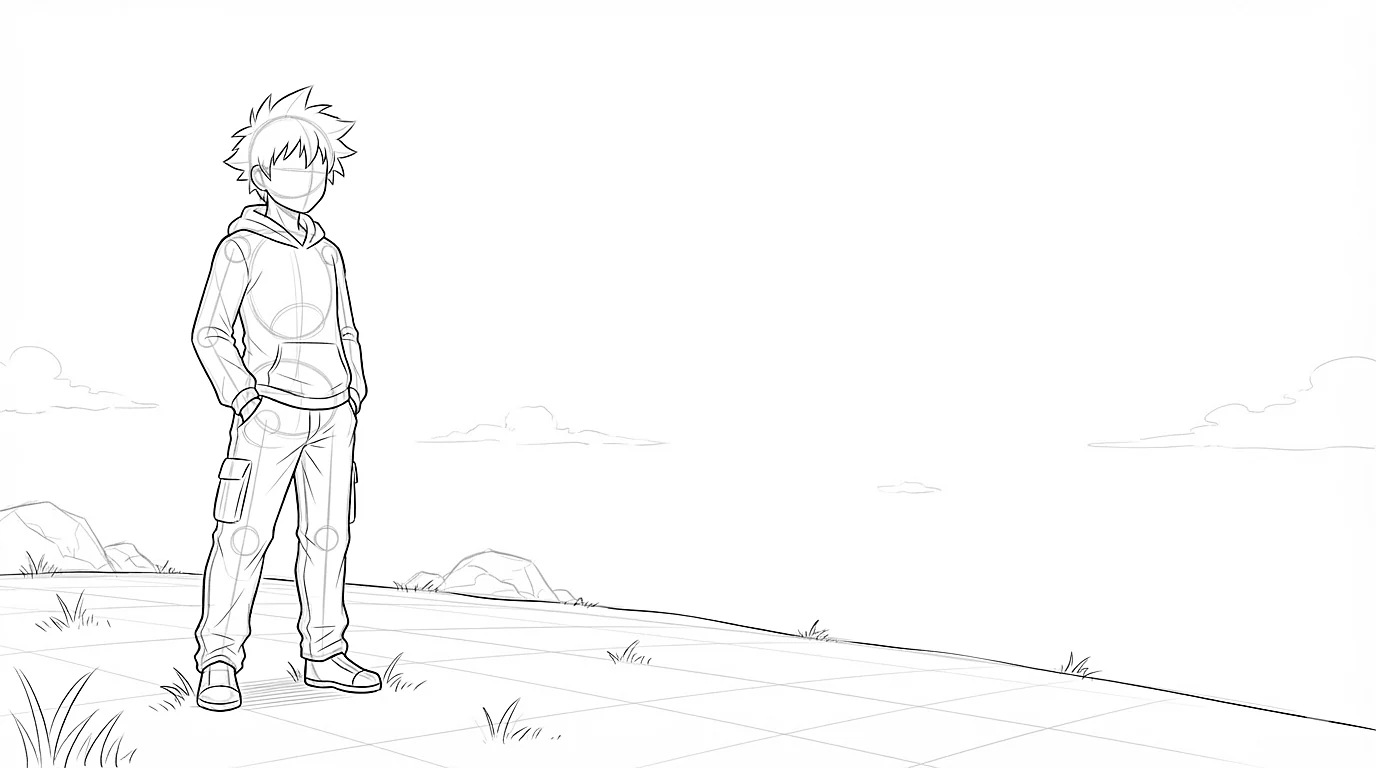
Key takeaways
- The center isn't forbidden: it makes a stable, solemn or face-to-face image. Choose it on purpose, not by default.
- Squint at your drawing: what you see first is what the reader will see first.
- Do it with the panels that stay with you: they have the most to teach you.
On this page
The rule of thirds
-
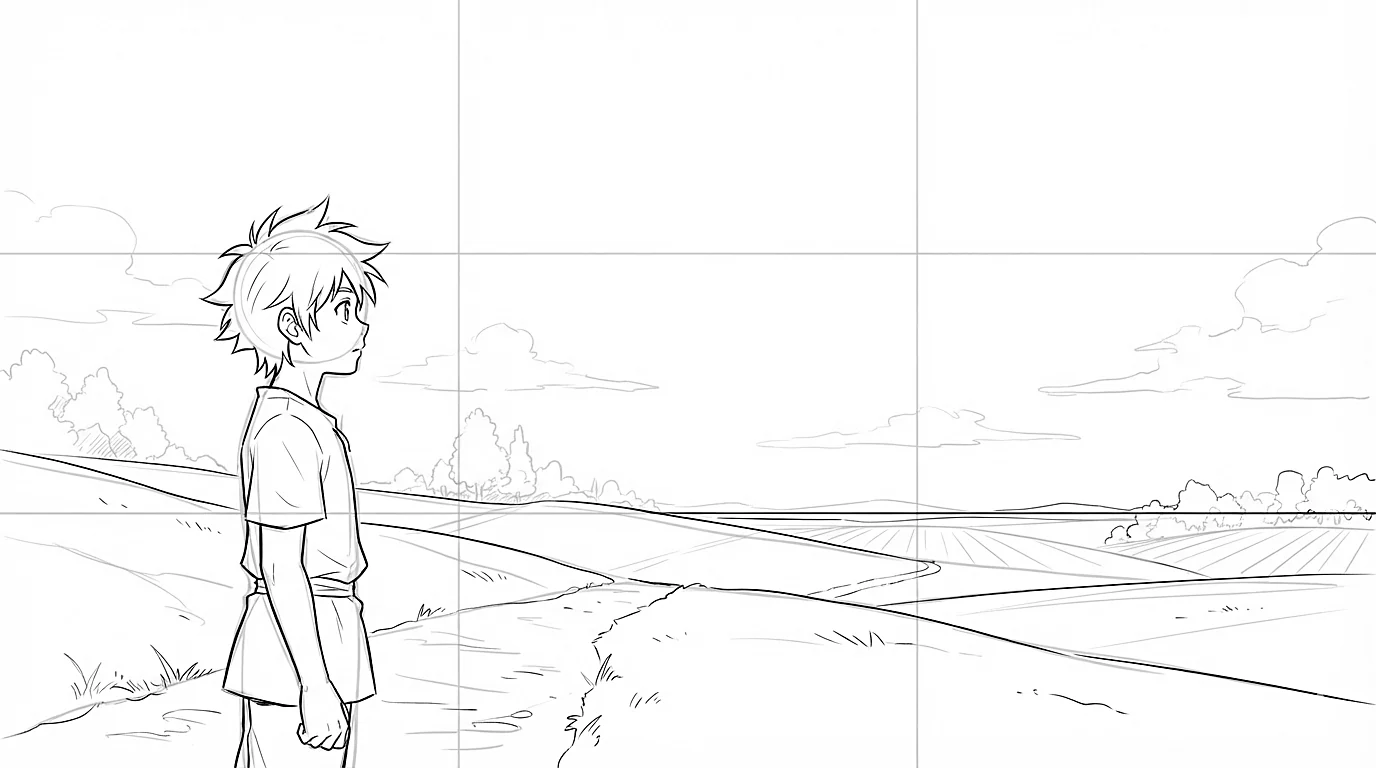
Step 1A grid of nine
Mentally split your frame into three, in width and in height. You get four lines and four crossing points.
-
Step 2The subject on a strong point
Put the face or the important element on one of the four points rather than in the center. The image breathes and feels more alive.
-
Step 3The horizon on a third
Put the horizon line on the top or bottom third, never in the middle: otherwise the frame looks cut in half.
-
Step 4Room in front of the gaze
Leave more room on the side the character looks or moves toward. Pressed against the edge they face, they seem stuck.
The center isn't forbidden: it makes a stable, solemn or face-to-face image. Choose it on purpose, not by default.
Shot sizes
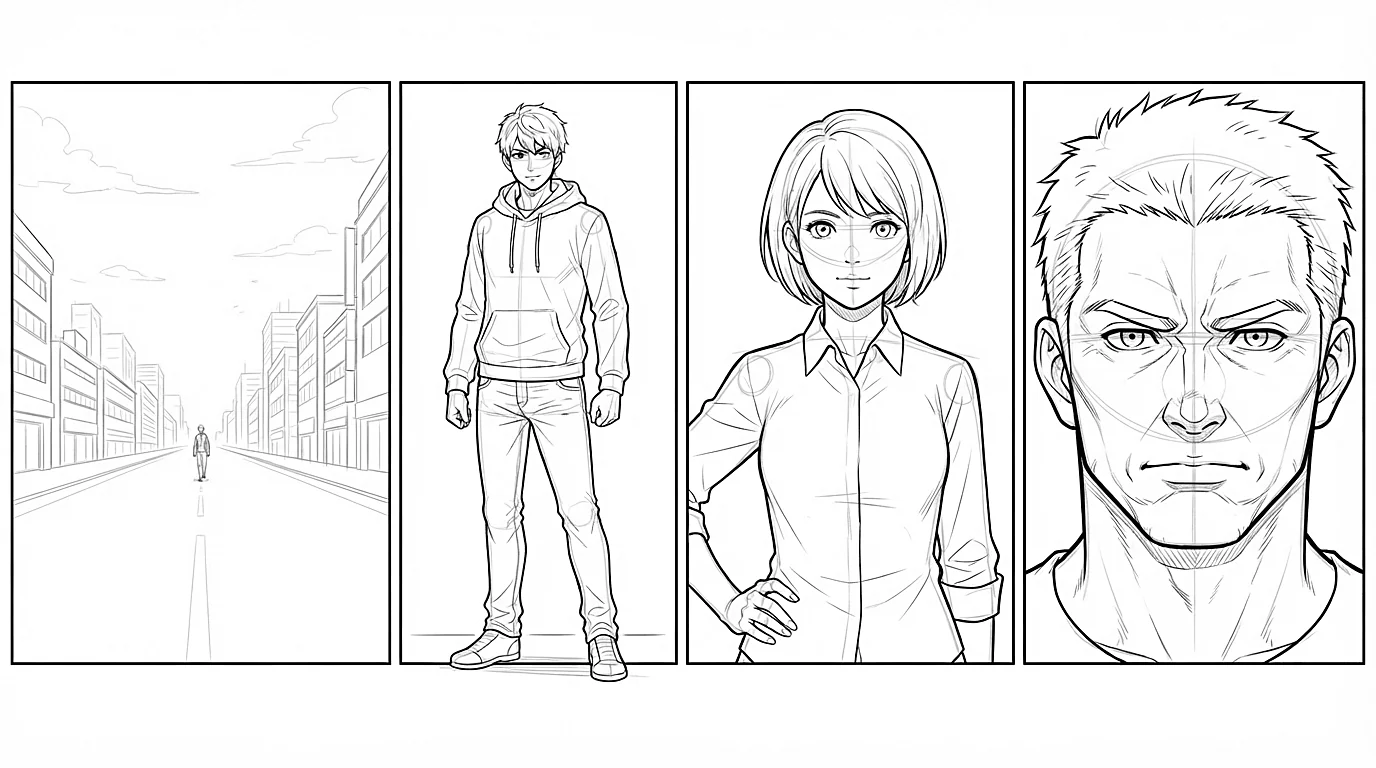
- Wide shot: the whole setting, the characters small. To set a scene.
- Full shot: the whole character, head to toe. To show a pose or an action.
- Medium shot: from the head to the waist. The dialogue shot.
- Close-up: the face. For an emotion.
- Extreme close-up: an eye, a hand, a detail. For a moment of tension.
Guiding the eye
-
Step 1Contrast attracts
The eye goes first to where the contrast is strongest: a light face on a dark background, a black spot in a light setting.
-
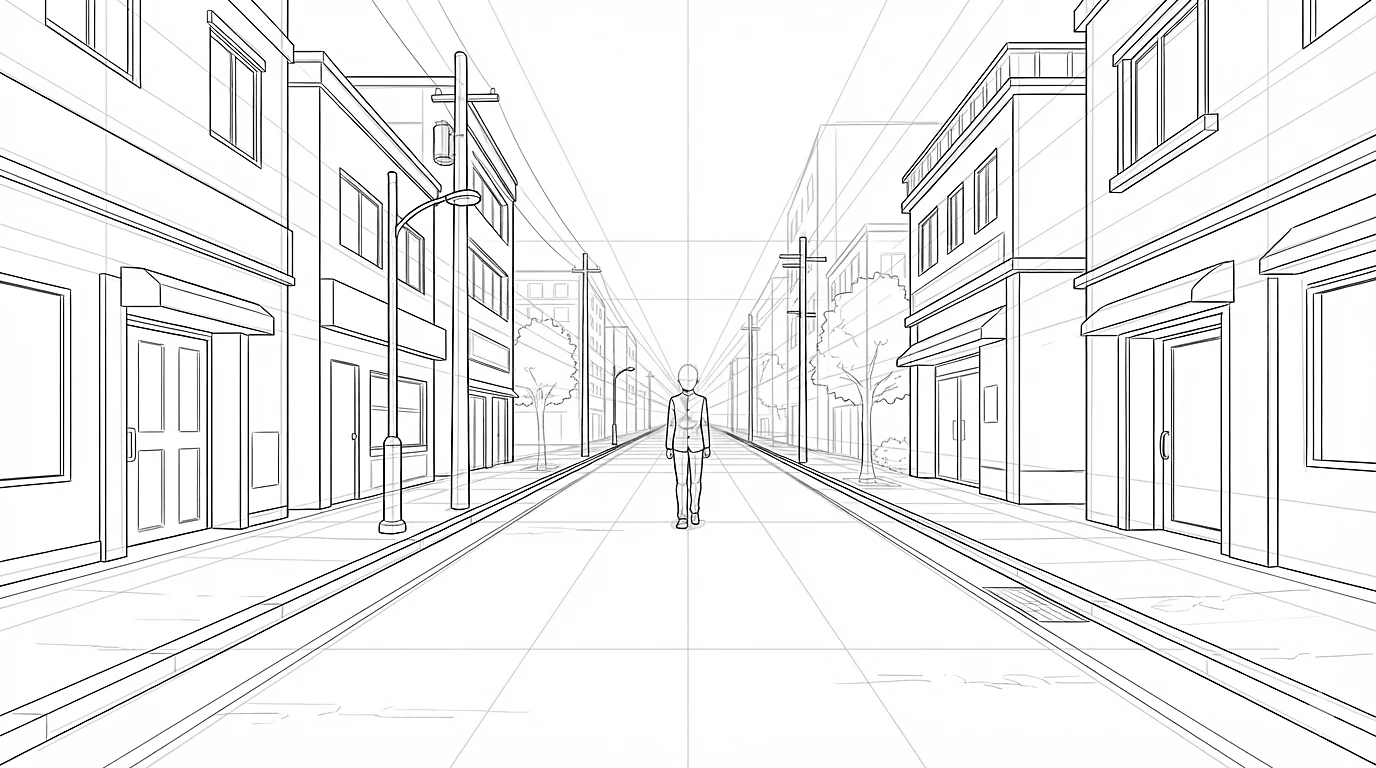
Step 2Lines that point
Background lines, an outstretched arm, a gaze: everything that points leads the eye. Make them converge on your subject.
-
Step 3Less detail around
Keep the detail on the subject and simplify the rest. A busy background steals the attention.
Squint at your drawing: what you see first is what the reader will see first.
Studying a pro's panel
Mangaka learn by taking apart other artists' work. A pro's panel is a free composition lesson.
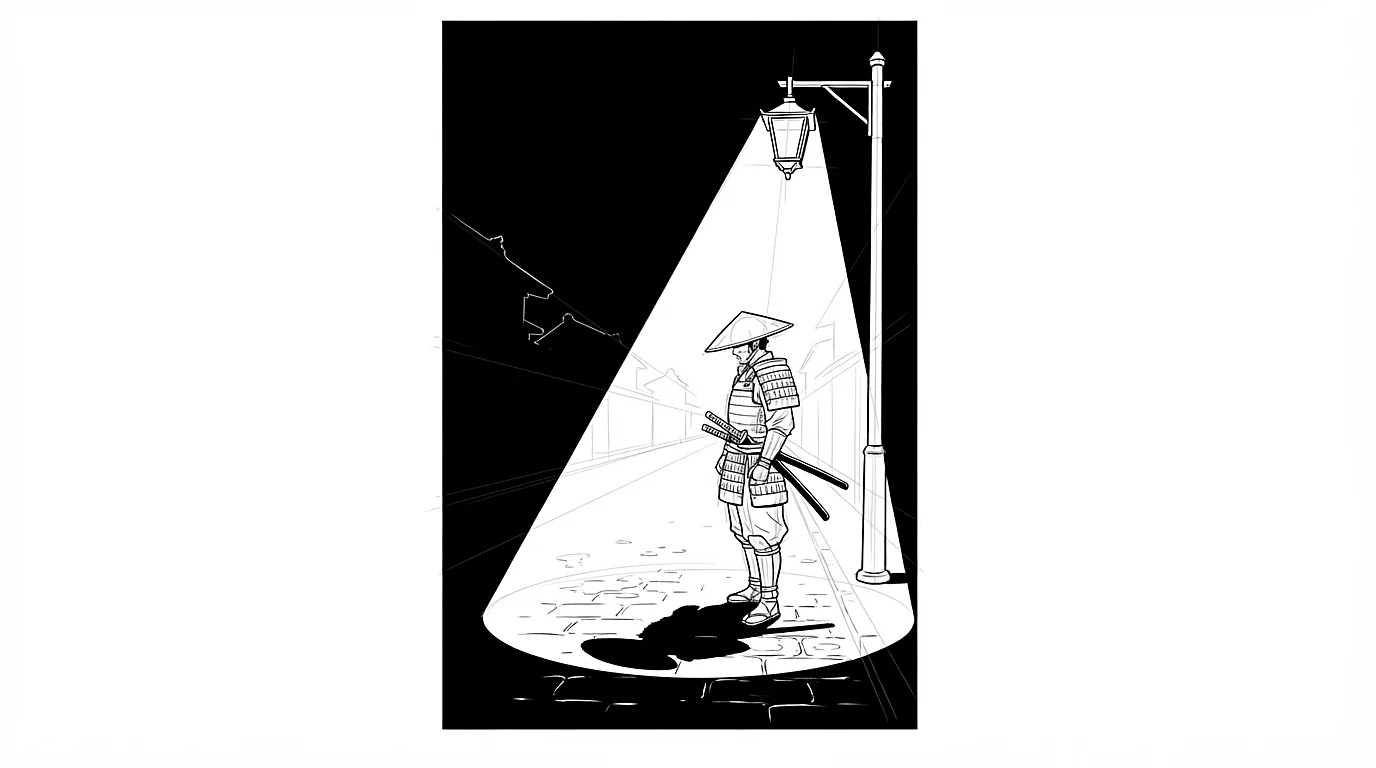
-
Step 1Find the subject
What does the panel want to show? A face, a gesture, a place? Write it down in one word.
-
Step 2Trace the structure
On a layer or a copy, trace the horizon, the main lines and the grid of thirds in a few strokes. See where the subject falls.
-
Step 3Find the values
Fill the big areas in three tones: white, gray, black. You'll see how the contrast leads the eye.
-
Step 4Redo it differently
Redraw the panel changing a single thing: the shot, the angle or where the subject sits. Compare what you lose and what you gain.
Do it with the panels that stay with you: they have the most to teach you.
The coach's tips
- Make three small thumbnails before each illustration, with three different compositions, and keep the best one.
- Flip your drawing horizontally: an unbalanced composition jumps out.
- When a character is cut by the edge of the frame, cut between two joints, mid-thigh or mid-arm, never right at the knee or the wrist.
- Avoid tangents: two contours that just barely touch are confusing. Overlap them clearly or move them apart.
- Before tracing a character in the app, decide on its final framing: full shot, medium shot or close-up.
Practice right now
Once the lesson is read, draw this exercise: it takes about 15 minutes.
Draw the same character in three frames of the same size: a wide shot, a medium shot and a close-up, placing their face on a third's point each time.
Keep learning
 Intermediate
Inking: confident lines, and line weight that builds volume
Confident lines, and line weight that builds volume.
 Intermediate
The manga page: panels, reading order and balloons
Panels, reading order and balloons.
 Intermediate
Black, white and screentones: solid blacks, screentones and black-and-white readability
Solid blacks, screentones and black-and-white readability.