
Lesson · Bodies, hands & poses
Poses: from gesture to a living pose, readable in a second
A good pose reads at a glance, even without the face or the details. The secret isn't perfect anatomy: it's a clear idea, a simple movement and a believable weight.
- Intermediate
- 15 min practice
- 3 min read
- Updated
Key takeaways
- Thirty seconds are enough to know whether a pose works. If it fails as a sketch, details won't save it.
- Draw fast: the shorter the sketch, the more alive the gesture. Aim for 30 to 60 seconds per pose.
- Strike the pose yourself in a mirror or a selfie: you'll feel where your weight goes.
- Start with the leg carrying the weight: the rest of the body organizes itself around it.
On this page
Build a pose in four steps
-
Step 1The intention
Sum up the pose in one sentence: he leaps forward, she hesitates to leave. If you can't say it simply, the drawing will stay vague.
-
Step 2The line of action
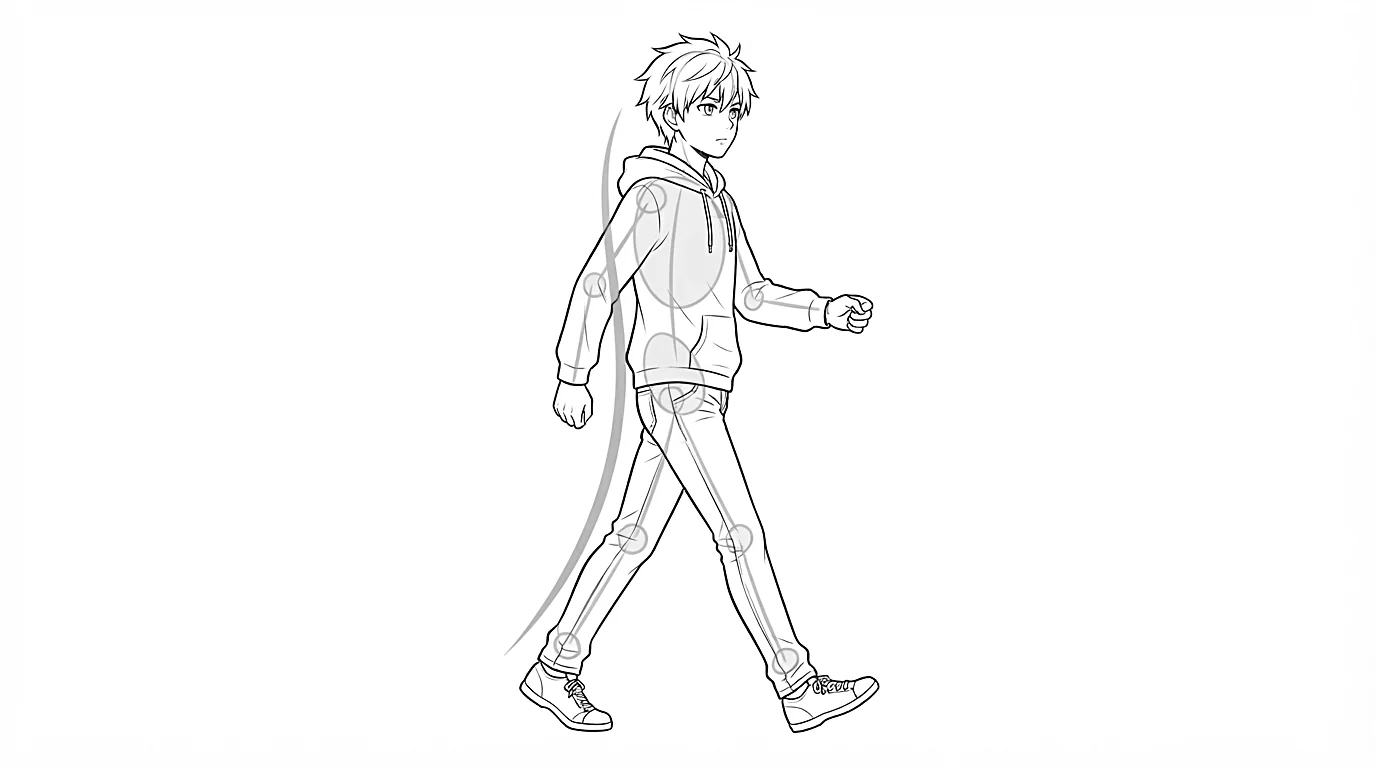
Draw a single curve, a C or an S, from the head to the foot carrying the weight. It is the movement of the whole pose.
-
Step 3The big volumes
Place the head, the rib cage and the pelvis on that curve, and tilt them against each other.
-
Step 4Limbs and supports
Add the legs first, which carry the weight, then the arms, which balance it. Details only come once the pose convinces.
Thirty seconds are enough to know whether a pose works. If it fails as a sketch, details won't save it.
The four keys to a living pose
-
Step 1Weight on one leg
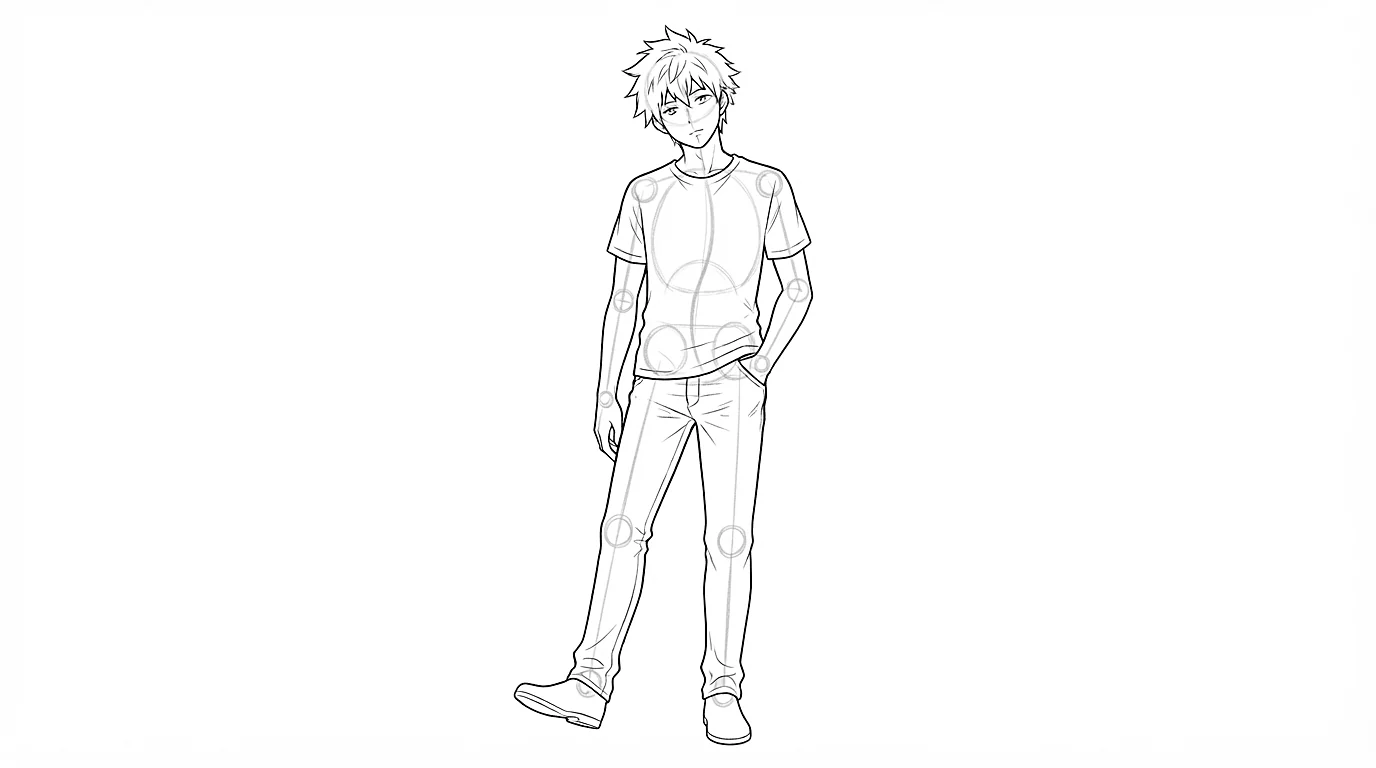
When the weight moves onto one leg, the hip rises on that side and the shoulders tilt the other way. That shift is enough to wake up a standing pose.
-
Step 2Asymmetry
Don't let both arms or both legs do the same thing. Shift the heights, change the angles: symmetry makes a character stiff.
-
Step 3Balance
Imagine a plumb line dropping from the hollow of the neck. If it lands between the feet, the character stands. If it lands outside, the character must be walking, running or falling.
-
Step 4The silhouette
Fill your pose in black. If it no longer reads, move the arms away from the body and clear the important shapes.
Push the pose like a mangaka
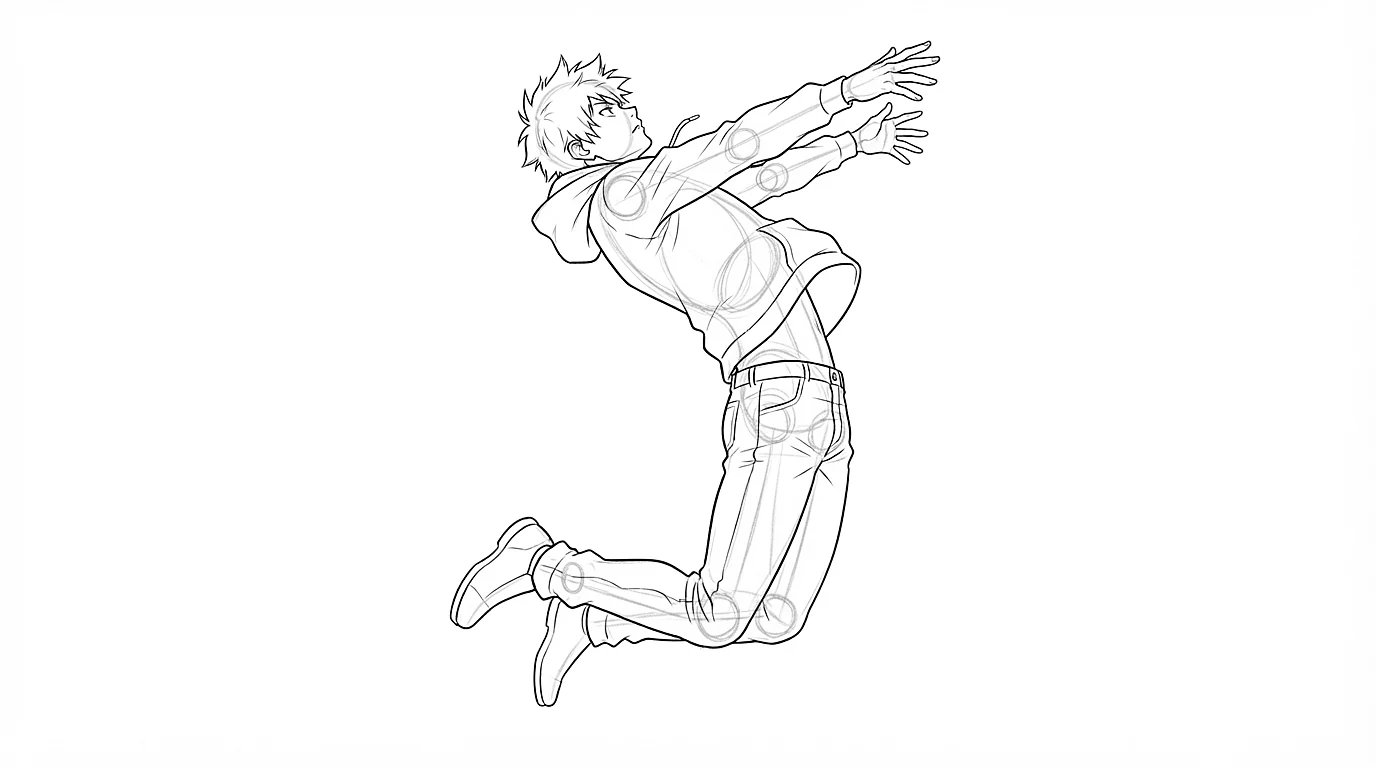
- Accentuate the curve: once the pose is in place, bend the line of action a little more. What looks exaggerated in a sketch looks right in a panel.
- Pick the right moment: just before or just after the blow is often stronger than the impact itself. The body is fully loaded or fully stretched.
- Stretch and squash: a body launching itself gets longer, a body getting ready gathers itself in. That contrast creates energy.
- Move the camera: seen from below, a character looks powerful; seen from above, vulnerable.
- Bring a limb closer: a fist or a foot thrust at the reader adds depth right away.
Four classic poses to know how to build
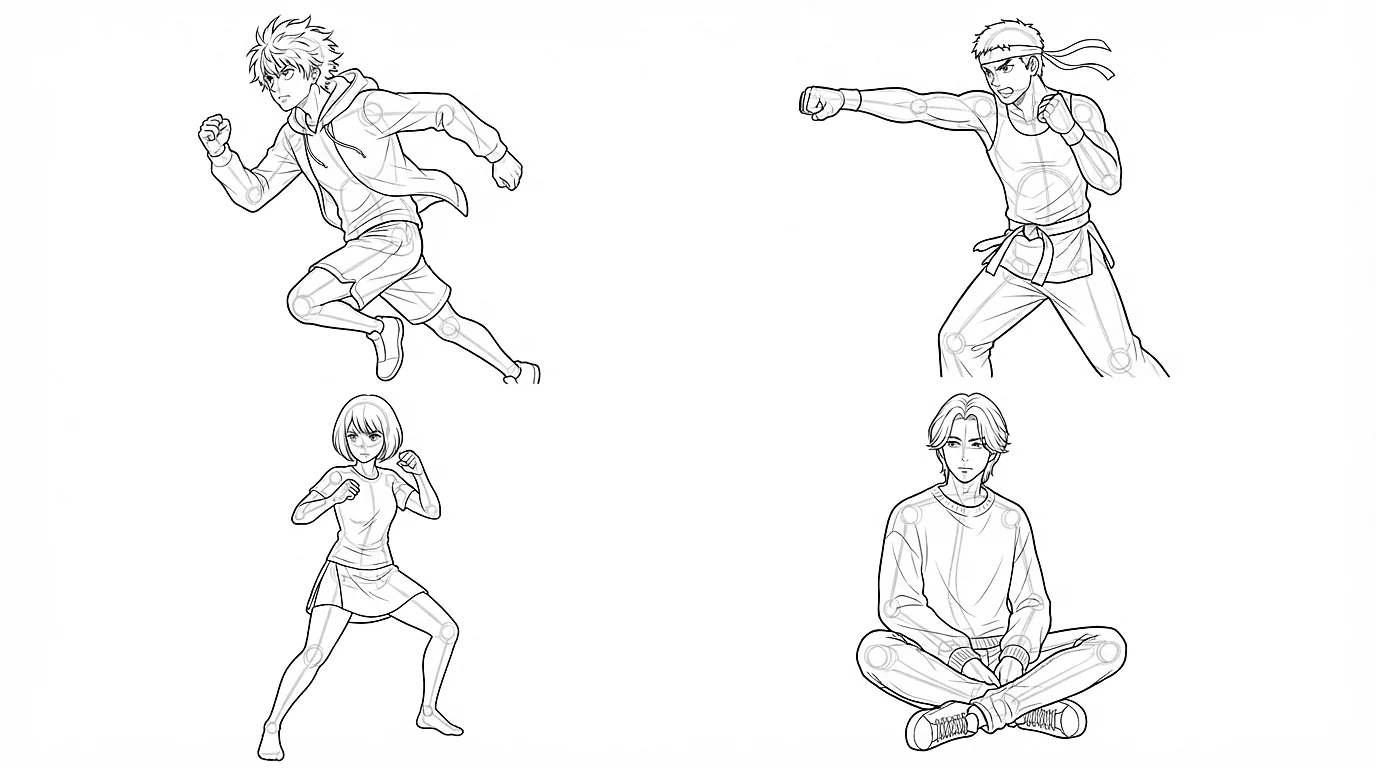
These poses come back in every shonen. Understand how they work once and you can vary them endlessly.
-
Step 1The run
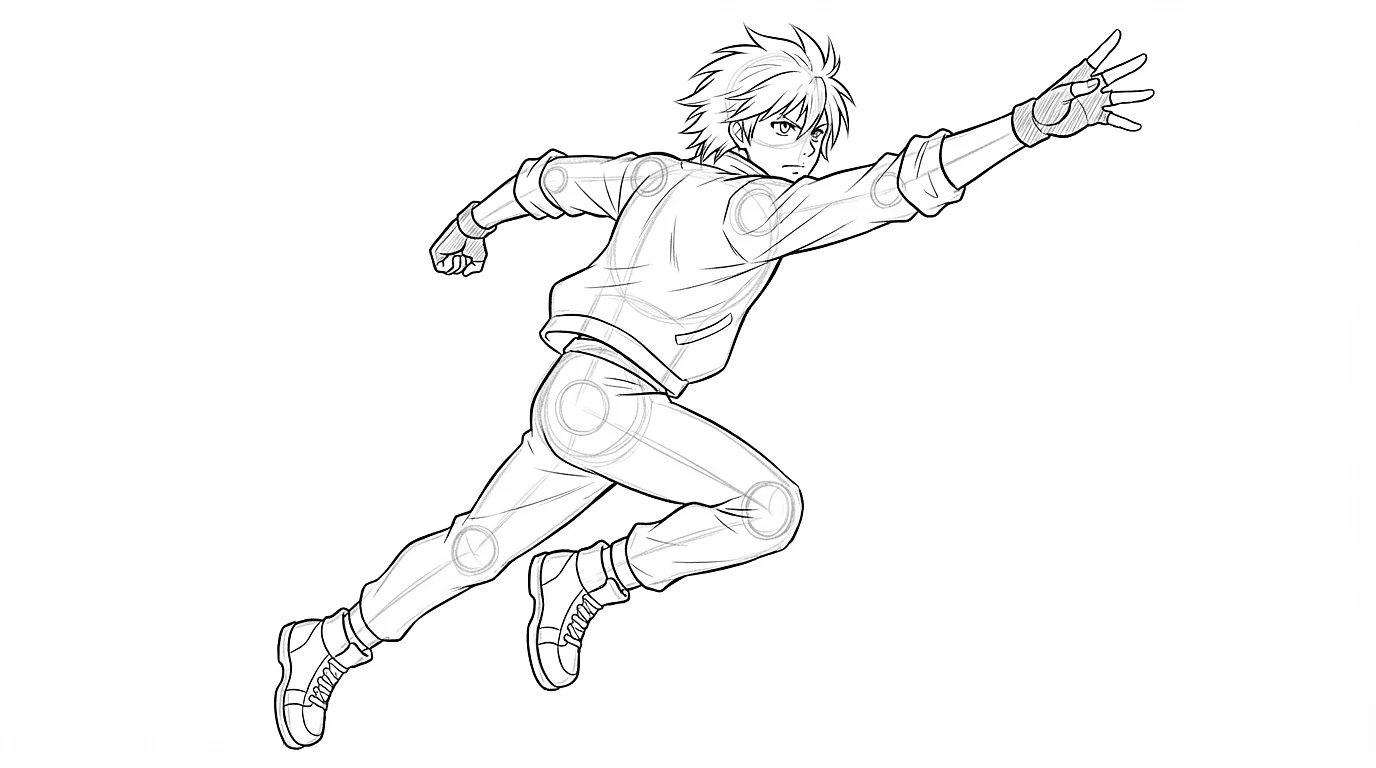
The torso leans forward, past the feet. The arm moves with the opposite leg, and the supporting foot pushes behind the body.
-
Step 2The punch
The movement starts in the back foot, goes through the pelvis and ends in the shoulder. Turn the pelvis and shoulders toward the target, and let the other arm pull back.
-
Step 3The guard
Legs apart and bent, weight low, shoulders forward. The pelvis drops: that is what gives the feeling of stability.
-
Step 4Sitting, relaxed
The weight rests on the pelvis, not on the legs. Let the back round, the head tilt, and one leg do something different from the other.
The coach's tips
- Draw fast: the shorter the sketch, the more alive the gesture. Aim for 30 to 60 seconds per pose.
- Strike the pose yourself in a mirror or a selfie: you'll feel where your weight goes.
- Start with the leg carrying the weight: the rest of the body organizes itself around it.
- Stiff pose? Tilt the head, shift the shoulders and bend a knee. That is often enough.
- Hair and clothes extend the movement: make them follow the line of action.
- Before drawing a character in the app, look for their line of action: you'll see why the pose works.
Practice right now
Once the lesson is read, draw this exercise: it takes about 15 minutes.
Do 10 sketches of 30 seconds from photos. Pick your favorite and rebuild it with the four steps of this lesson.
Keep learning
 Intermediate
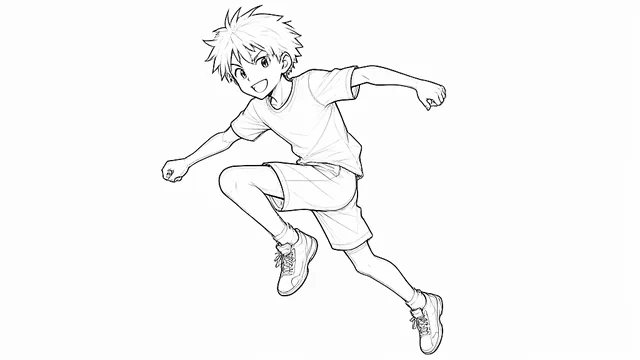
How to draw anime poses, step by step
Start with a line of action, build the mannequin on it, then add balance, depth and action.
 Beginner
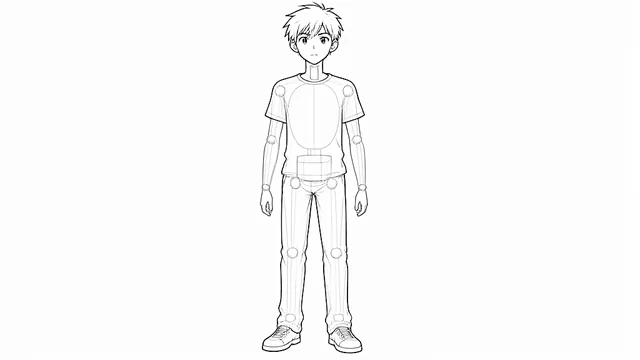
How to draw an anime body, step by step
Measure the body in heads, build it with simple volumes, then draw the outline and the clothes.
 Beginner
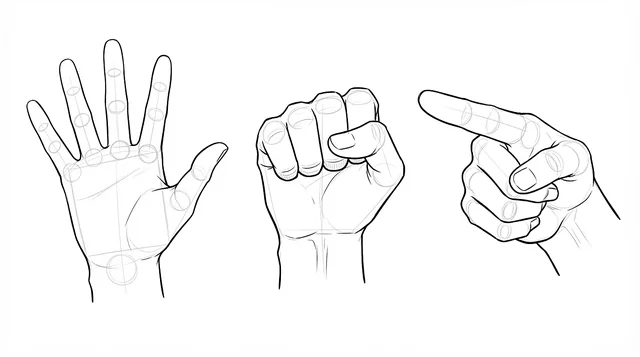
Hands: a box, an arc and five fingers are enough
A box, an arc and five fingers are enough.