
Lesson · Bodies, hands & poses
Feet: a wedge, a heel, and the character stands
After hands, feet are what we hide most, often behind the framing or a vague shoe. Yet the whole weight of the character rests on them. Well built, they keep the character on the ground.
- Intermediate
- 10 min practice
- 3 min read
- Updated
Key takeaways
- A foot is about as long as the head is tall. If it looks too small, the character seems unstable.
- A shoe creases where the foot bends: above the toes and at the ankle.
- Your own feet are free models: draw them from several angles, with and without shoes.
- Always draw a ground line under the feet: you'll see right away if the character stands.
On this page
Building a foot in four steps
-
Step 1A wedge
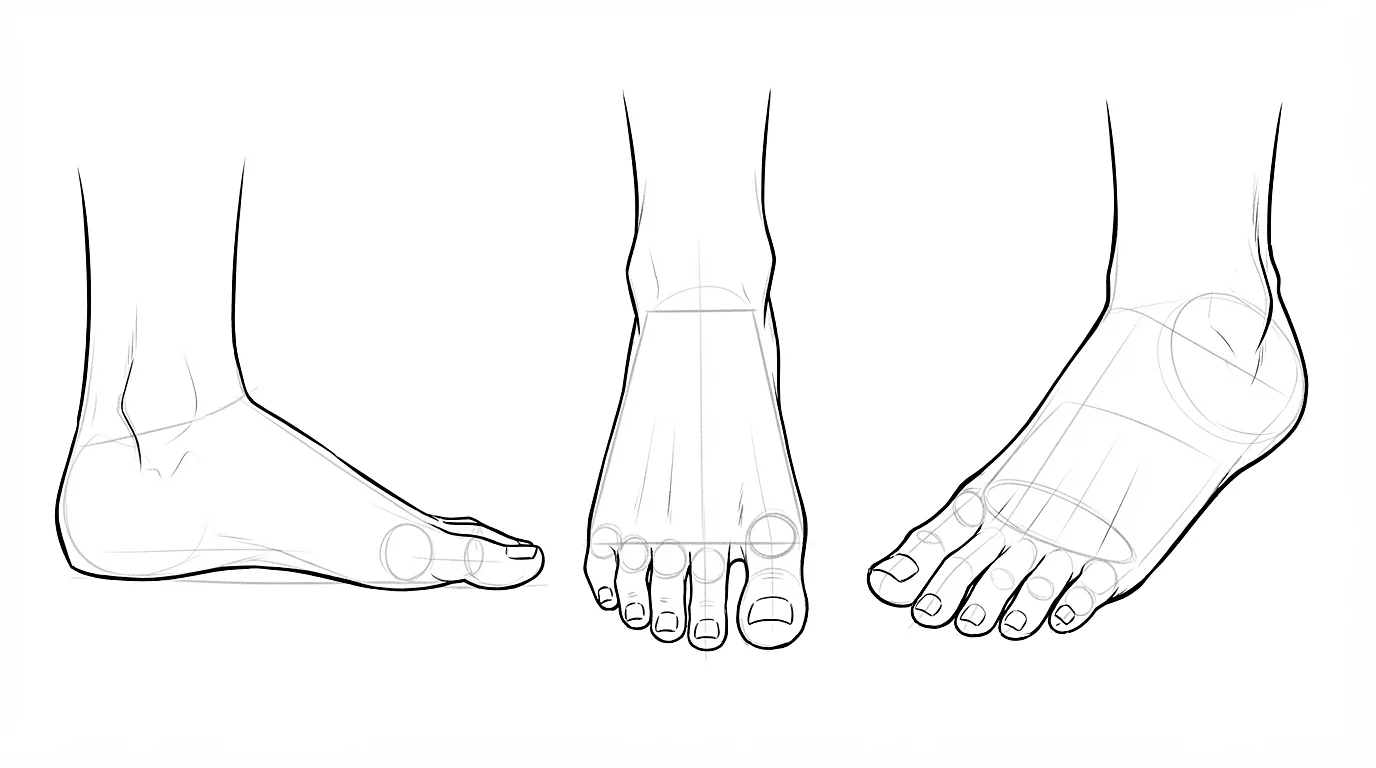
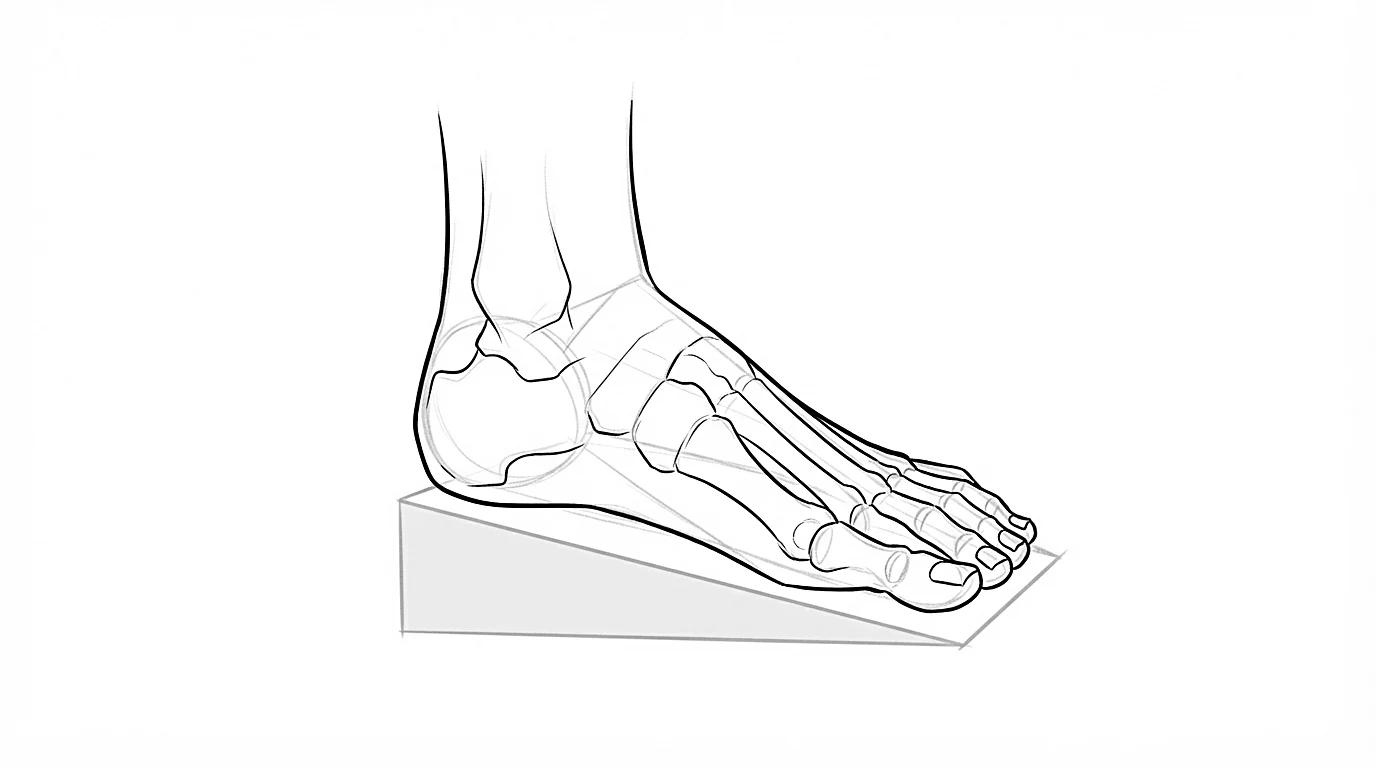
Seen from the side, the foot is a wedge: high at the ankle, sloping down to the toes. Start with this simple shape.
-
Step 2The heel
Add a ball under and behind the ankle. The heel sticks out to the back: without it, the character tips over.
-
Step 3The arch
On the inner side, the foot doesn't touch the ground in the middle: carve an arch between the heel and the ball of the foot. On the outer side, it stays almost flat.
-
Step 4Toes as a block
First draw the toes as one rounded block, then separate the big toe from the other four. They step down toward the outside.
A foot is about as long as the head is tall. If it looks too small, the character seems unstable.
Landmarks to remember
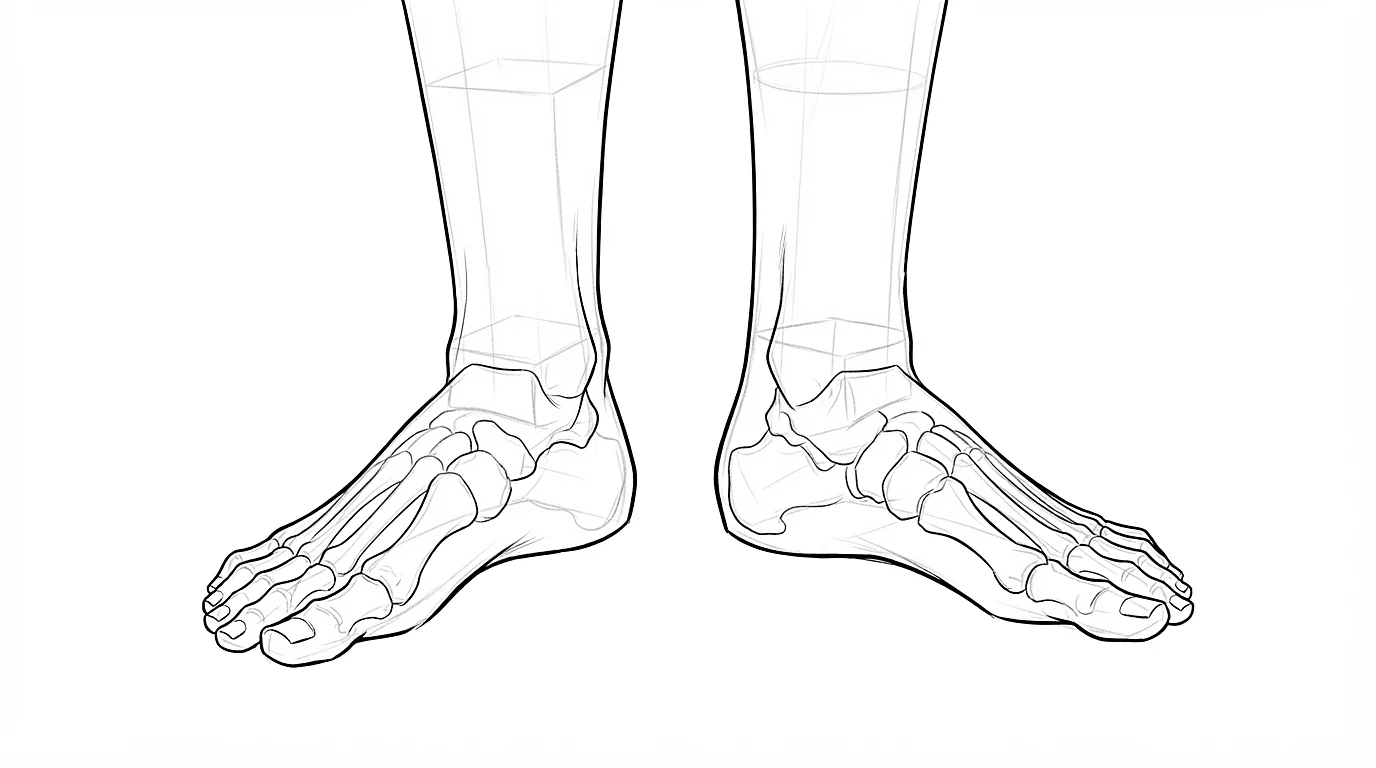
- The inner ankle bone is higher than the outer one.
- Seen from the front, the foot widens toward the toes: narrow at the heel, wide at the front.
- The big toe is separated from the others by a small gap and points straight ahead.
- From the front, you mostly see the top of the foot and shortened toes: the heel disappears behind.
- When the character walks, the back foot bends at the toes, heel lifted.
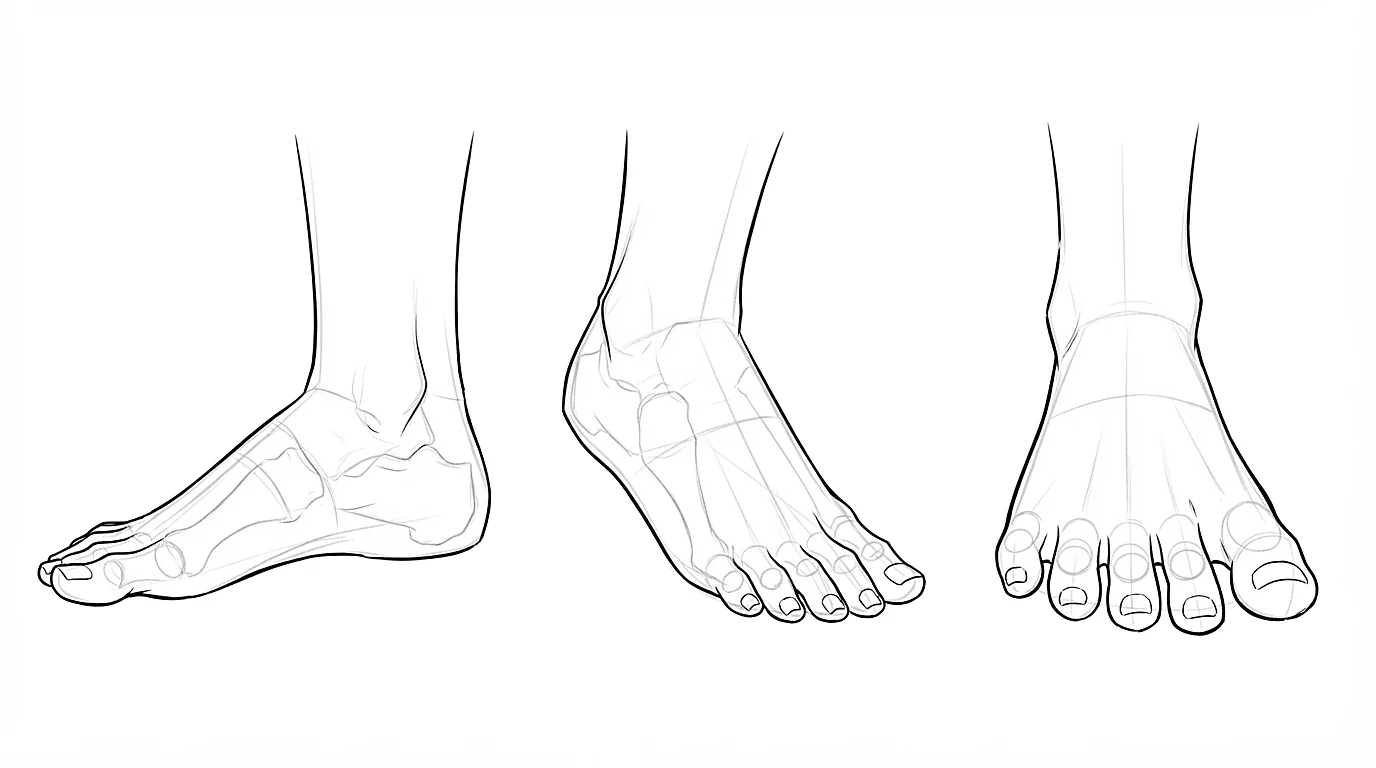
The foot from three angles
-
Step 1From the side
The easiest view: the wedge, the heel, the arch. Always start with it to understand a foot.
-
Step 2From the front
A trapezoid widening toward the bottom, the toes in a fan, the ankle above. The nearest toes partly hide the top of the foot.
-
Step 3Three-quarter view
A mix of both: you see the arch on one side and the top of the foot. Keep the heel visible, even slightly.
Shoes
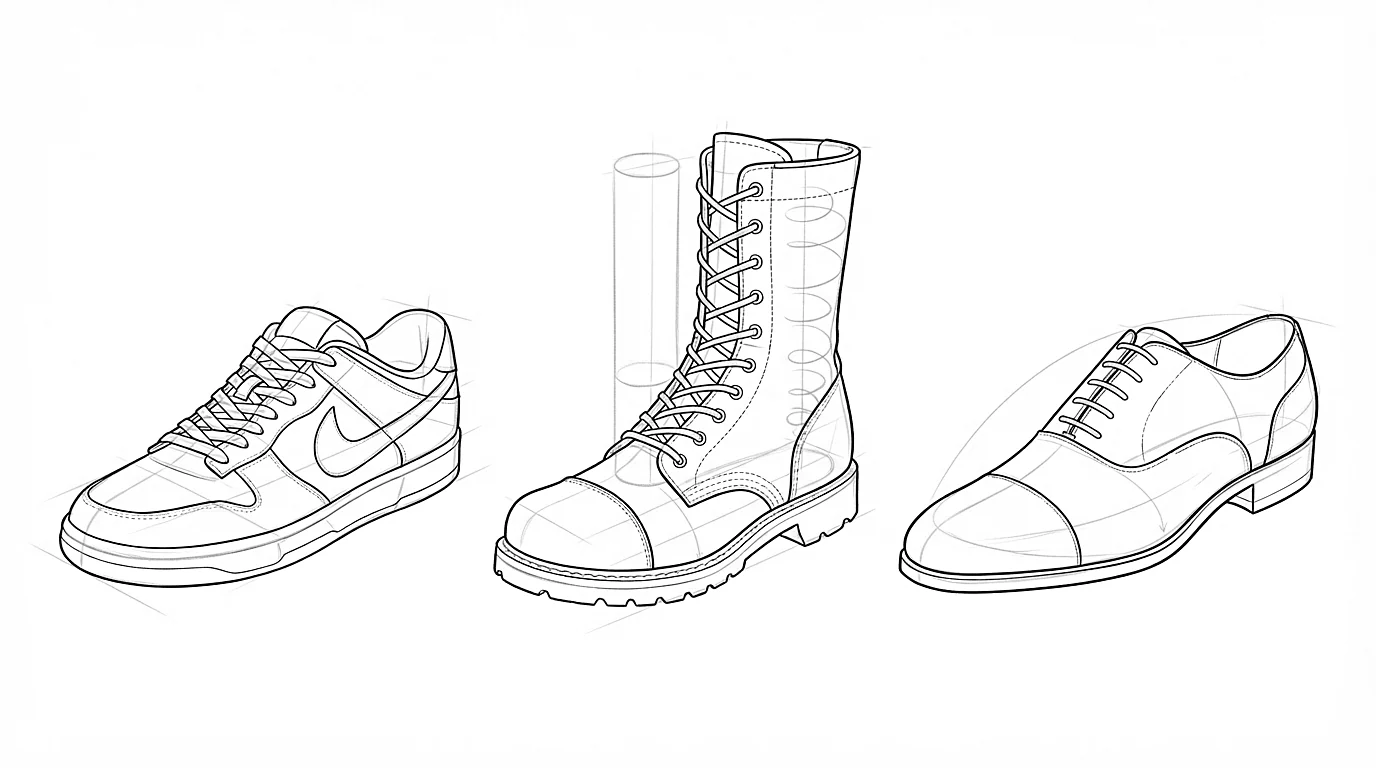
A shoe is drawn like clothing: around the foot, never instead of it.
-
Step 1The foot first
Draw the foot, even roughly, then the shoe over it, a little bigger. The shape of the foot must stay readable underneath.
-
Step 2The sole
Draw the sole as a flat box under the foot, following the curve of the arch. The thicker it is, the heavier the shoe looks.
-
Step 3The sneaker
A rounded toe, laces following the curve of the top of the foot, a padded collar around the ankle.
-
Step 4The boot
The foot plus a cylinder for the shaft, running up the calf. Add a few folds at the ankle, where it bends.
A shoe creases where the foot bends: above the toes and at the ankle.
The coach's tips
- Your own feet are free models: draw them from several angles, with and without shoes.
- Always draw a ground line under the feet: you'll see right away if the character stands.
- The foot carrying the weight is flat; the other one can lift, turn or rest on its toes.
- Don't draw both feet exactly alike and parallel: they point slightly outward.
- In the app, pick full-body characters and look at how their shoes follow the shape of the foot.
Practice right now
Once the lesson is read, draw this exercise: it takes about 10 minutes.
Draw five feet as wedges from different angles, add the heel, the arch and the toes, then finish with a pair of feet from the front, standing on a ground line.
Keep learning
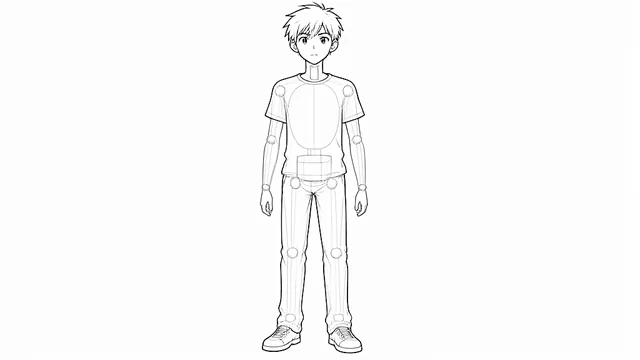 Beginner
How to draw an anime body, step by step
Measure the body in heads, build it with simple volumes, then draw the outline and the clothes.
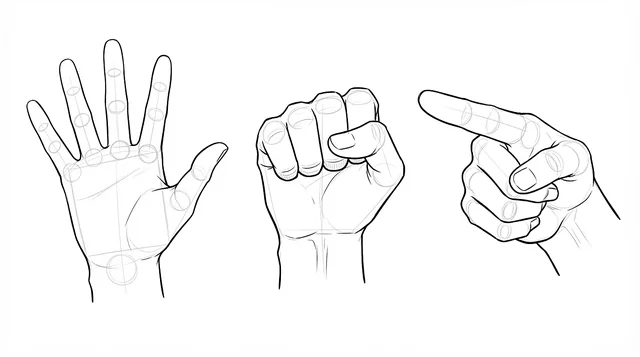 Beginner
Hands: a box, an arc and five fingers are enough
A box, an arc and five fingers are enough.
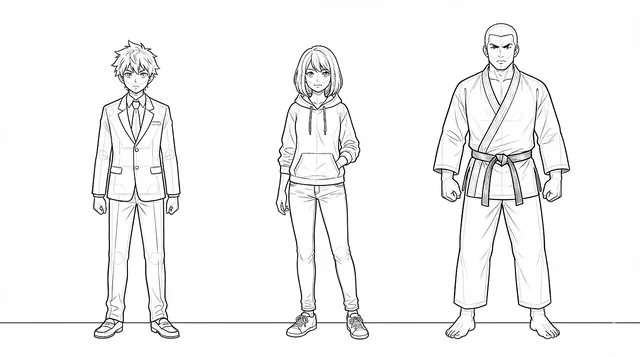 Intermediate
Clothes: see where fabric pulls, falls and folds
See where fabric pulls, falls and folds.